
Azure DevOps is Microsoft’s platform for managing the complete software delivery chain: version control, CI/CD pipelines, project planning, package feeds and documentation. In this first part of the series we build the foundation: a Git repository, branch protection and the Pull Request workflow.
Setup: organisation and project
After logging in to dev.azure.com the mvdboom organisation is visible with one existing project.

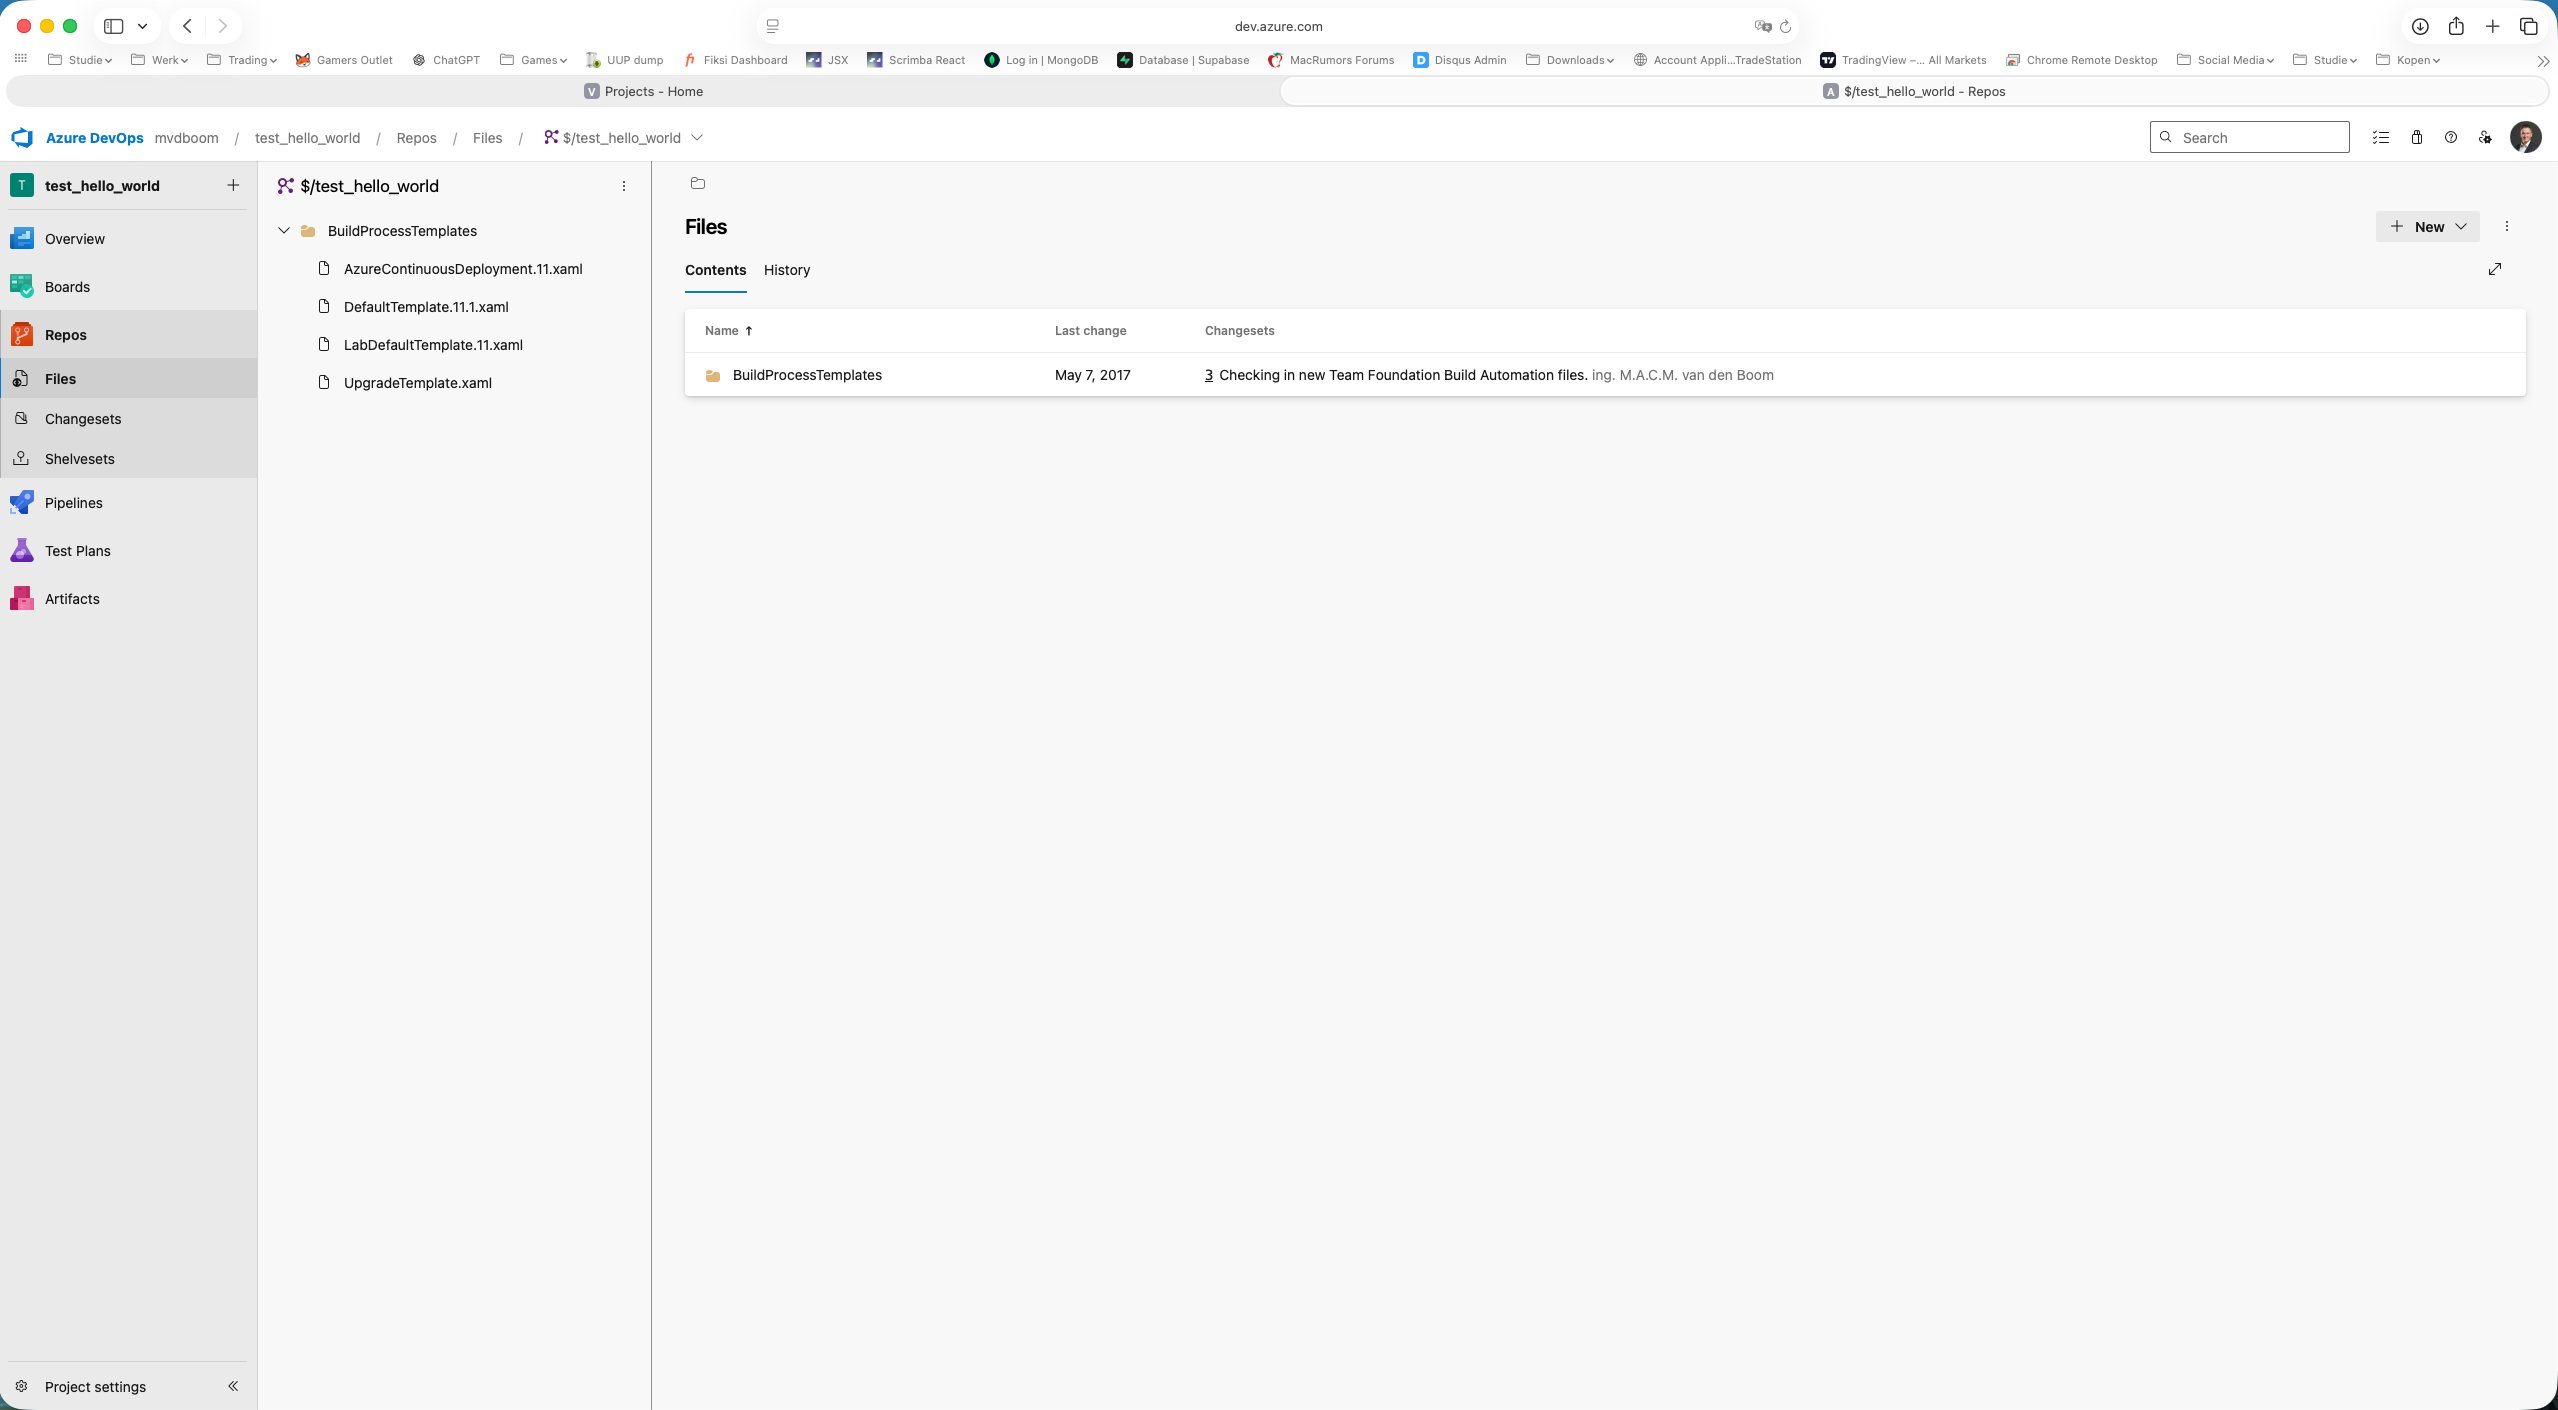
Opening that project revealed it was a TFVC project — Microsoft’s older centralised version control system. TFVC projects use $/projectname paths instead of Git branches and work with changesets and shelvesets. For modern DevOps workflows, Git is the standard.
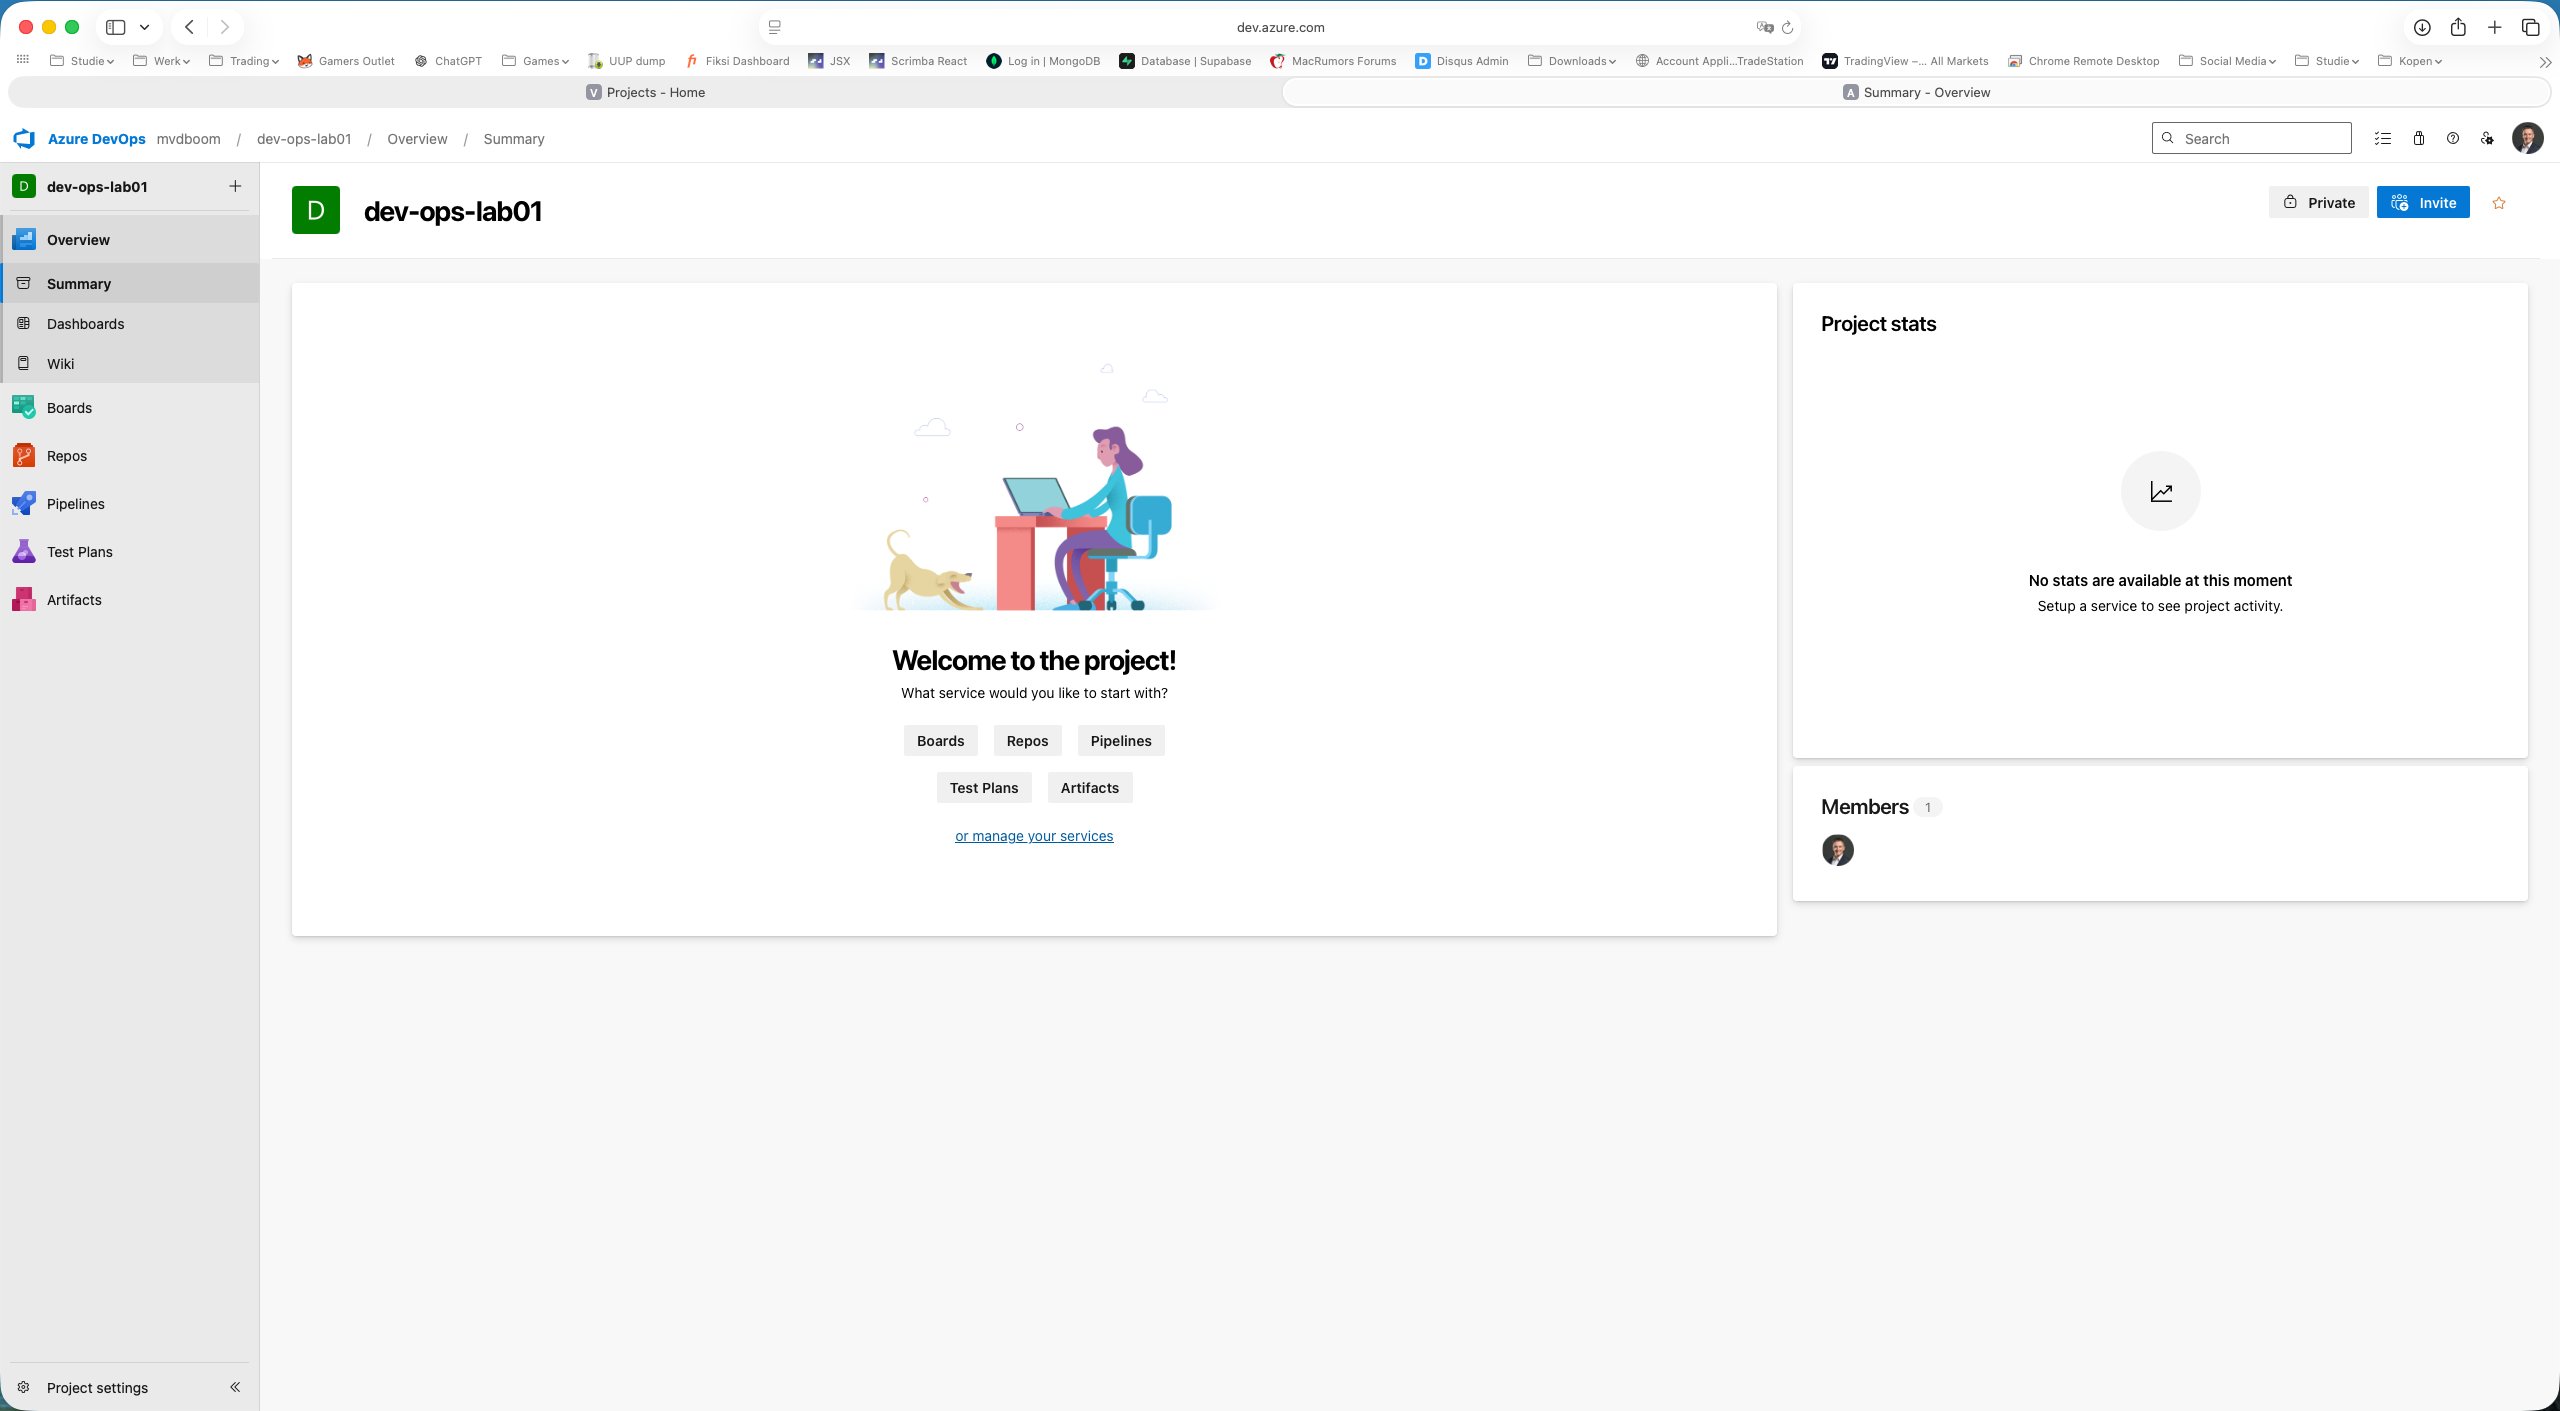
TFVC projects cannot be converted to Git. A new project dev-ops-lab01 was therefore created as a Private project with Git as the version control system.
Azure DevOps Repos
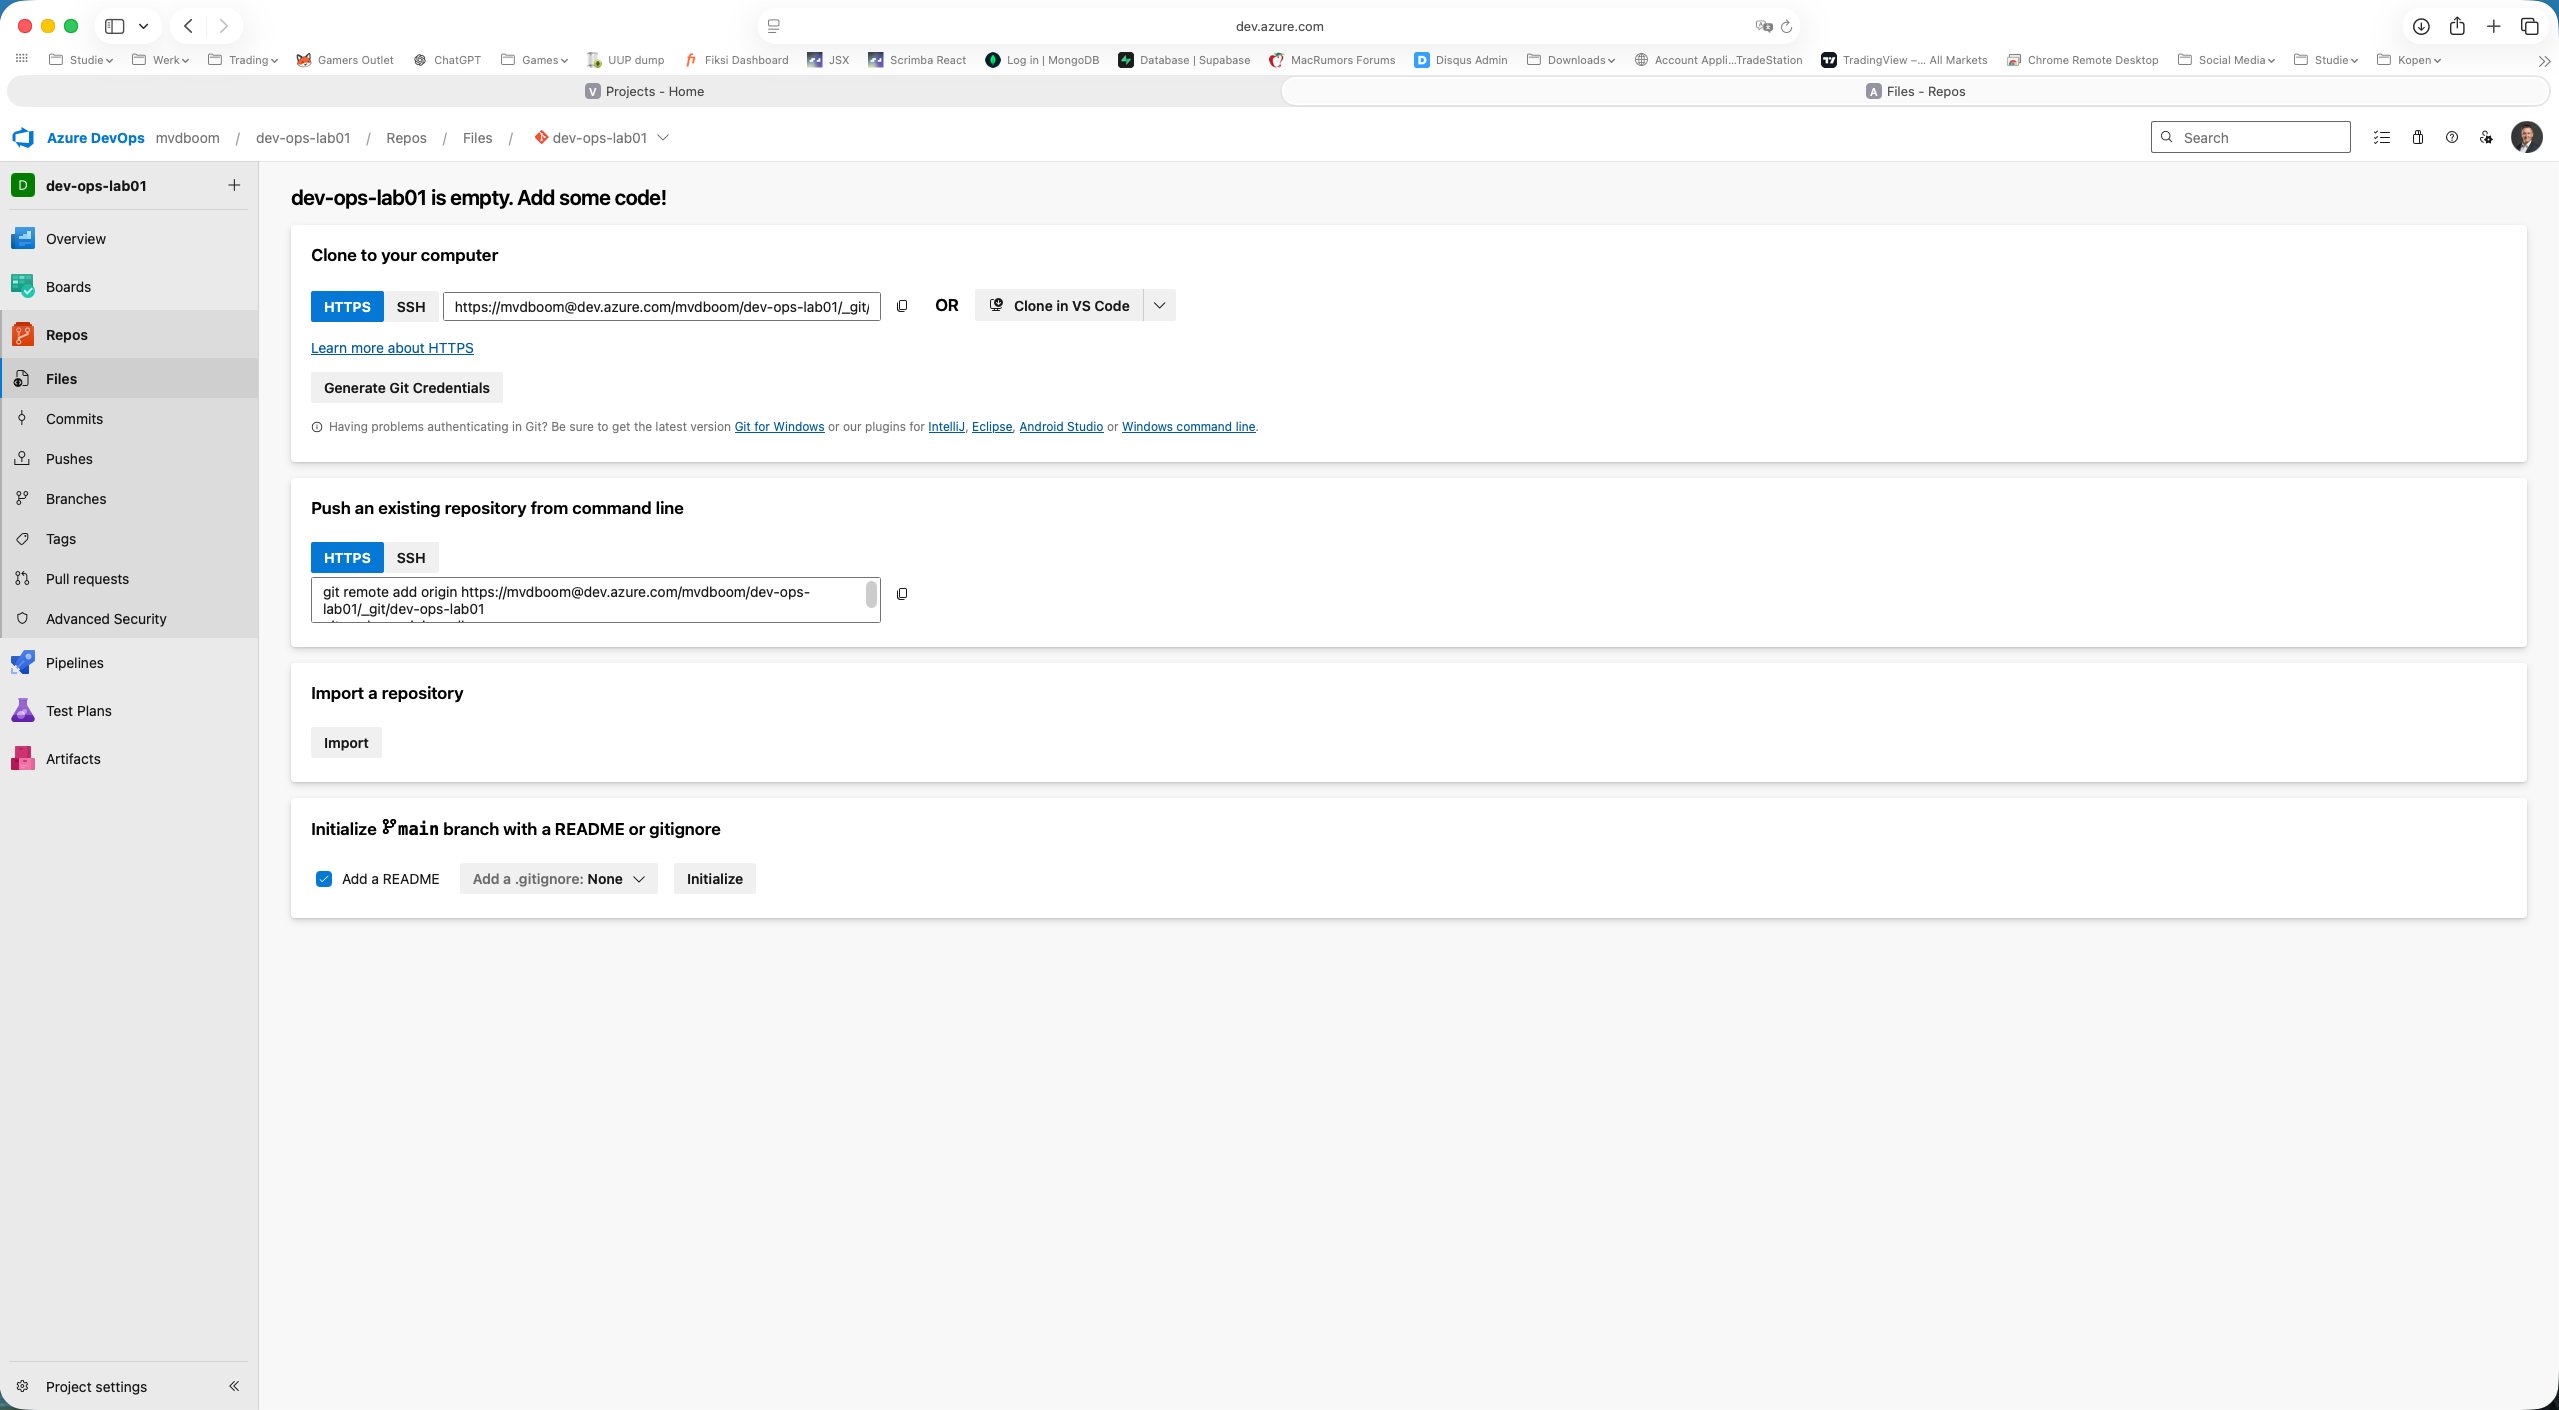
Opening Repos shows an empty repository with three options to get started: clone locally, push an existing repo, or initialise directly in the browser with a README. The sidebar shows the Git-specific sections: Files, Commits, Pushes, Branches, Tags, Pull requests and Advanced Security.
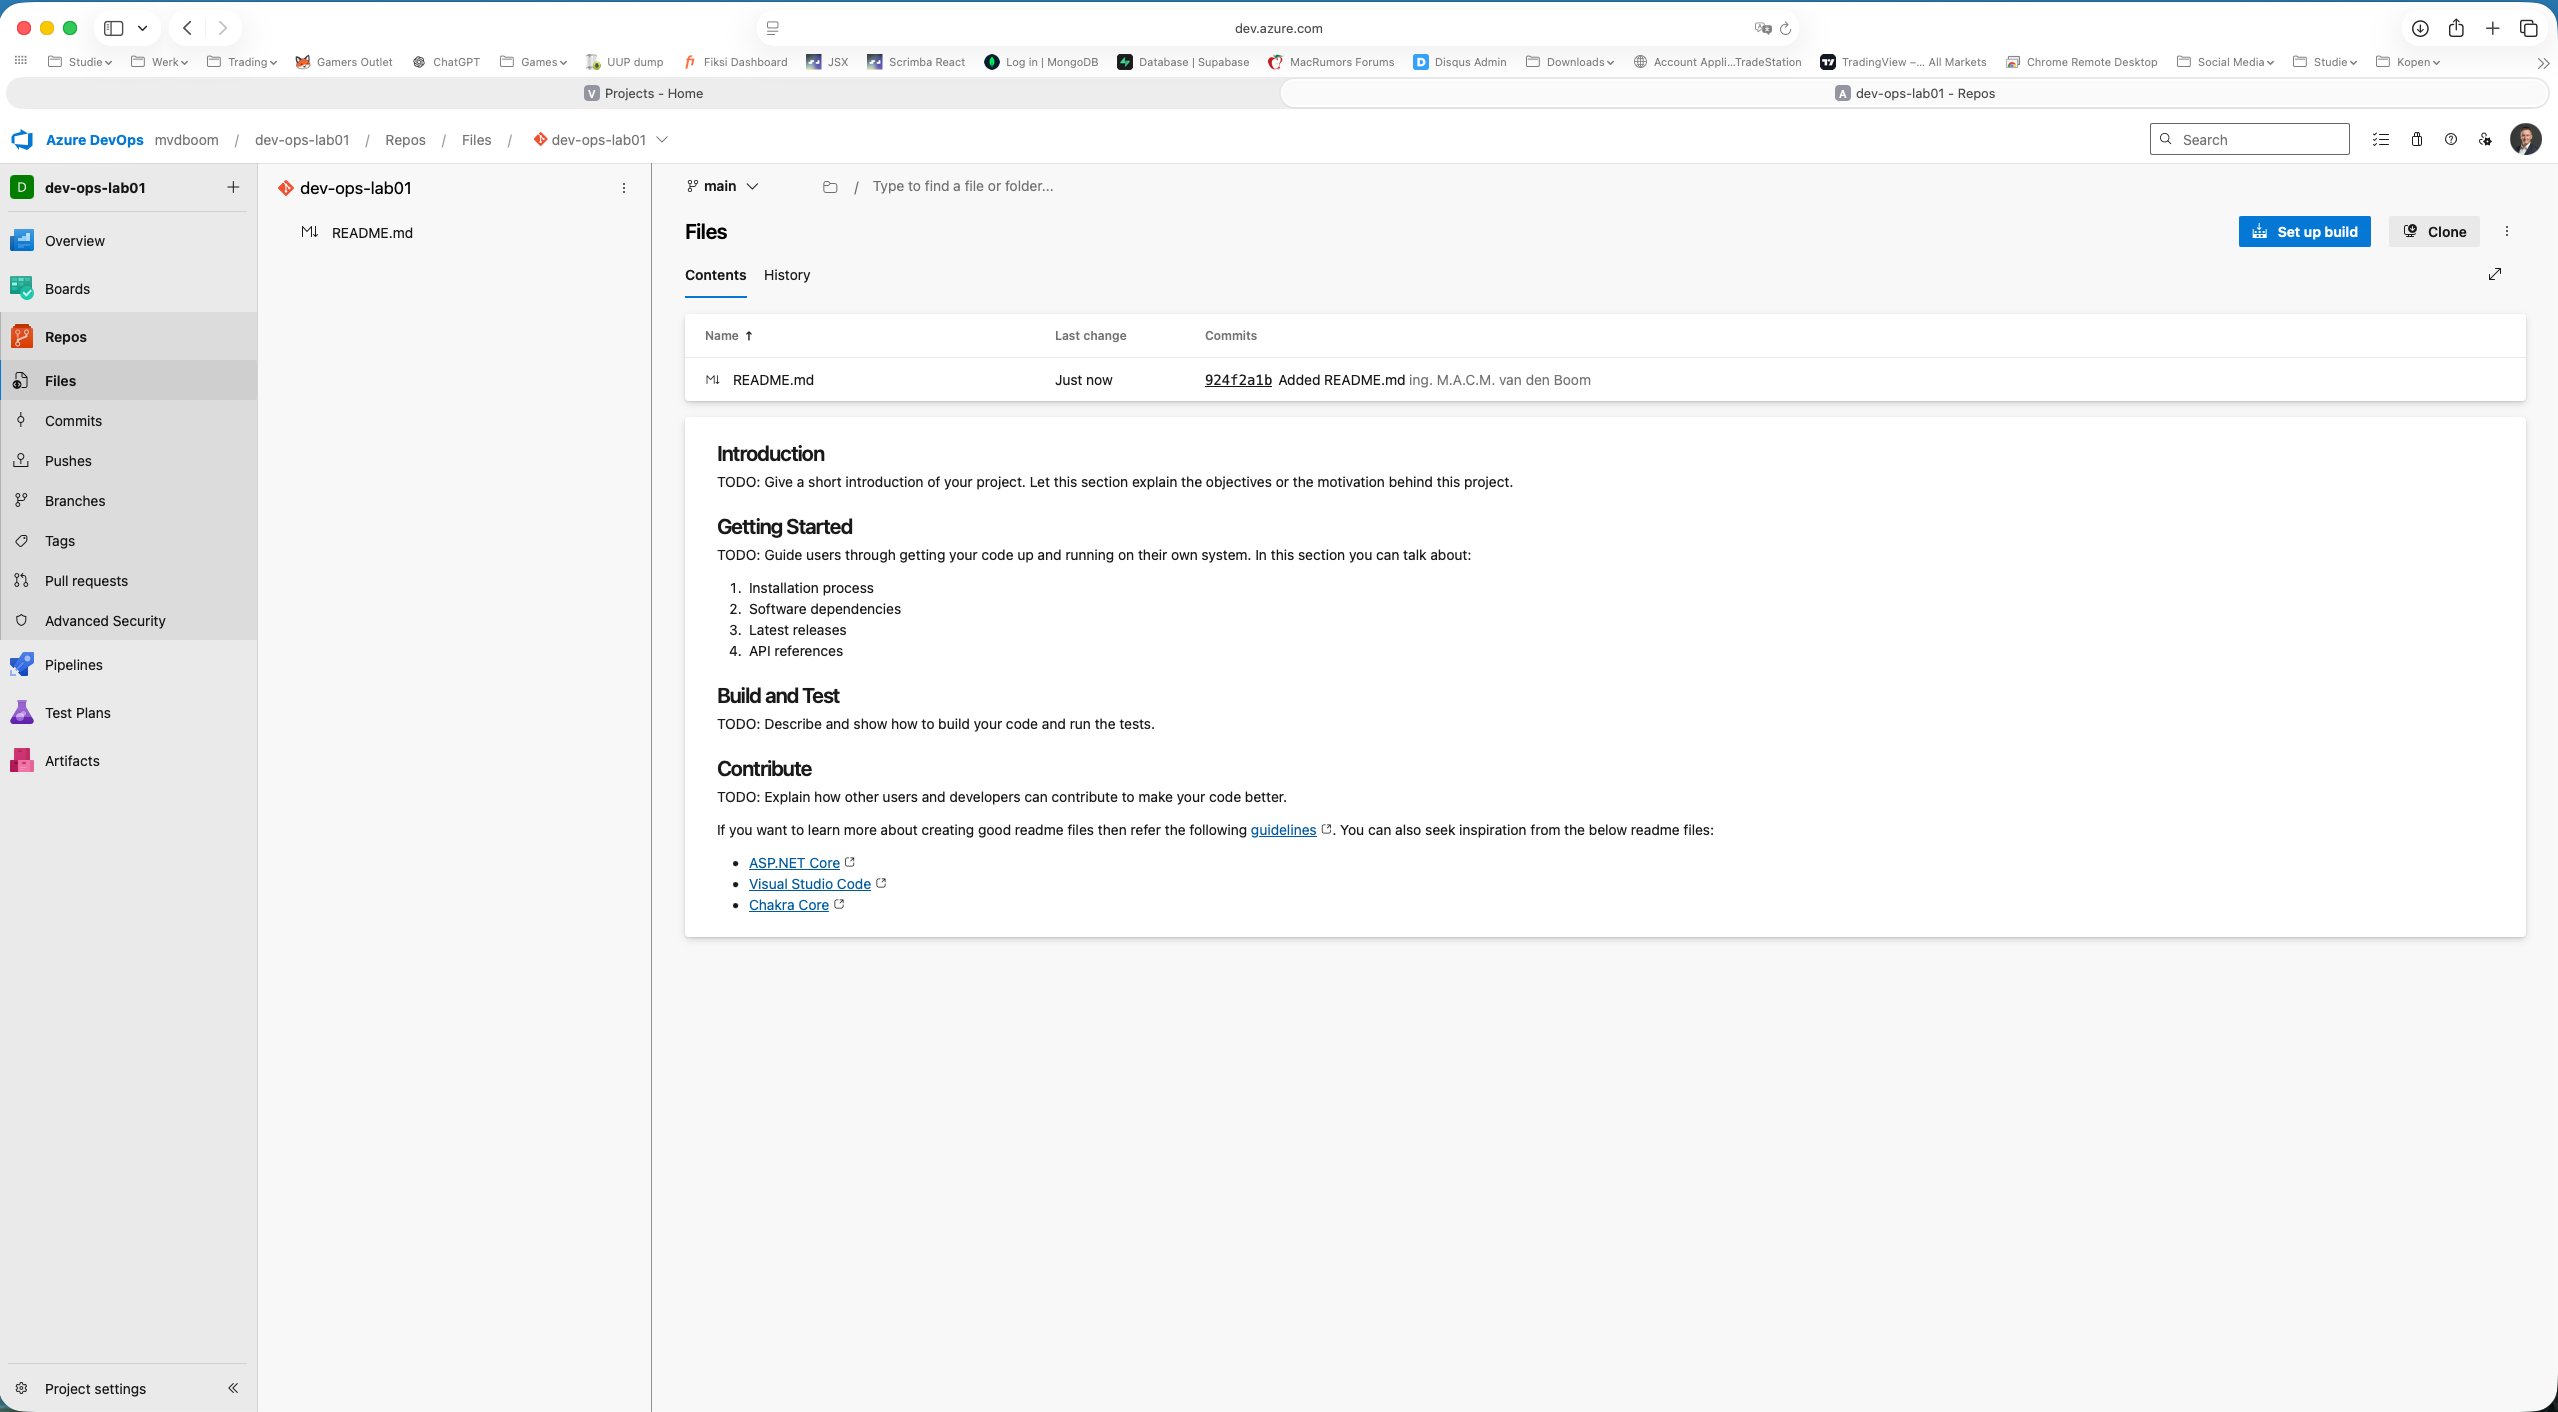
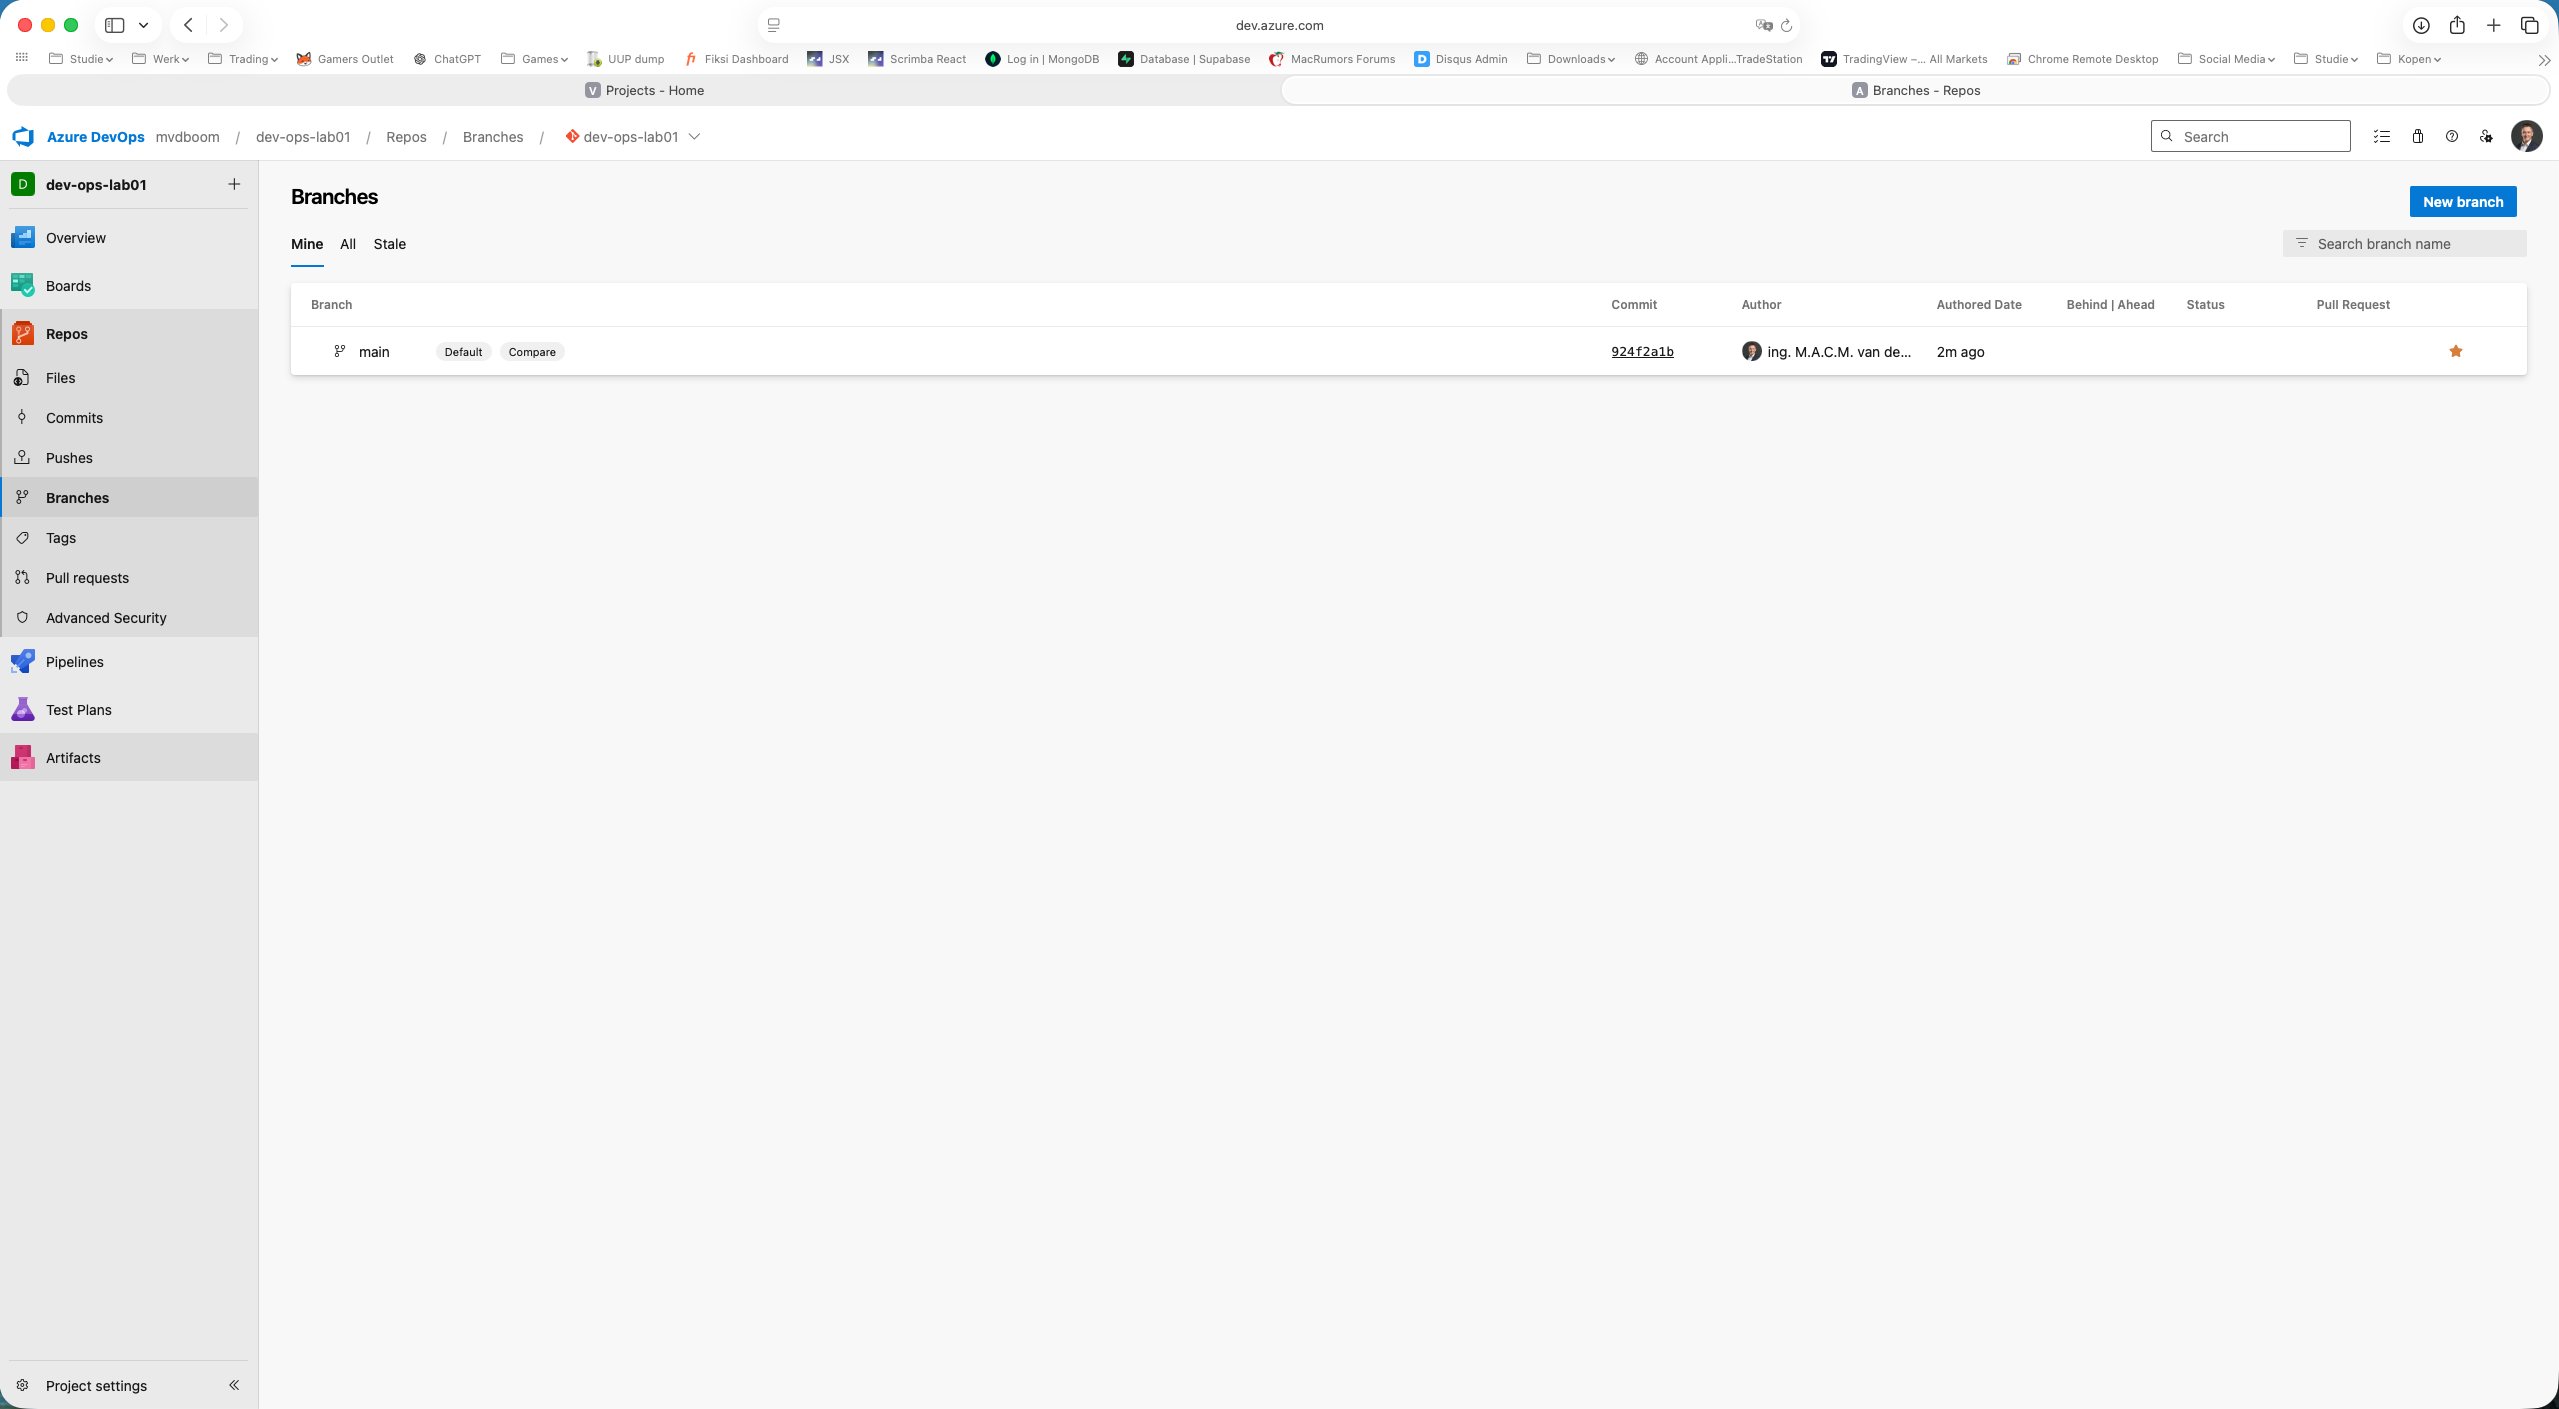
Using Initialize (with README checked) creates the main branch. The first commit — 924f2a1b: Added README.md — is immediately visible including author and timestamp.
Branch policies on main
A production environment never allows direct pushes to main. Via Branches → ⋯ → Branch policies on the main branch the policies screen opens.
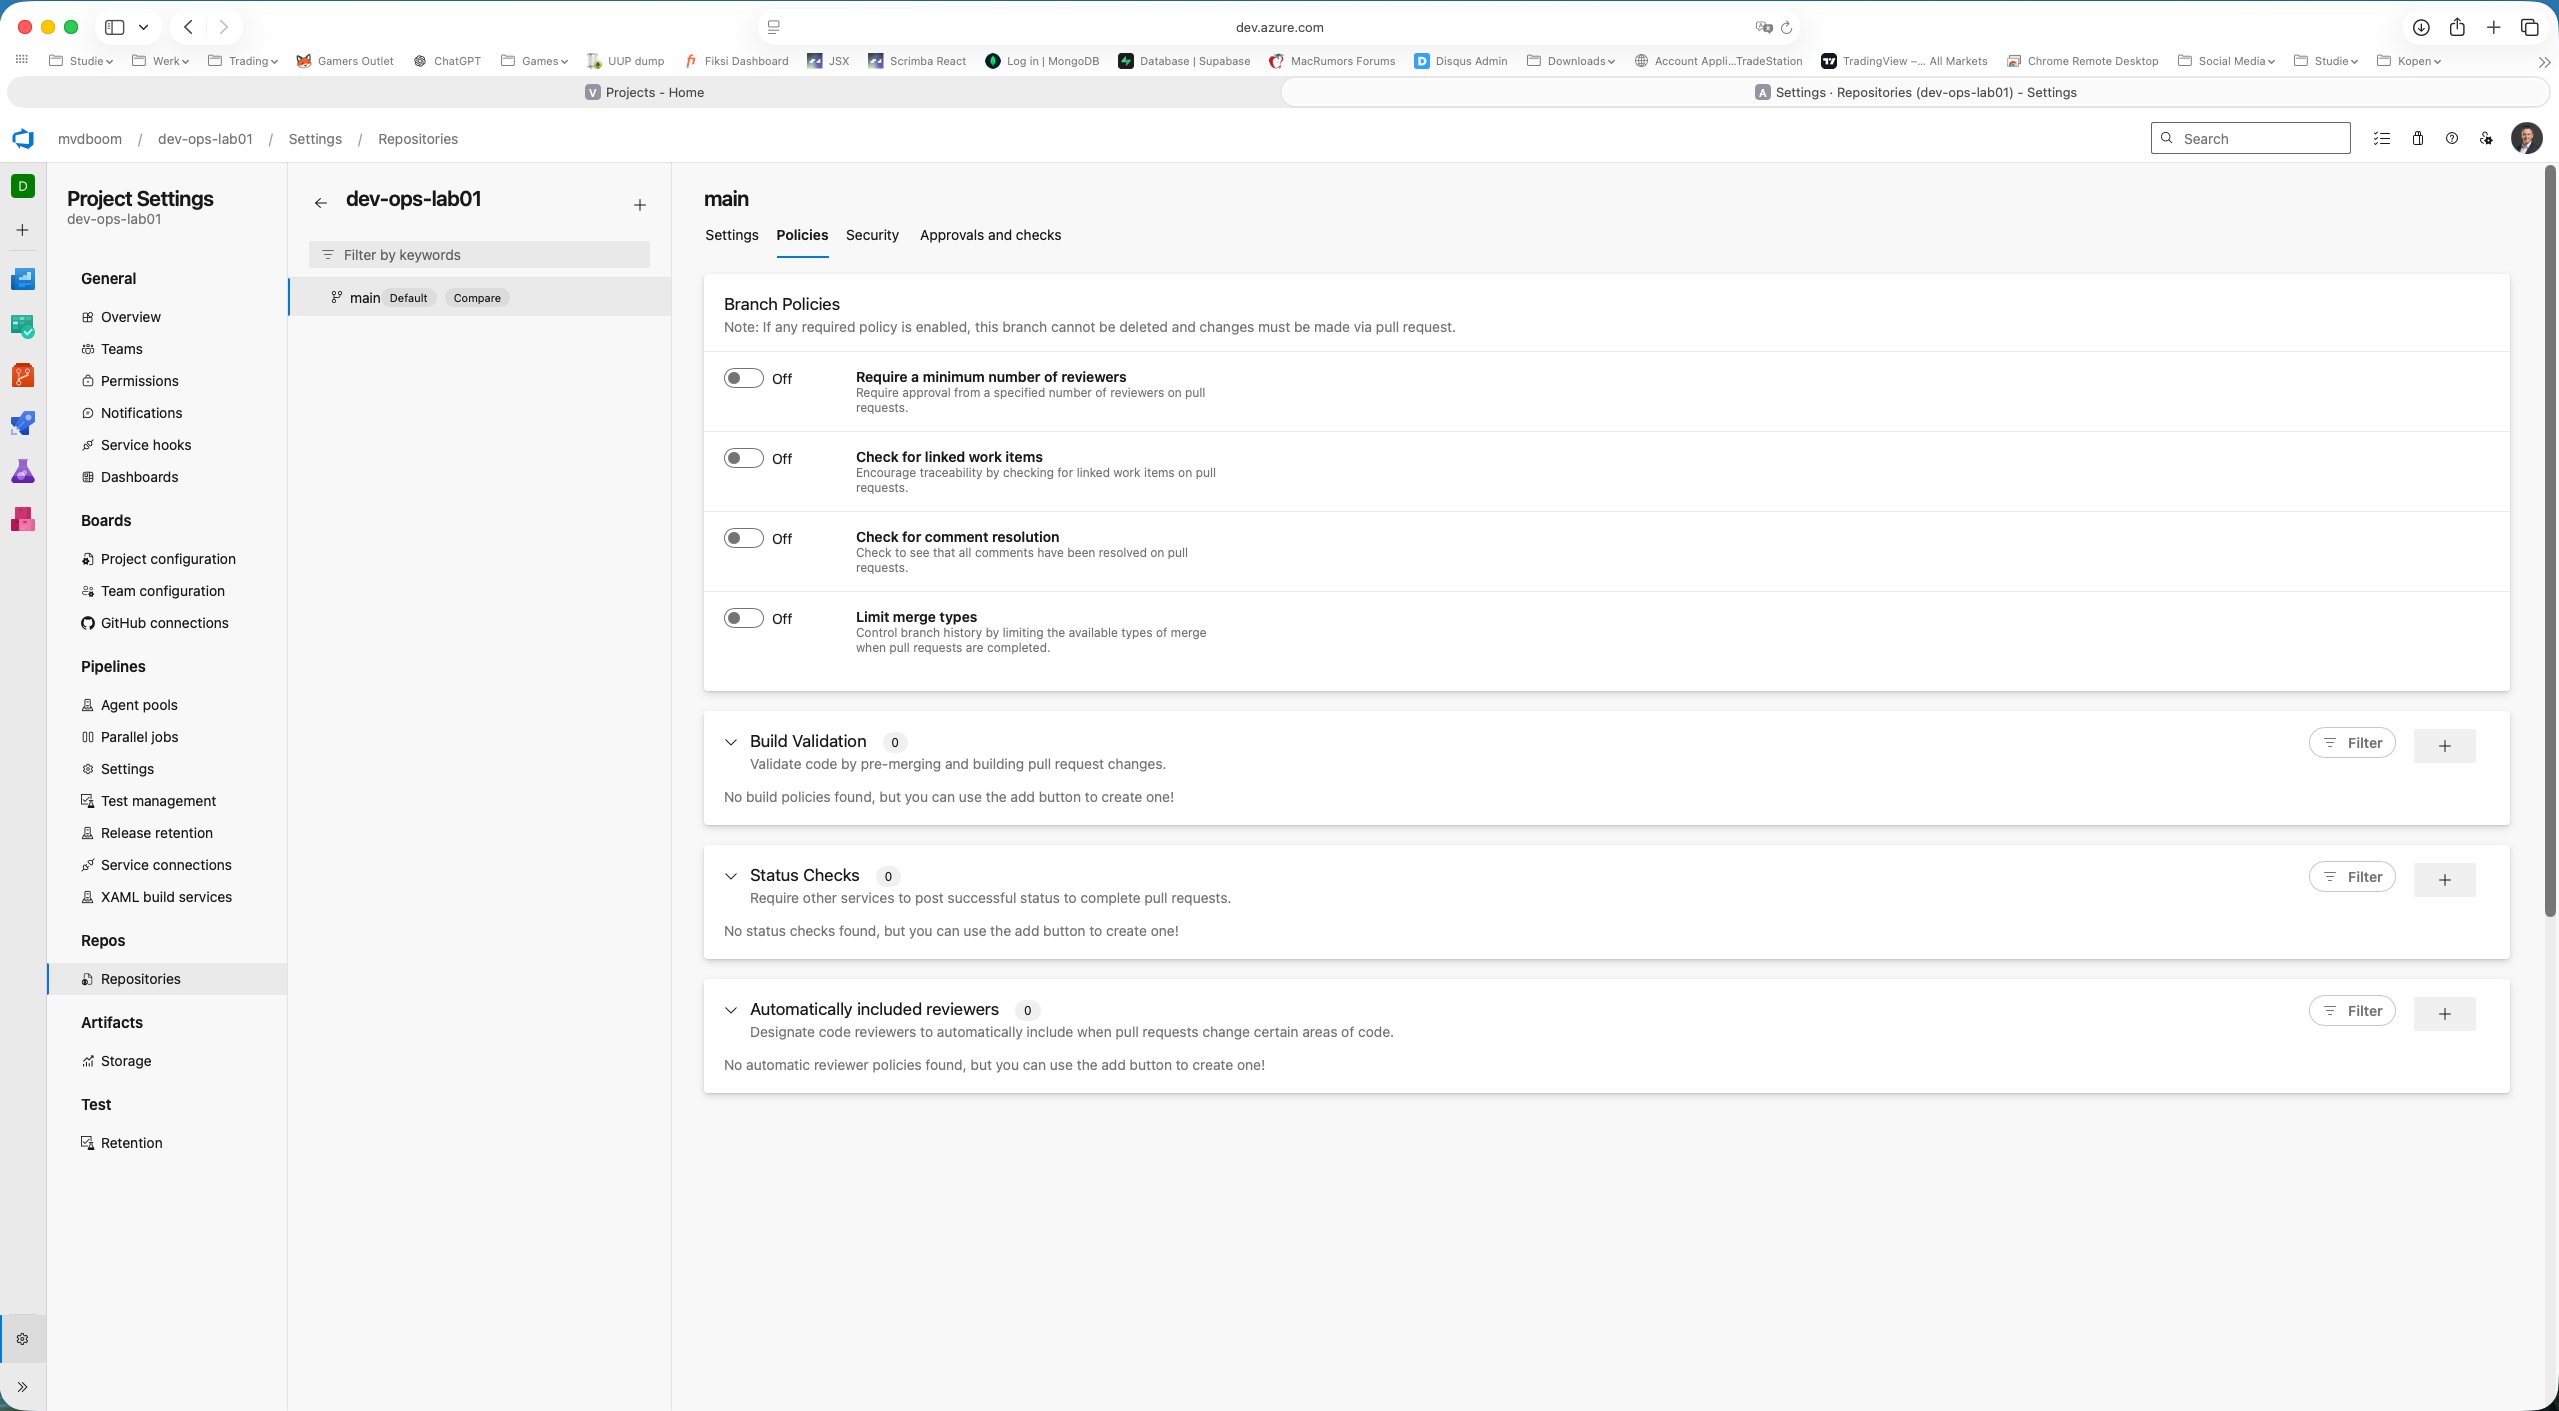
The four available policies:
- Require a minimum number of reviewers — blocks merge without approval
- Check for linked work items — requires a link to a Board item for traceability
- Check for comment resolution — all review comments must be resolved
- Limit merge types — enforces a specific merge strategy (squash, rebase, etc.)
Below those are Build Validation (a pipeline must pass before merge), Status Checks (external tools such as SonarQube) and Automatically included reviewers.
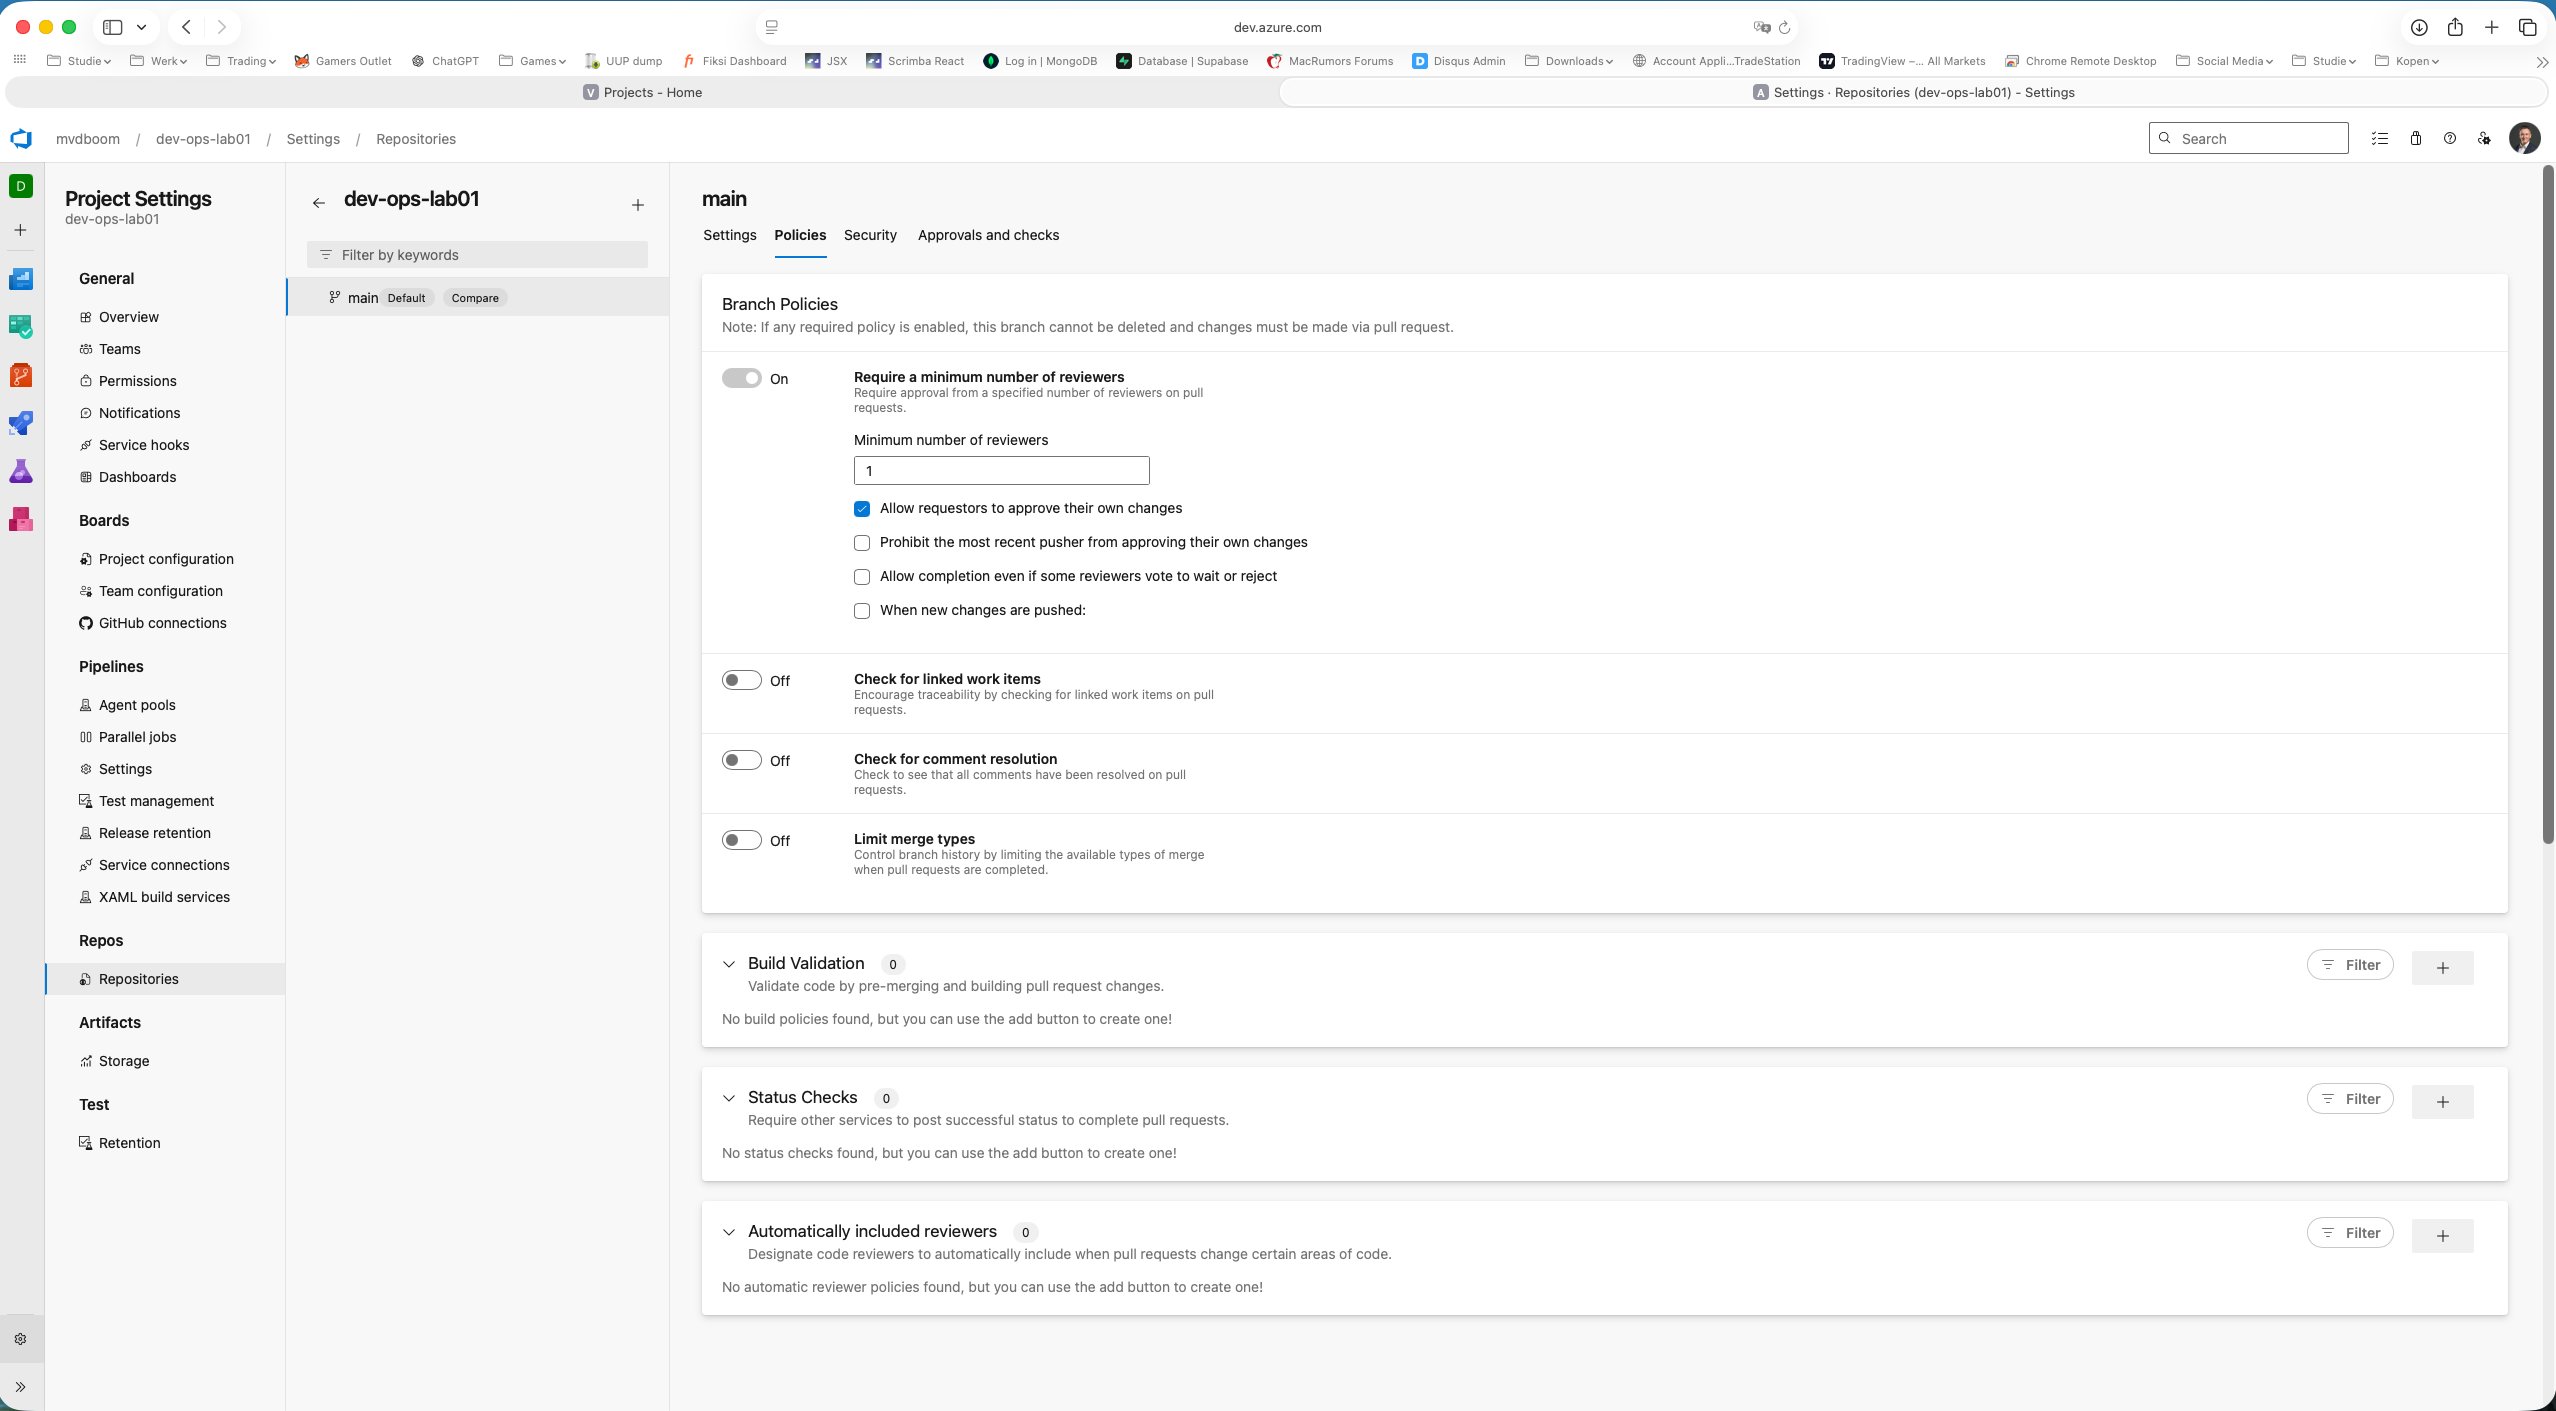
Enabling the first policy reveals its configuration options.
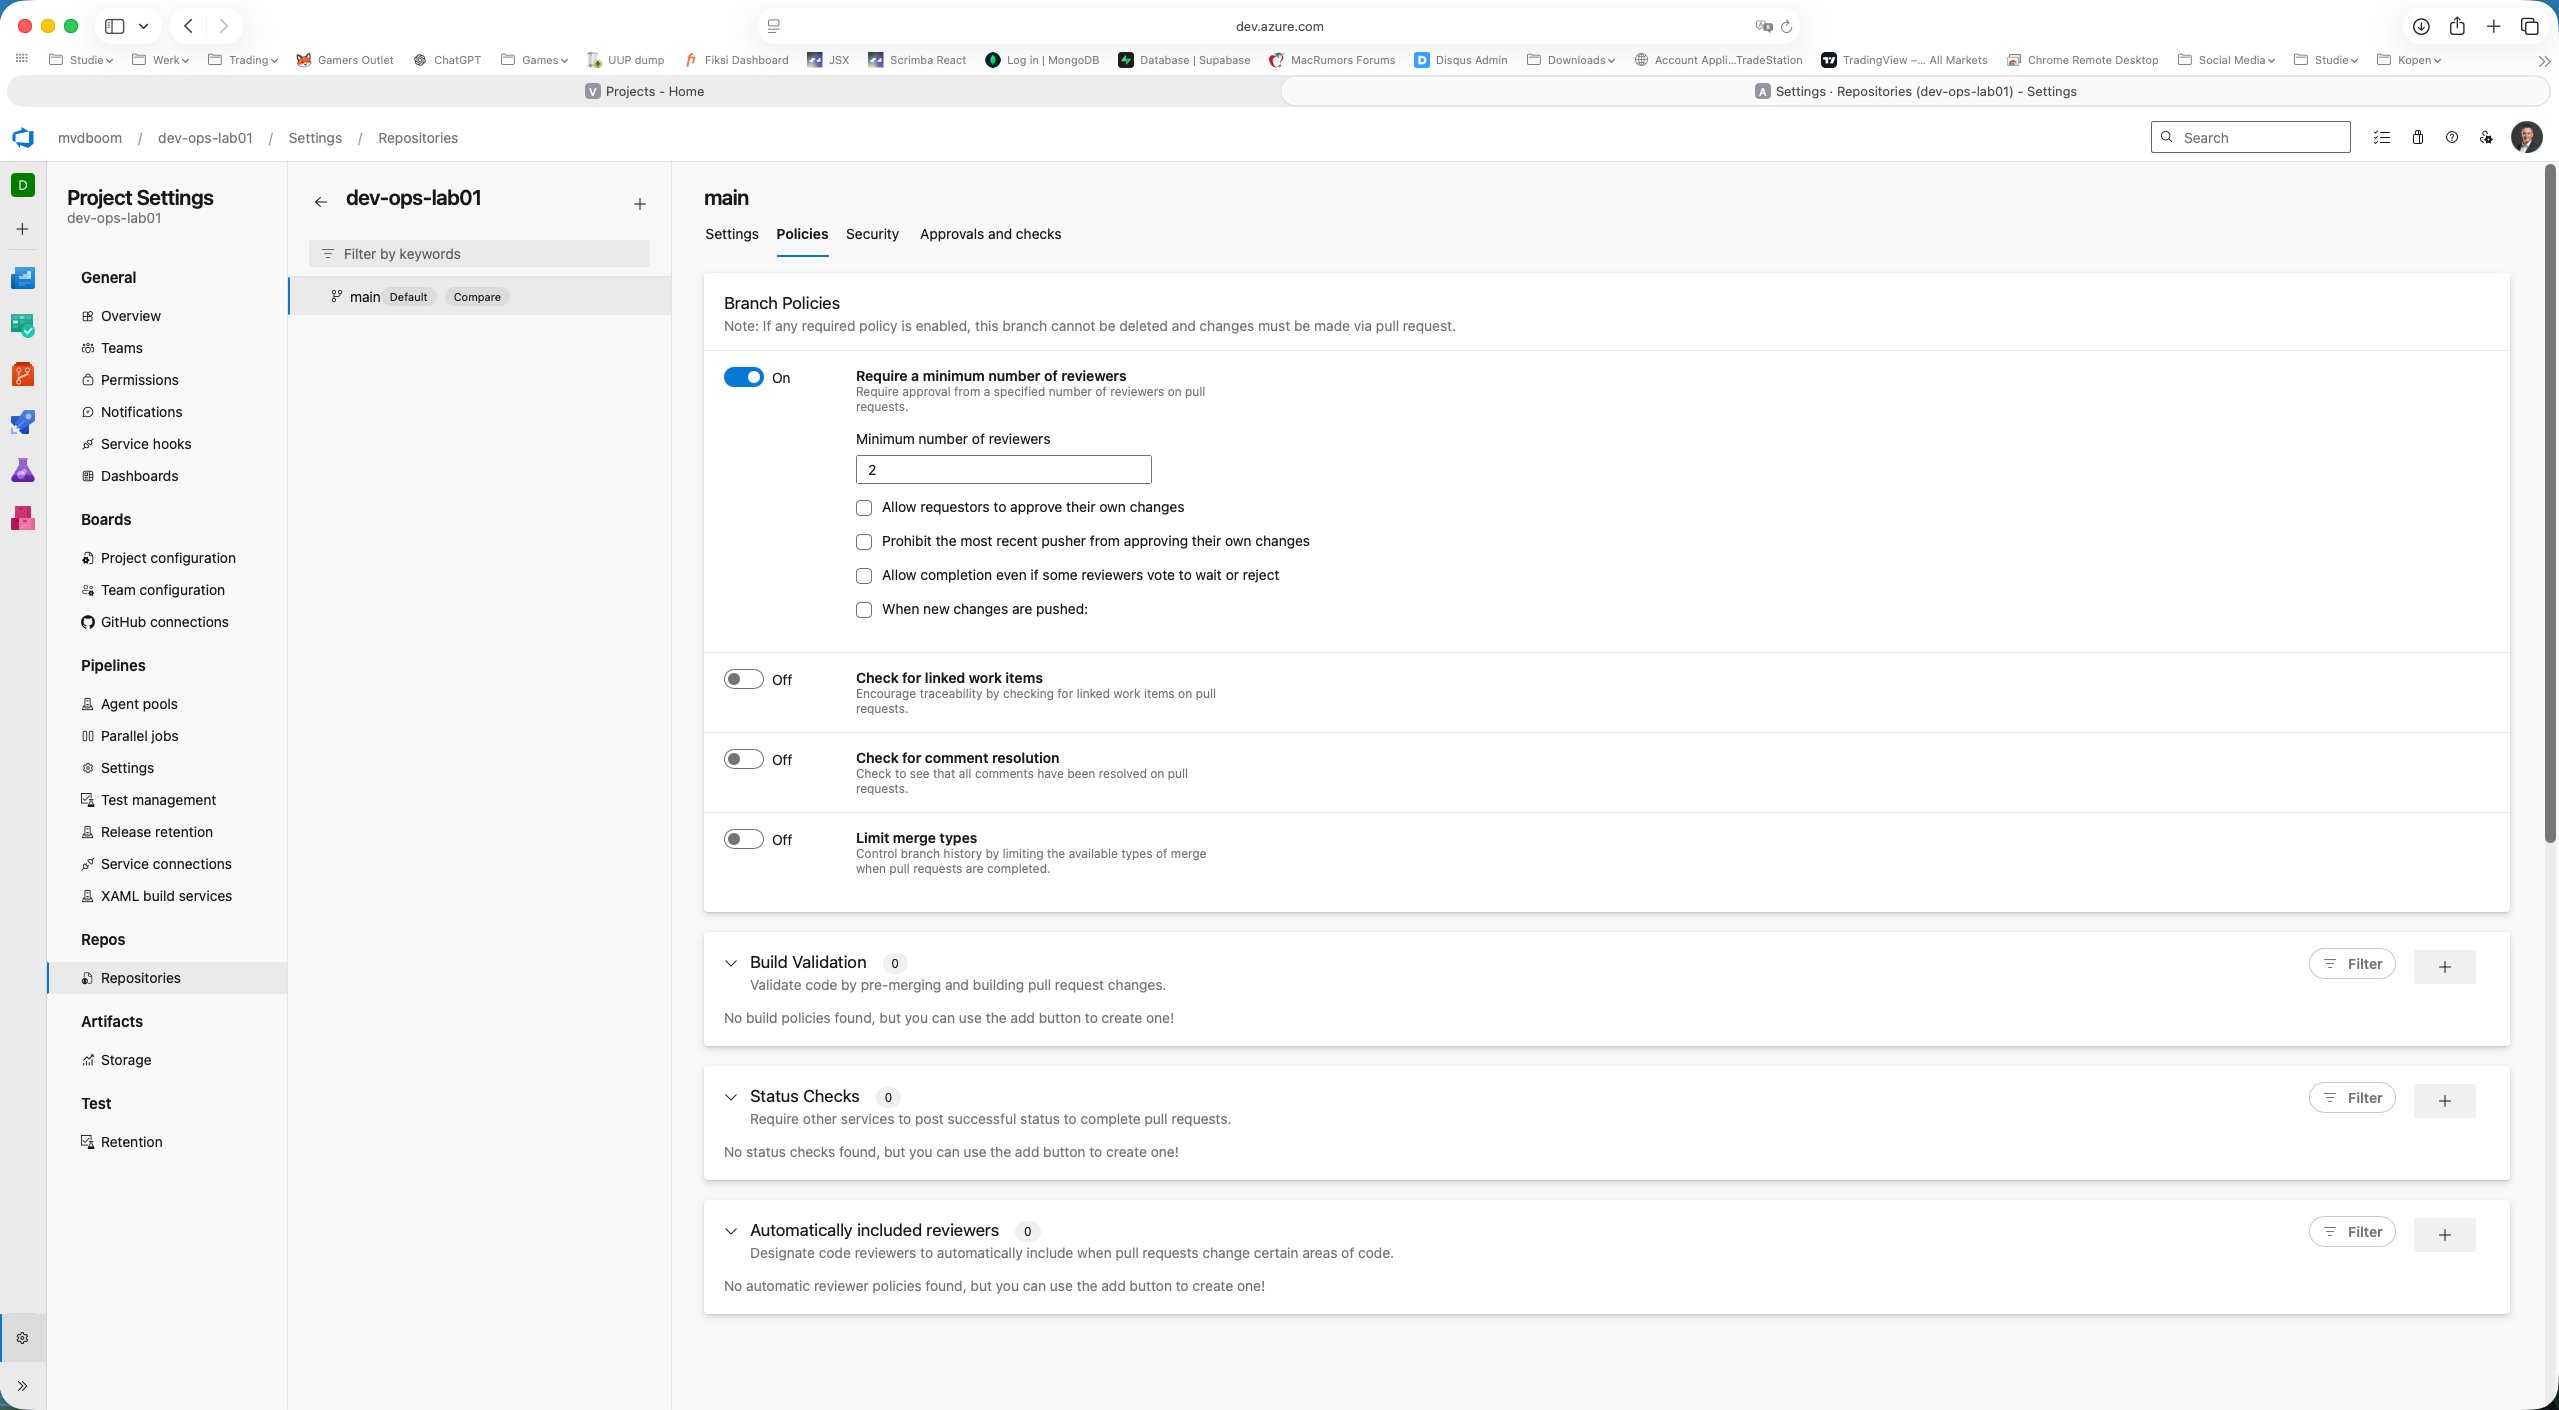
For the lab environment the policy is set to minimum 1 reviewer with “Allow requestors to approve their own changes” checked — so the full workflow can be completed without a second account.
Once a required policy is active, the rule applies automatically: direct push to main is blocked, everything goes through a Pull Request.
Feature branch and first commit
From the Files view a new branch feature/add-pipeline was created using the branch selector. The name follows the common convention: feature/ as a prefix followed by a descriptive name.

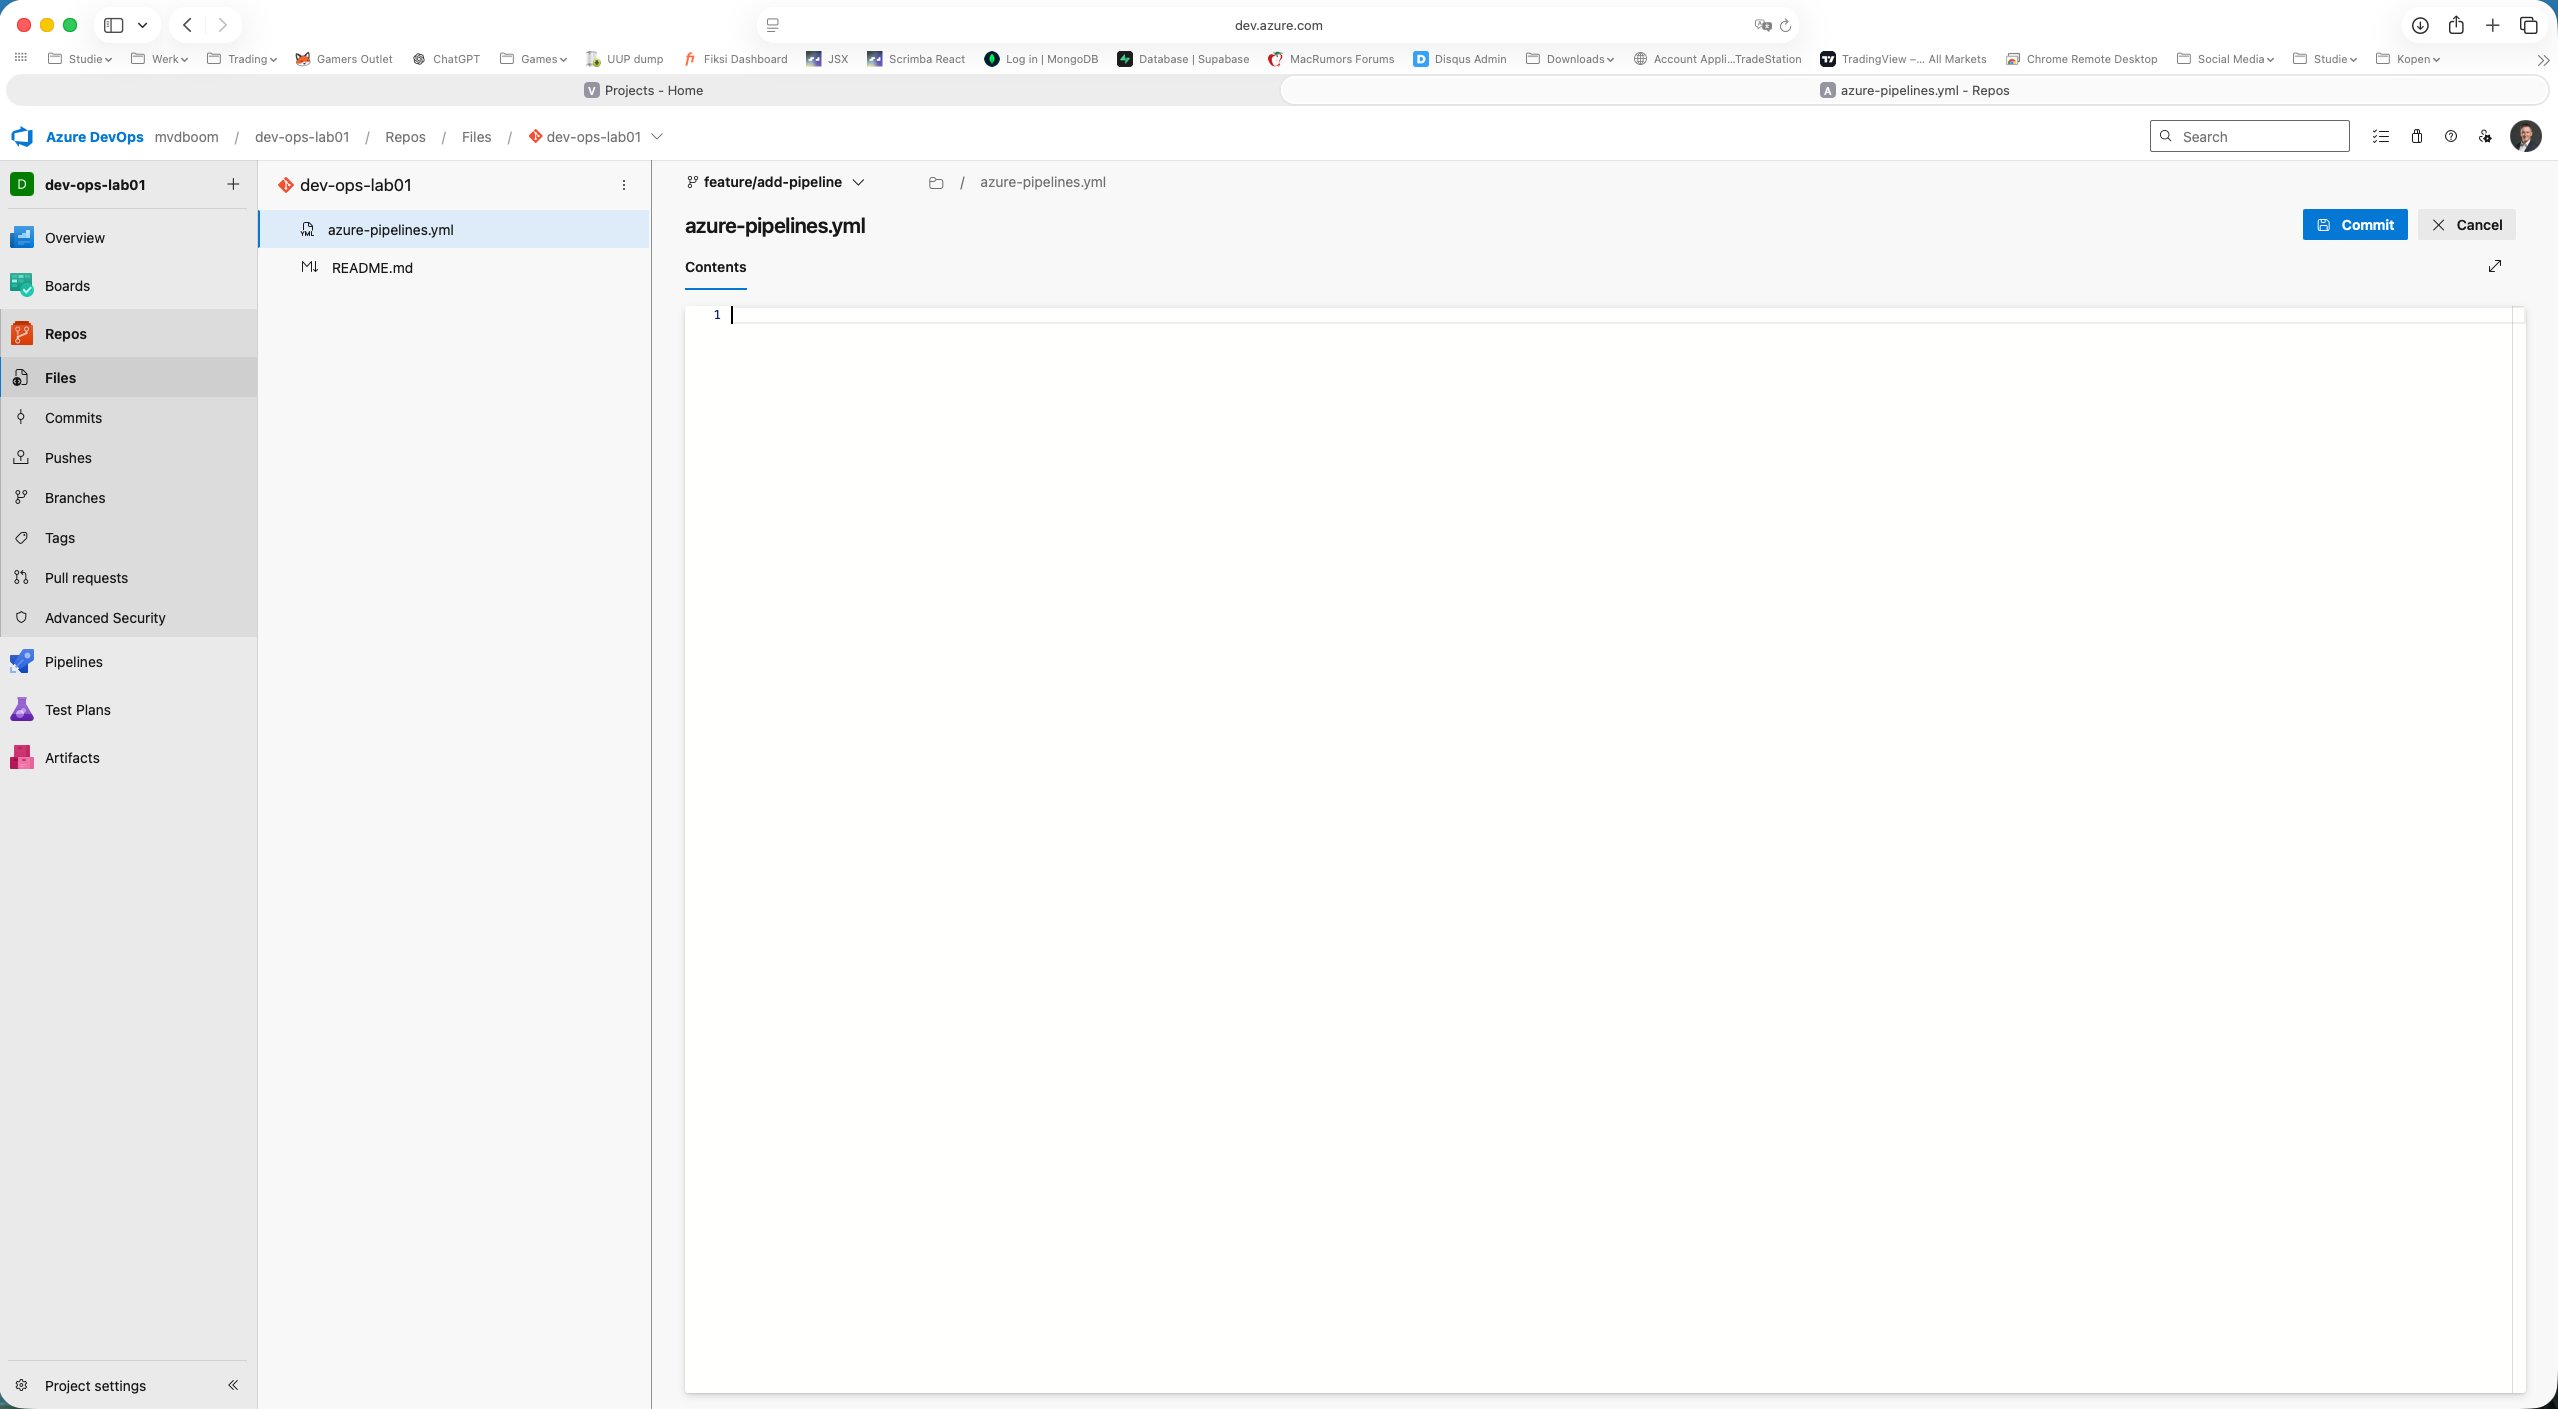
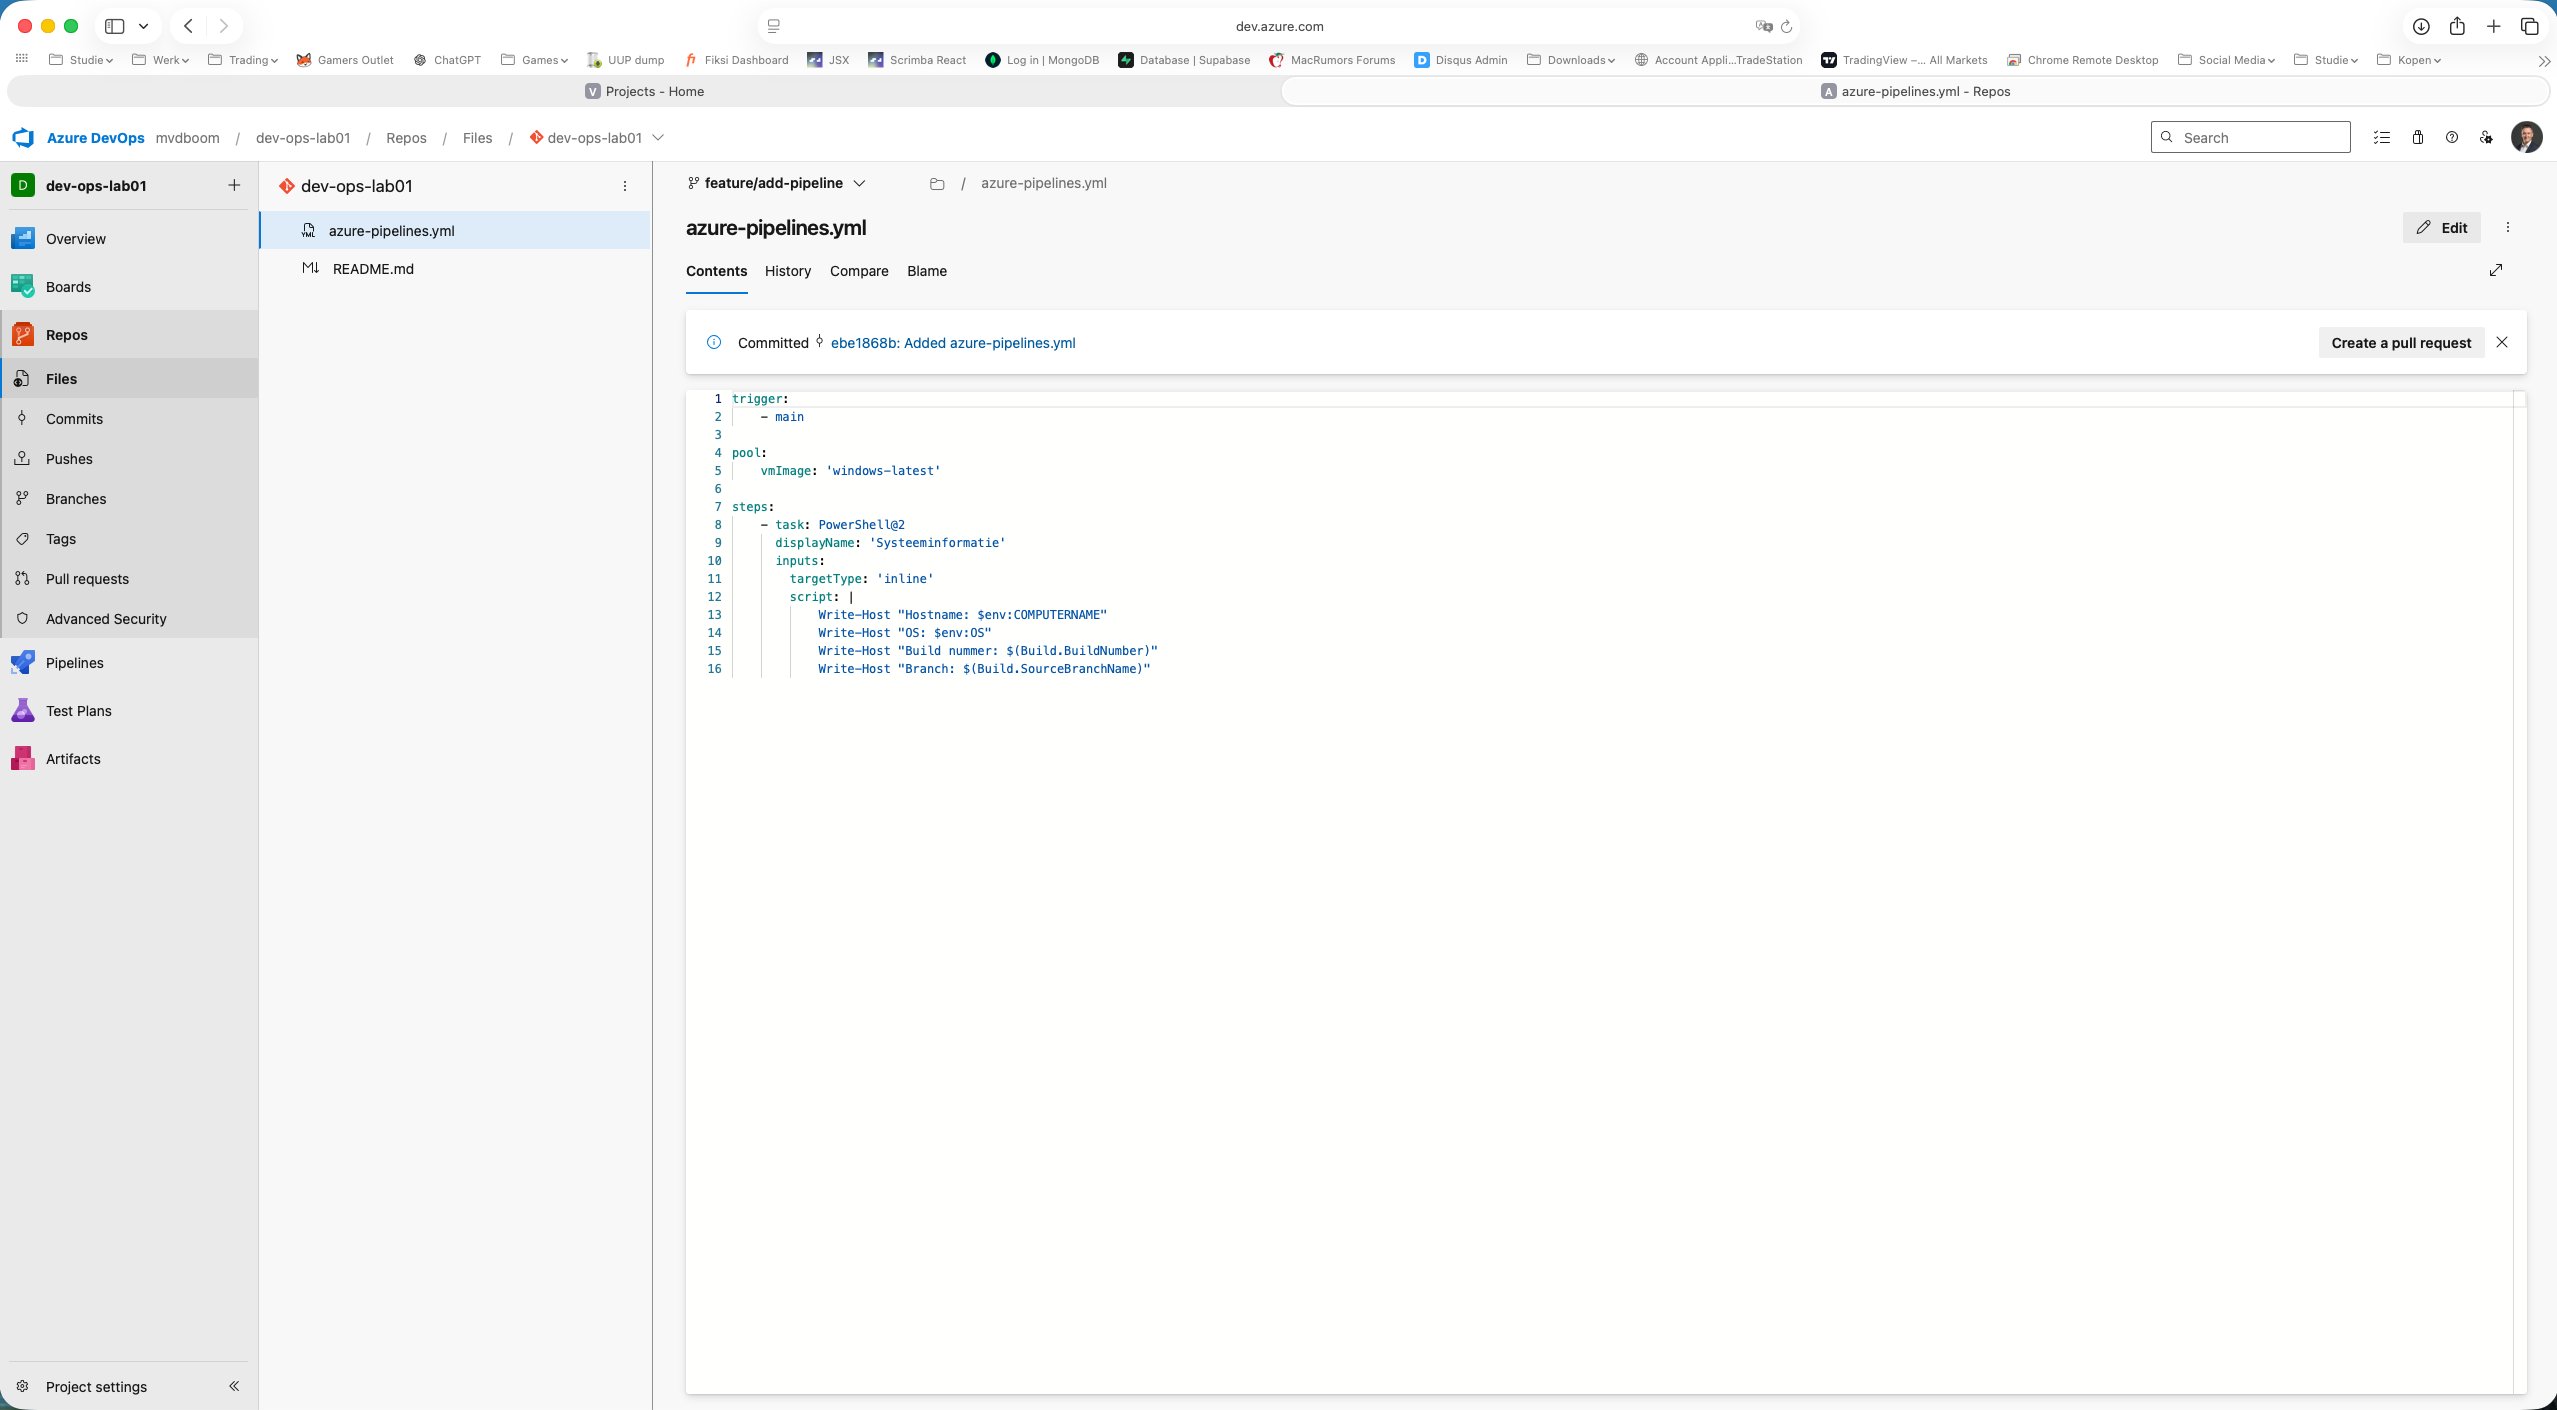
Via + New → File the file azure-pipelines.yml was created and typed directly in the browser.
 1trigger:
 2  - main
 3
 4pool:
 5  vmImage: 'windows-latest'
 6
 7steps:
 8  - task: PowerShell@2
 9    displayName: 'System information'
10    inputs:
11      targetType: 'inline'
12      script: |
13        Write-Host "Hostname: $env:COMPUTERNAME"
14        Write-Host "OS: $env:OS"
15        Write-Host "Build number: $(Build.BuildNumber)"
16        Write-Host "Branch: $(Build.SourceBranchName)"
After saving via Commit the change is on the feature branch. ADO immediately suggests at the top: “Create a pull request”.
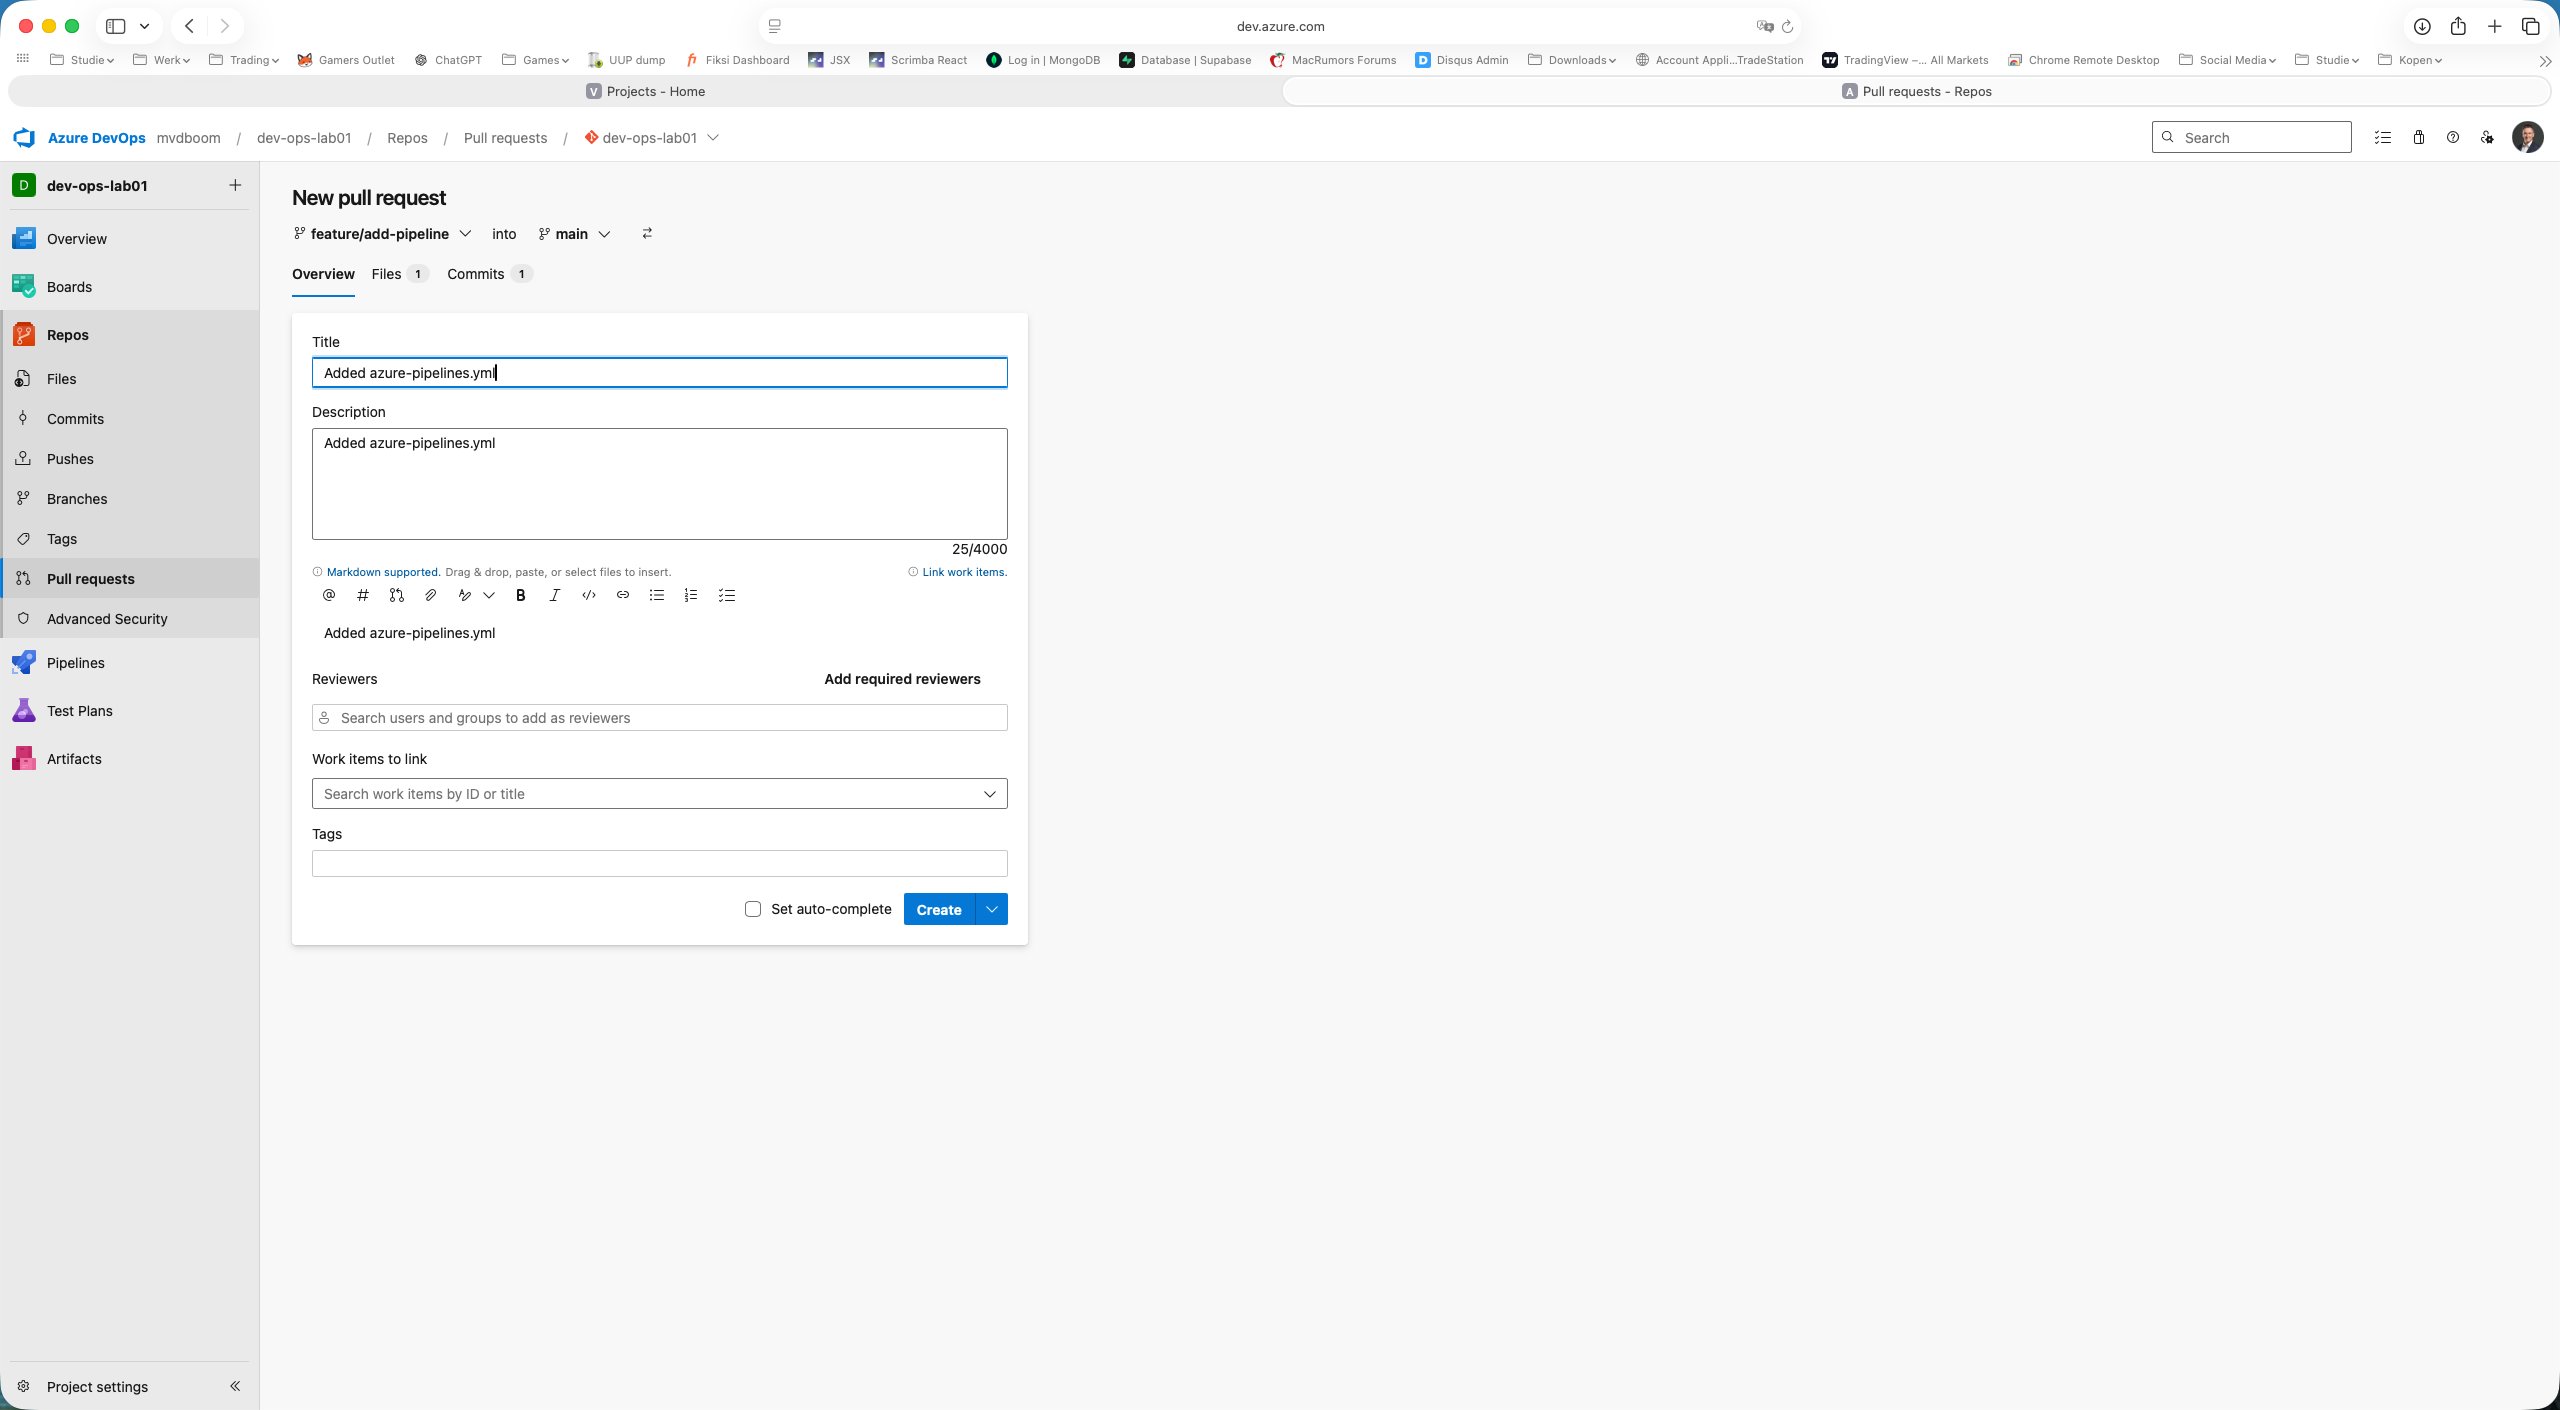
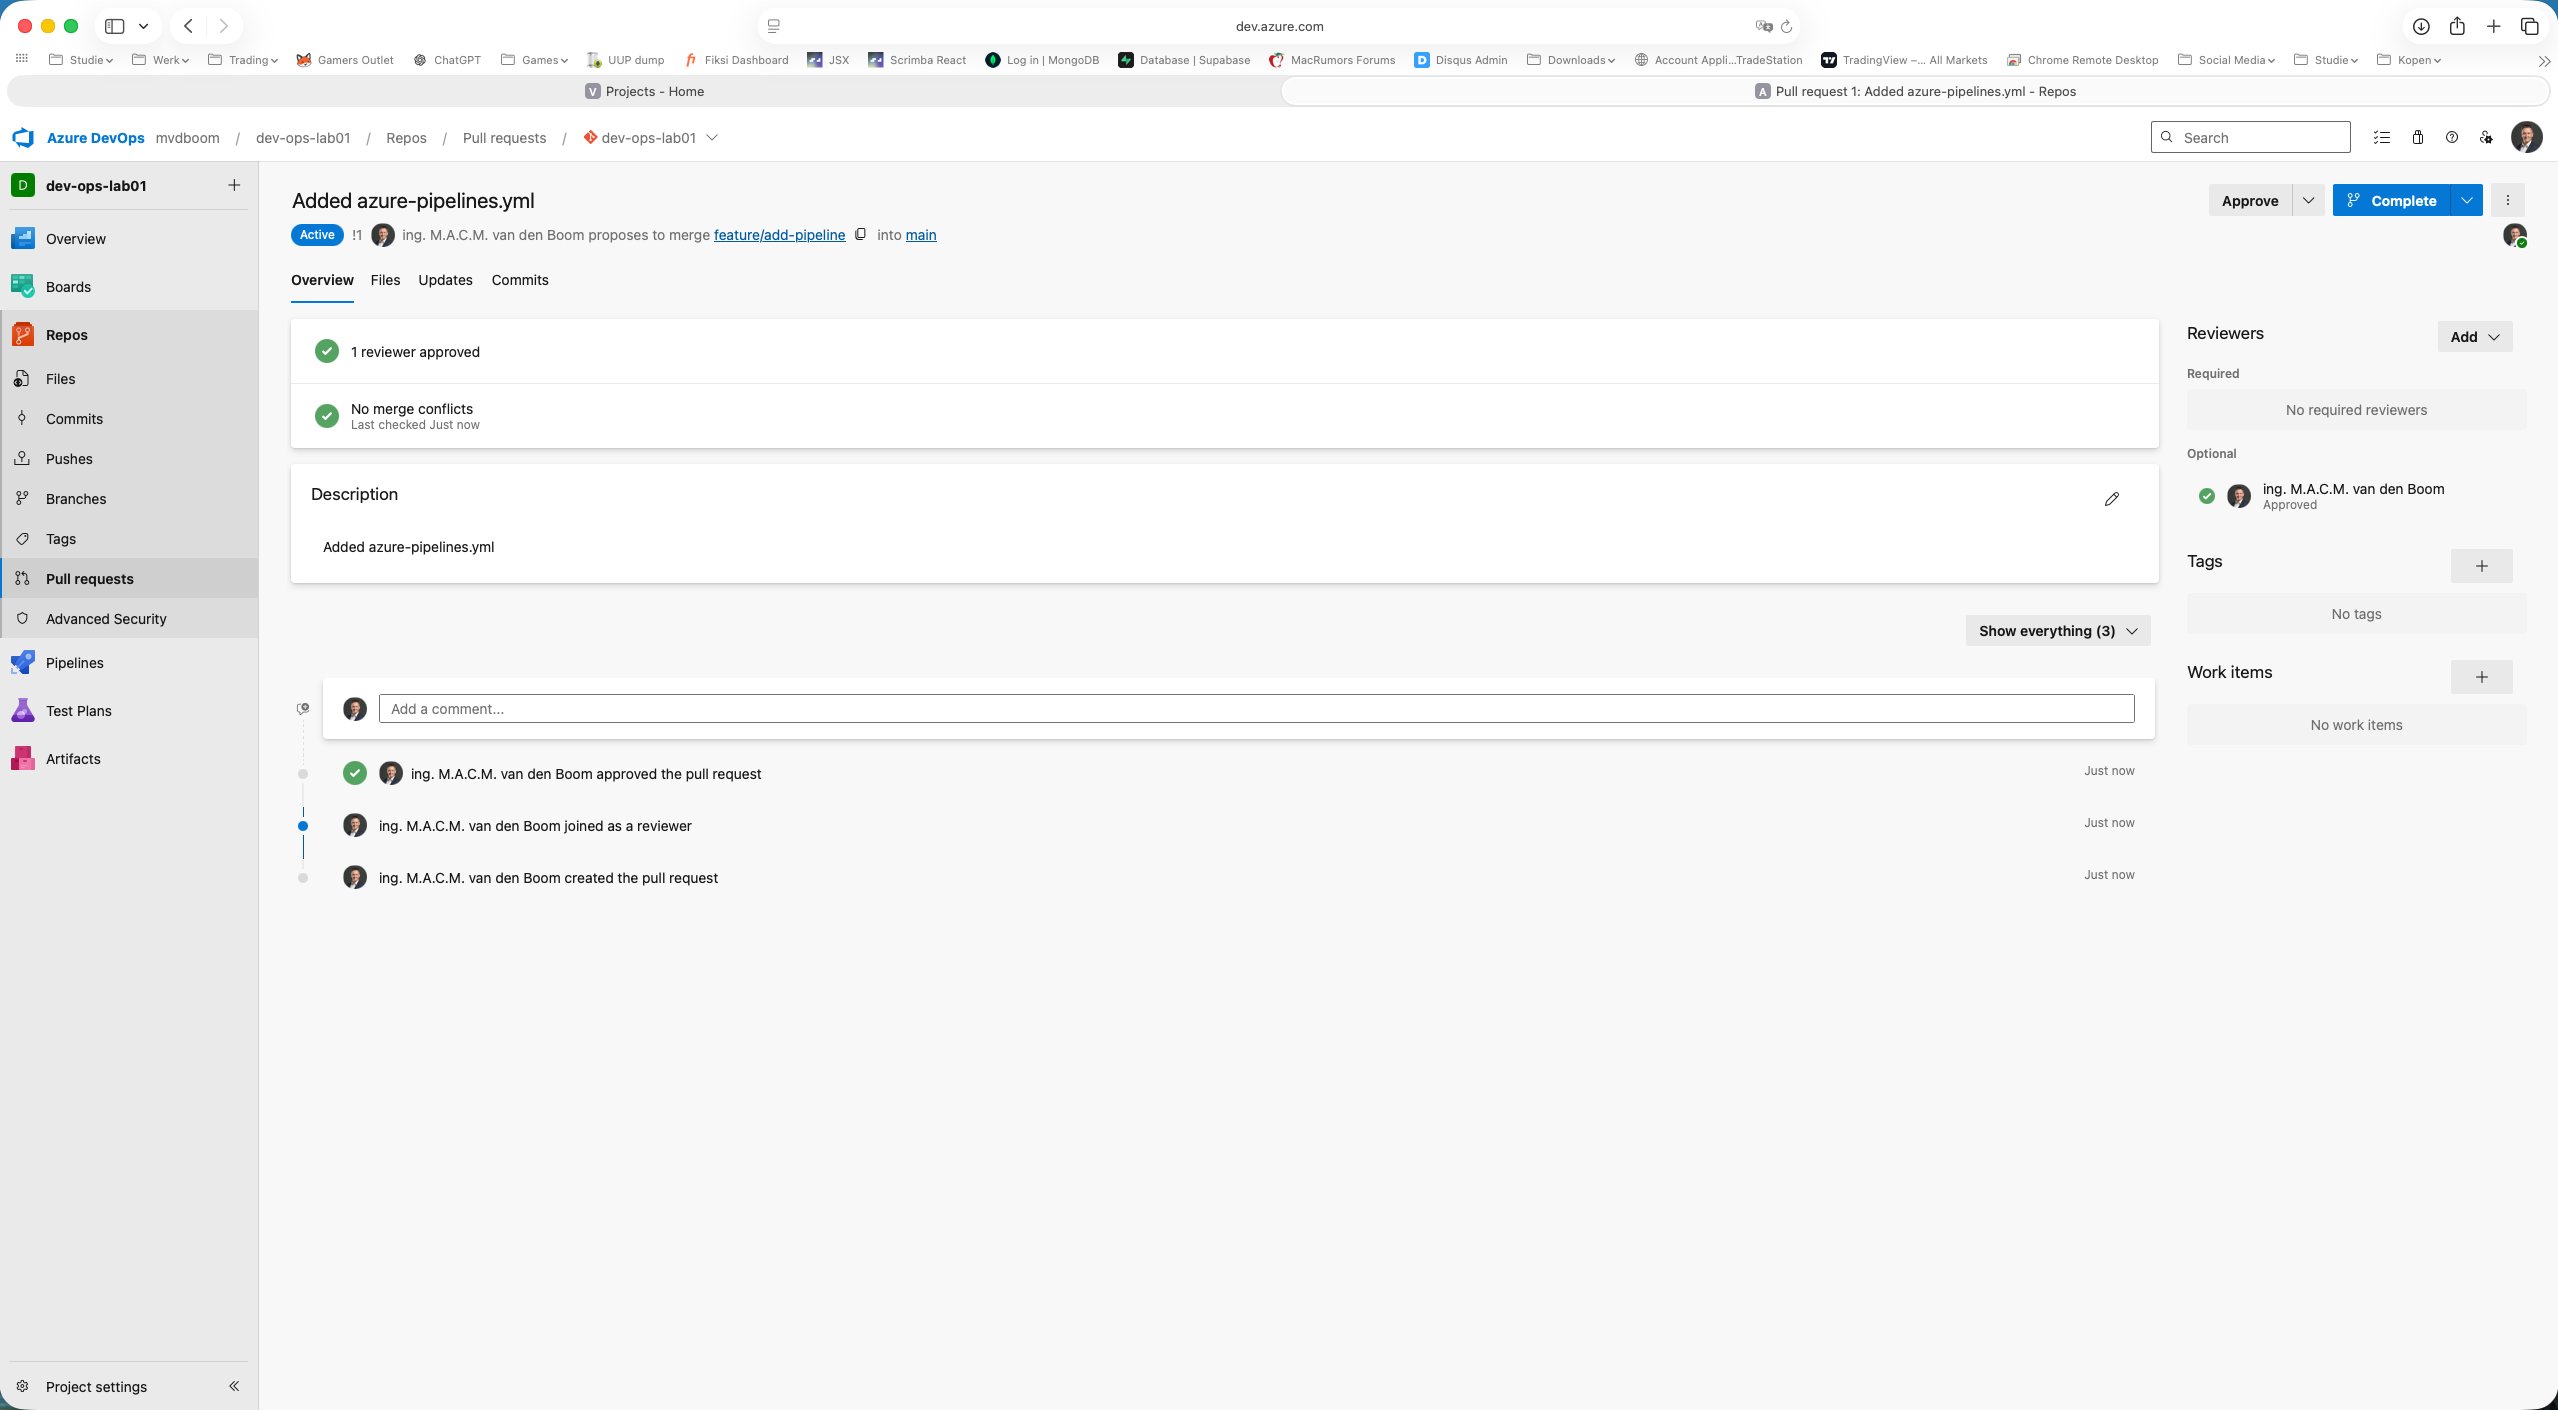
Pull Request workflow
When creating the Pull Request, ADO automatically shows the correct direction: feature/add-pipeline → main. The tabs Files 1 and Commits 1 confirm the scope of the change.
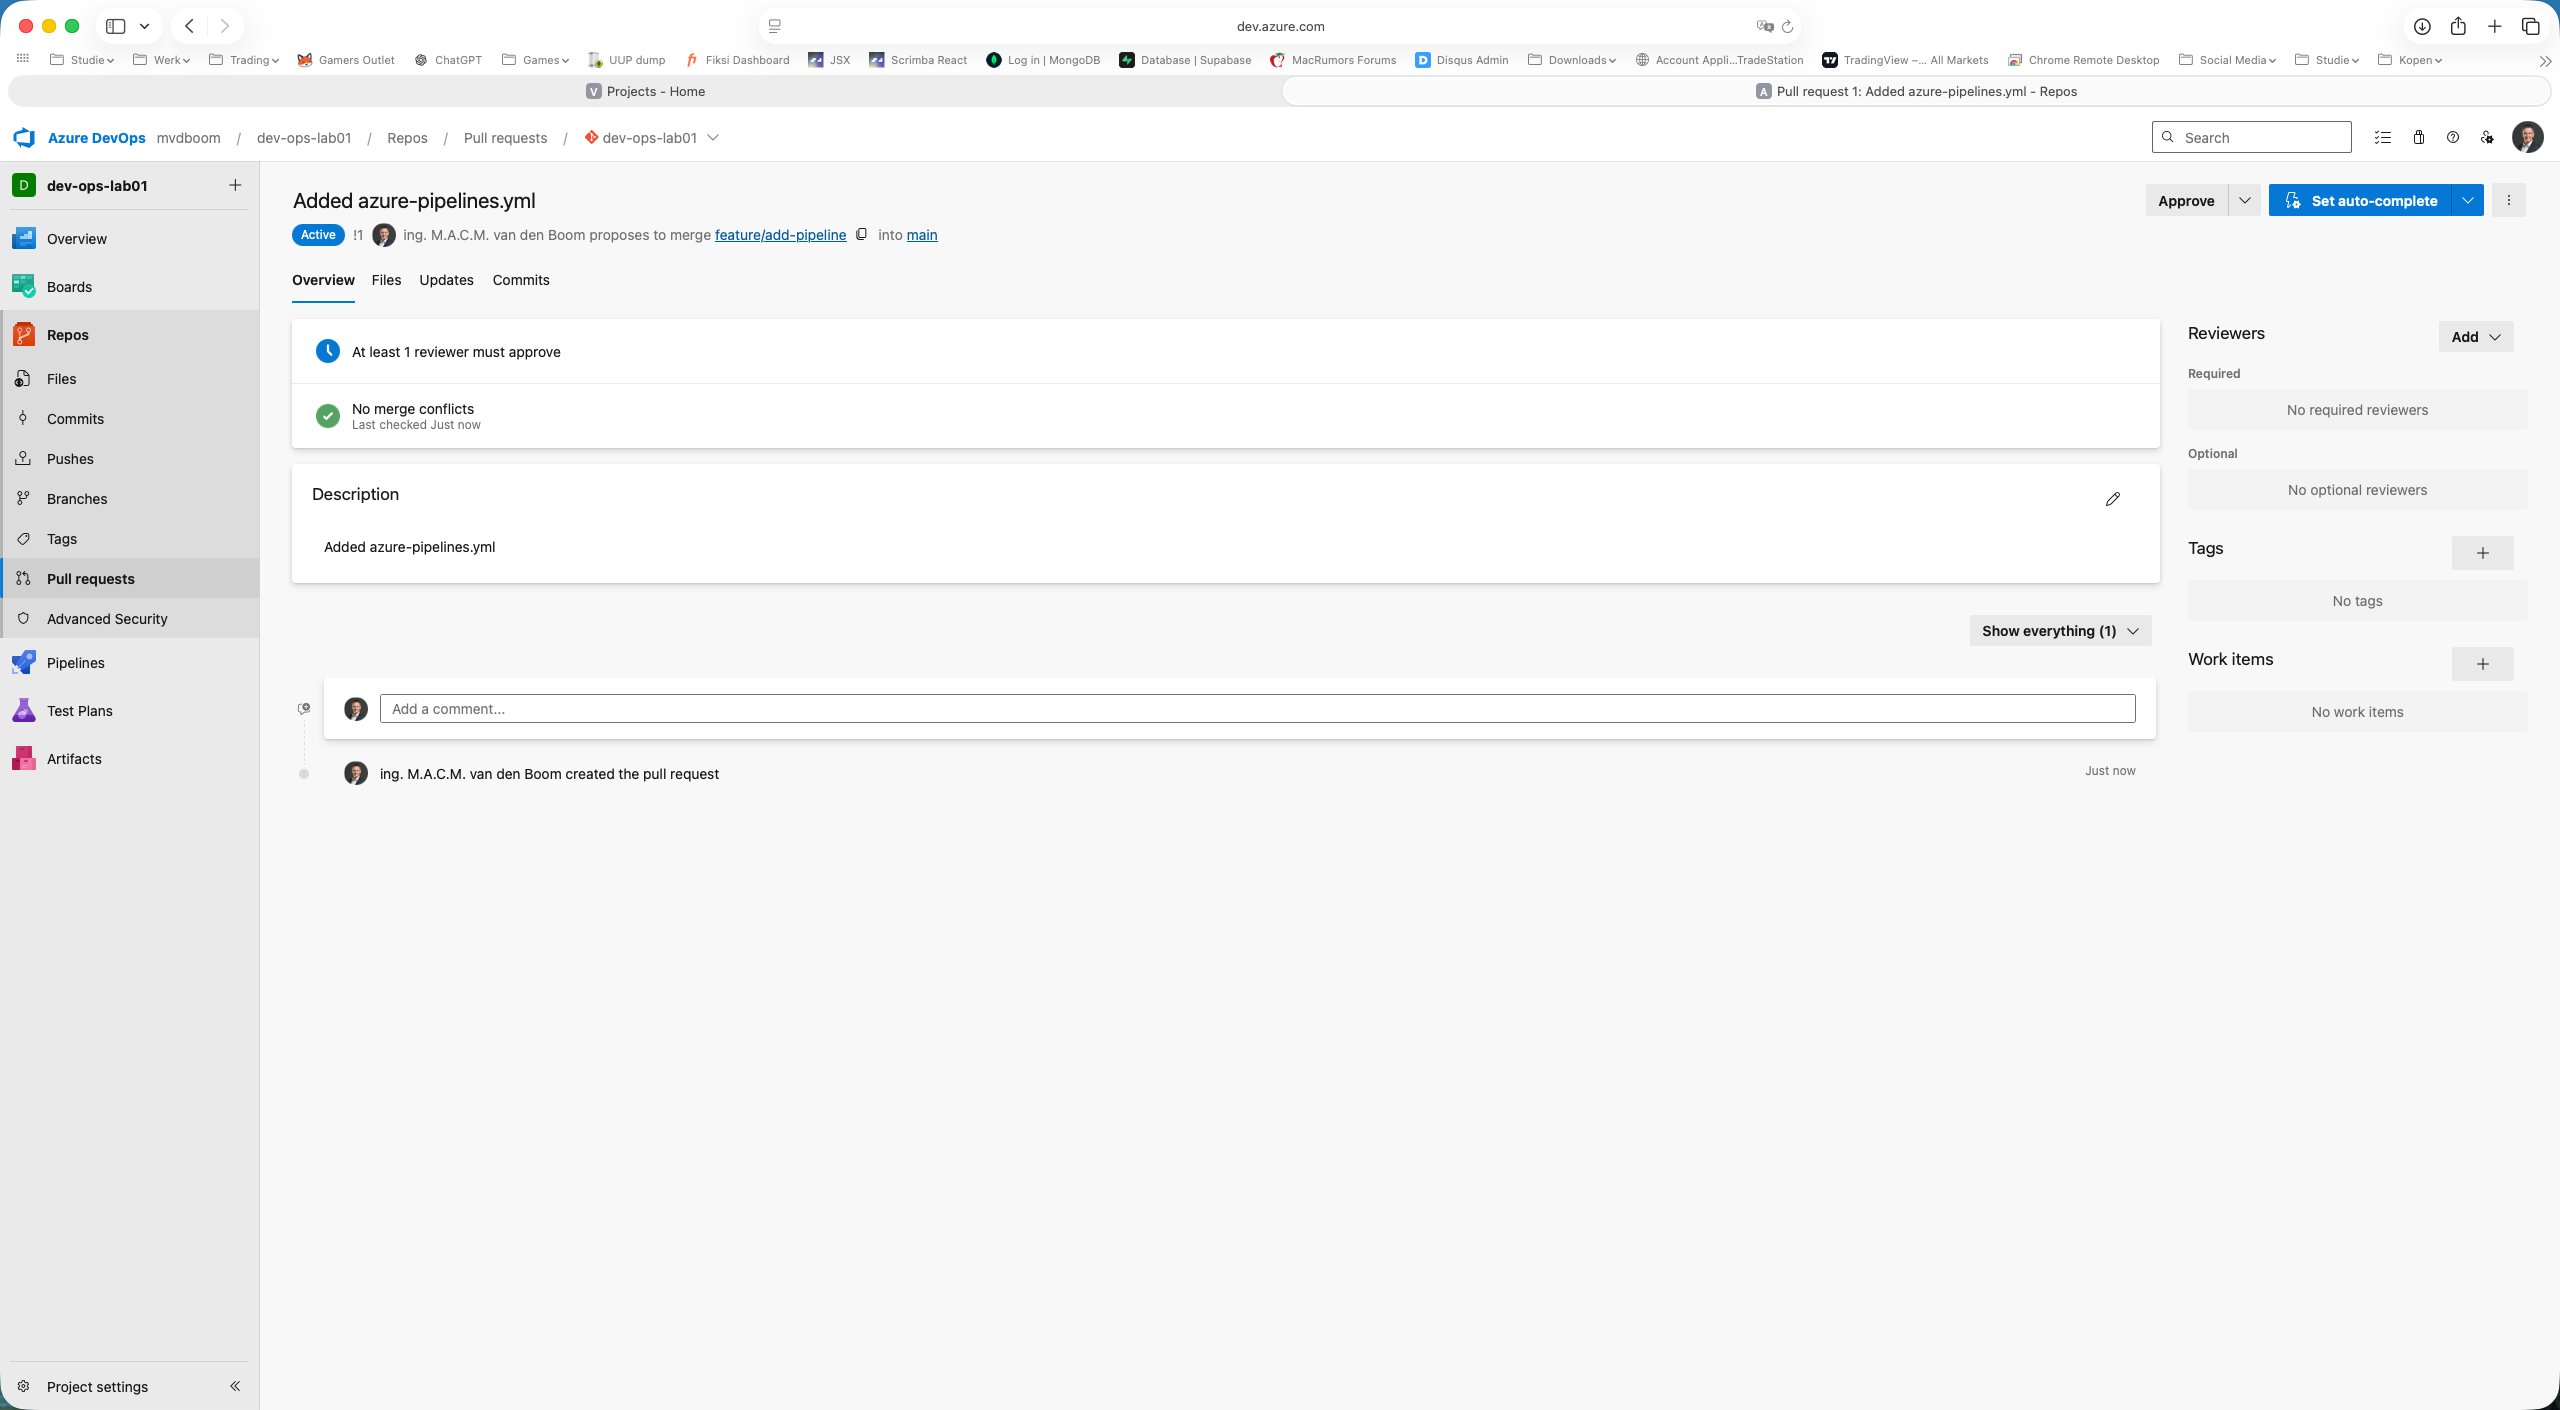
After creation the PR is in Active status. The branch policy is immediately visible as a blocking check:
- 🔵 At least 1 reviewer must approve — merge blocked
- ✅ No merge conflicts — branch is clean
Using Approve the PR is approved. Both checks turn green and the Complete button becomes active.
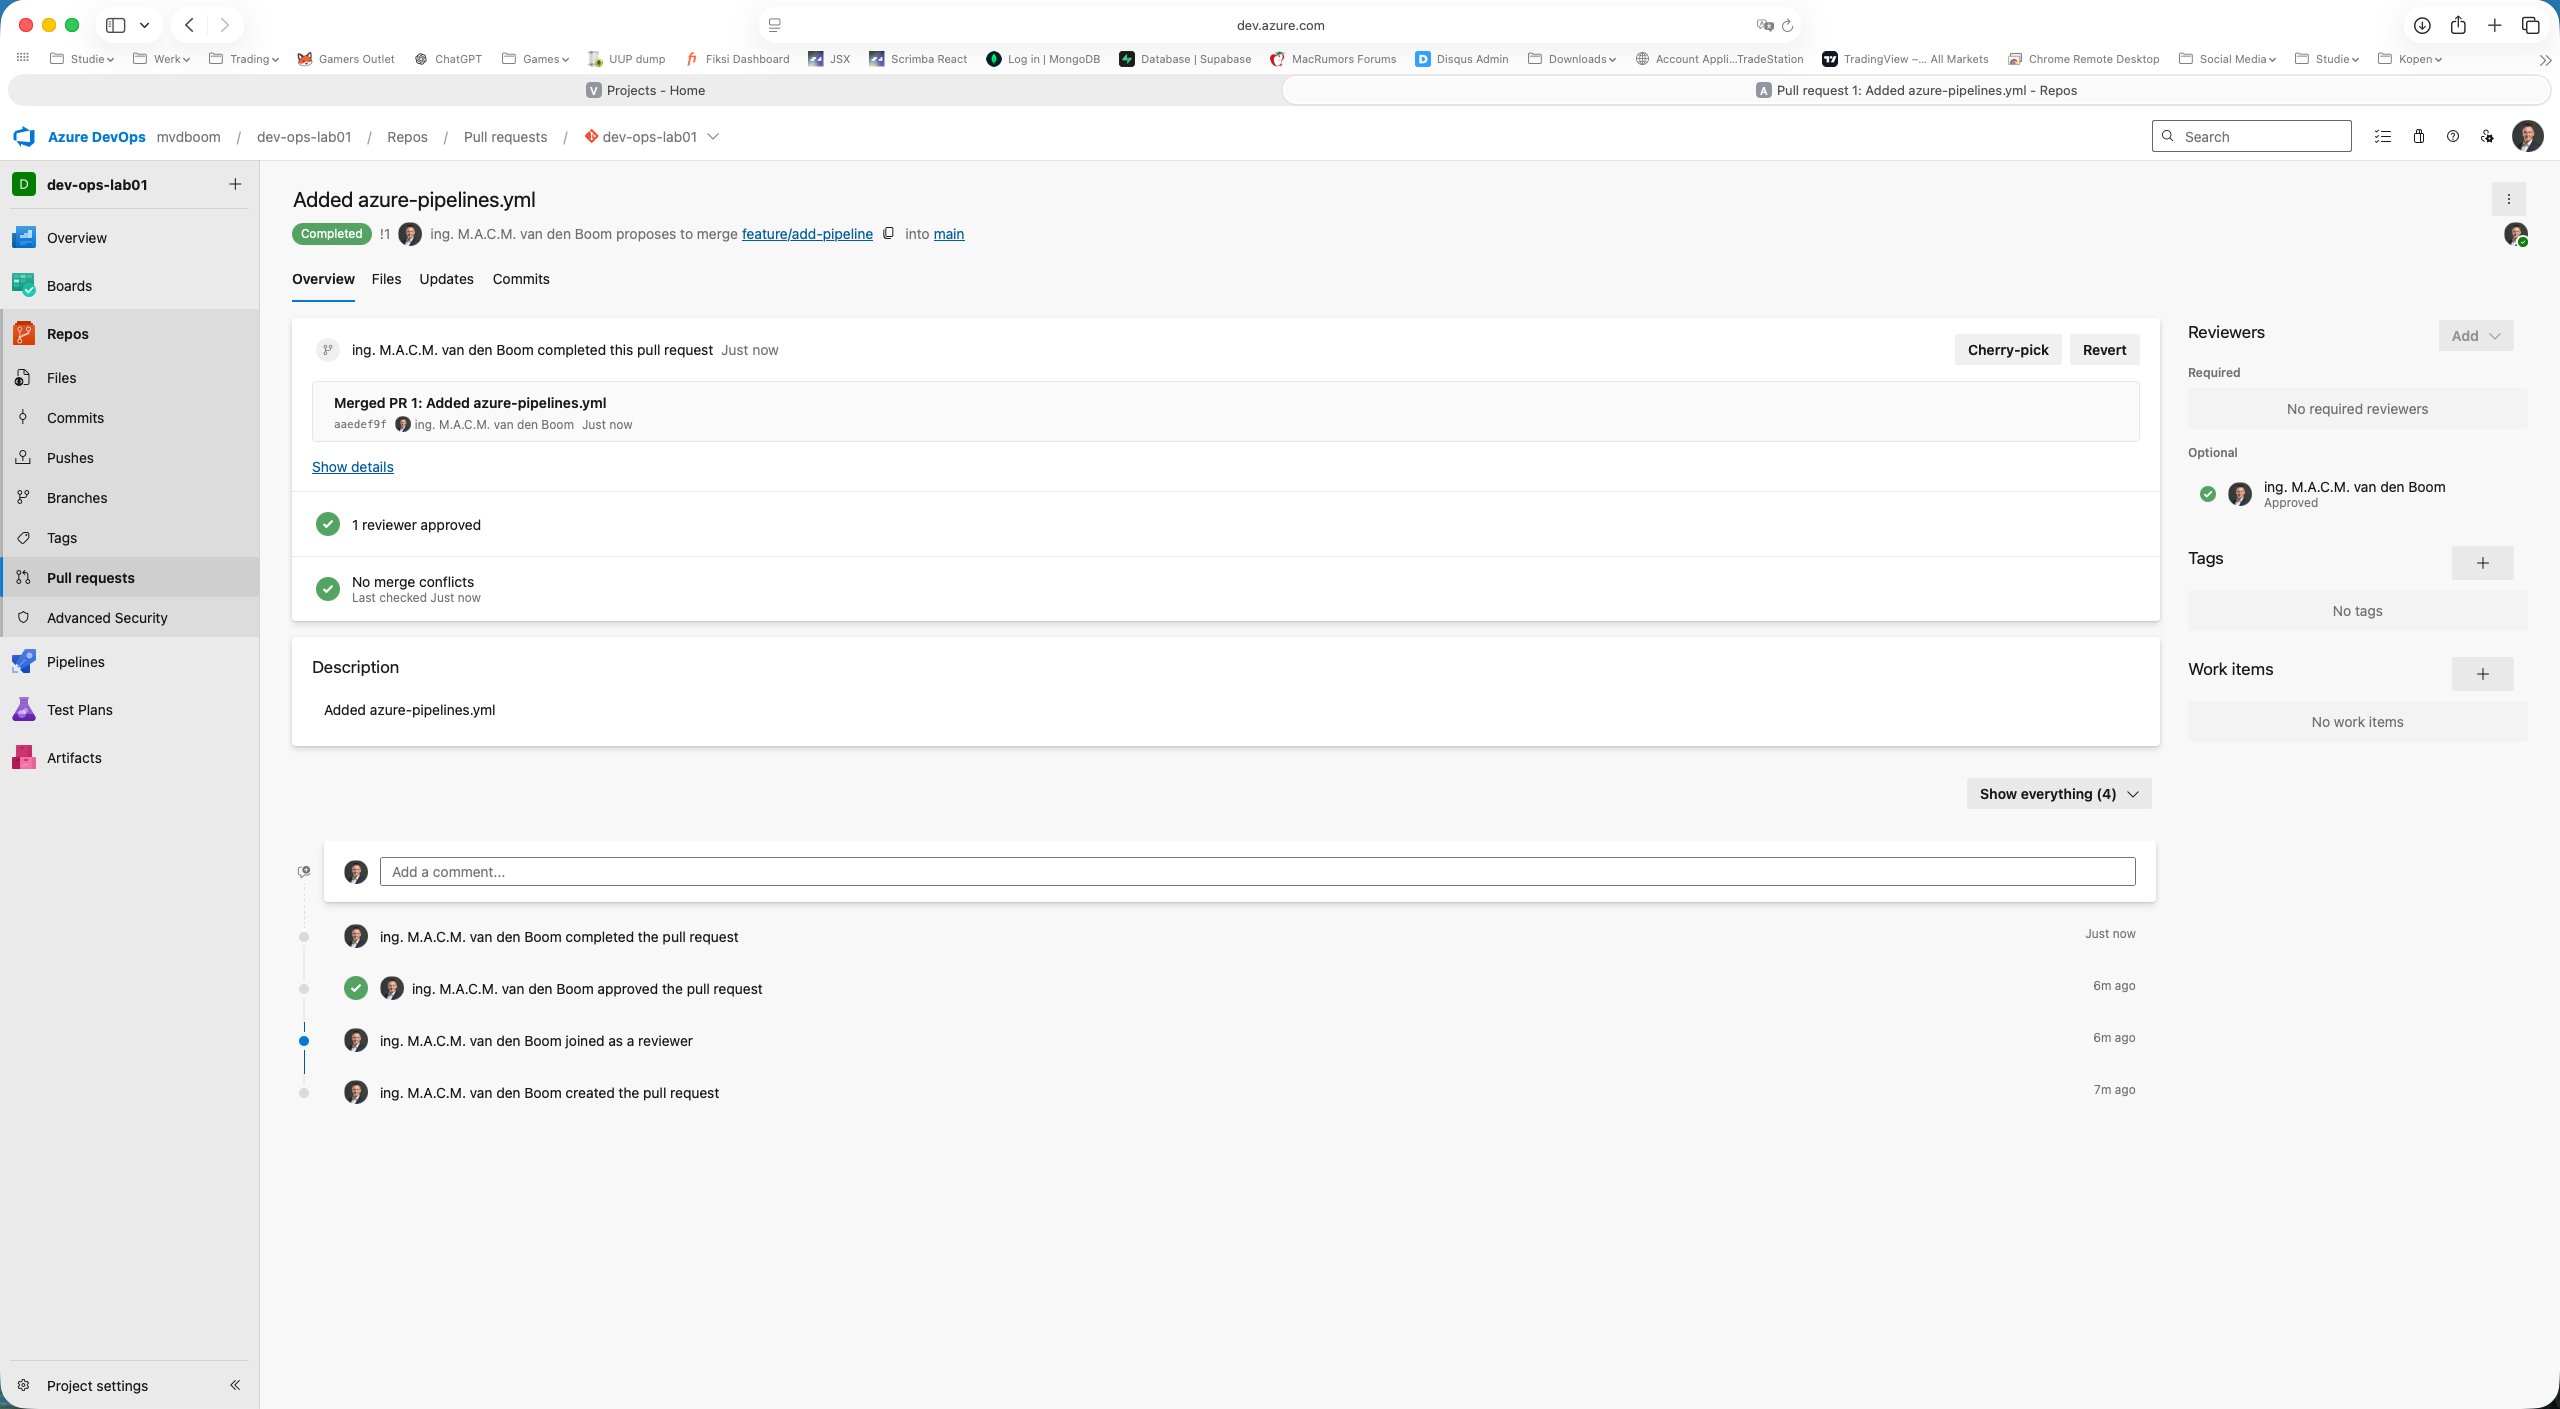
Clicking Complete shows the merge dialog with a choice of four merge types:
| Type | Behaviour |
|---|---|
| Merge (no fast forward) | Always creates a merge commit; branch history remains visible in the graph |
| Squash commit | All commits from the feature branch compressed into one commit on main |
| Rebase and fast forward | Commits replayed linearly on top of main; no merge commit |
| Semi-linear merge | Rebase first, then merge commit |
The default Merge (no fast forward) is the right choice in most environments. Delete feature/add-pipeline after merging is checked by default — good practice to keep the repository tidy.

After Complete merge the PR shows Completed status with the full audit trail: created → joined as reviewer → approved → completed.
What has been achieved
After this first part the following foundation is in place:
- A Git repository in Azure DevOps (not TFVC)
- Branch policy on
main: direct push blocked, everything via PR - Feature branch workflow:
feature/add-pipelinecreated, file committed - Full Pull Request completed: create → review → approve → merge
The file azure-pipelines.yml is now in main. In part 2 we will attach a pipeline to it and run the YAML on a Microsoft-hosted agent.
Comments