
This is part 2 of the series on building a Windows DevOps lab in Proxmox. In part 1 I described how to create the VM. In this article I prepare the VM as a reusable Proxmox template. All future VMs — the CA server, member servers and other roles — will be cloned from this template.
Important: After Sysprep, never start the VM again. If you do, the generalization is consumed and the template must be rebuilt from scratch.
Overview of steps
- Install VirtIO guest drivers
- Windows Update — fully patch the OS
- Apply performance optimizations
- Basic settings — timezone, RDP, IE Enhanced Security
- Sysprep — generalize and shut down
- Convert to template in Proxmox
Step 1 — Install VirtIO guest drivers
Windows Server 2022 requires VirtIO drivers to function correctly on Proxmox. They cover the storage controller, network adapter, memory ballooning, display and other paravirtualized devices.
Open File Explorer in the VM and navigate to the VirtIO CD drive (D: or E:). Scroll down in the file list:
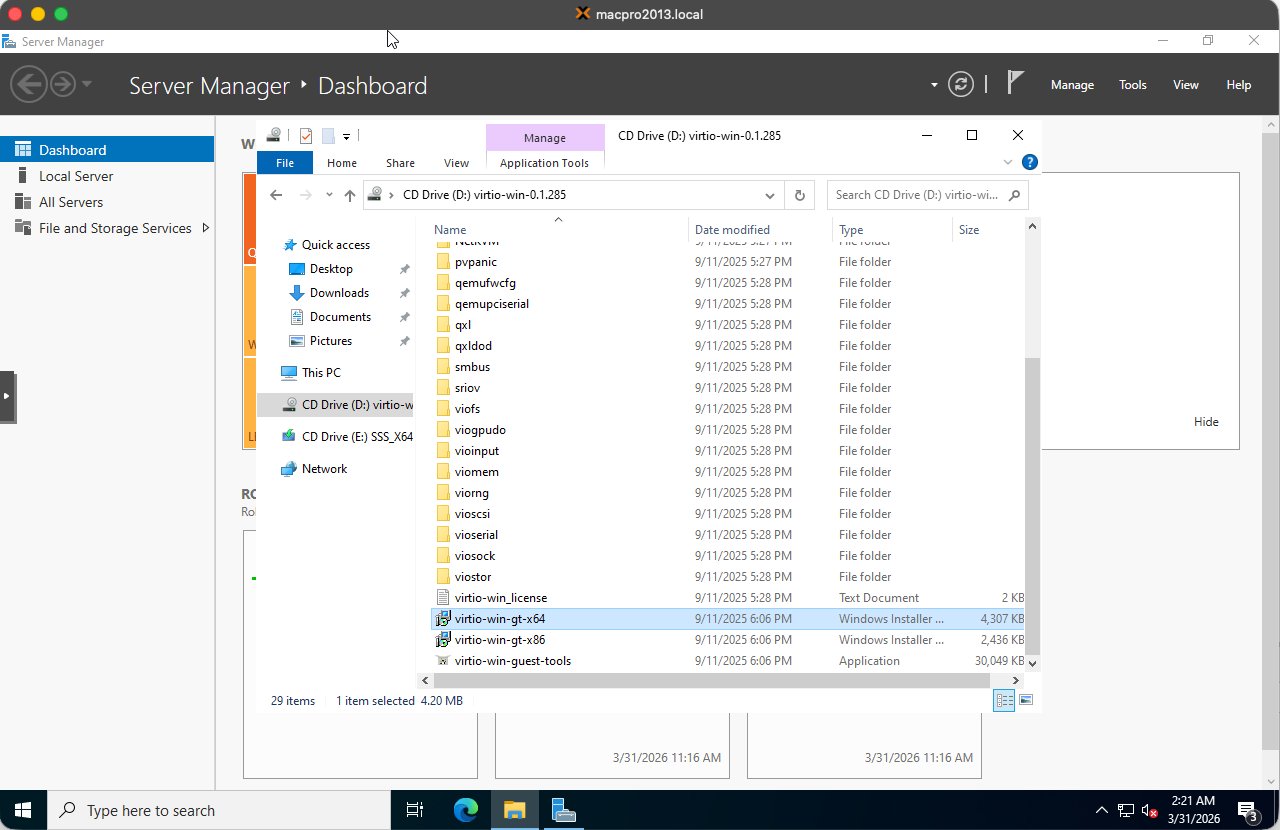
Double-click virtio-win-guest-tools.exe (the Application, approximately 30MB). This installs all required drivers in one go. Accept the default settings and wait for the installation to complete.
Tip: Always use
virtio-win-guest-tools.exeinstead of individual drivers from the subfolders. It is faster and ensures nothing is missed.
Step 2 — Windows Update
Fully patching the OS before Sysprep ensures that every cloned VM starts already up to date without having to run updates individually.
2.1 Starting Windows Update
Open Settings → Update & Security → Windows Update and click Check for updates. Available updates will begin to download and install:
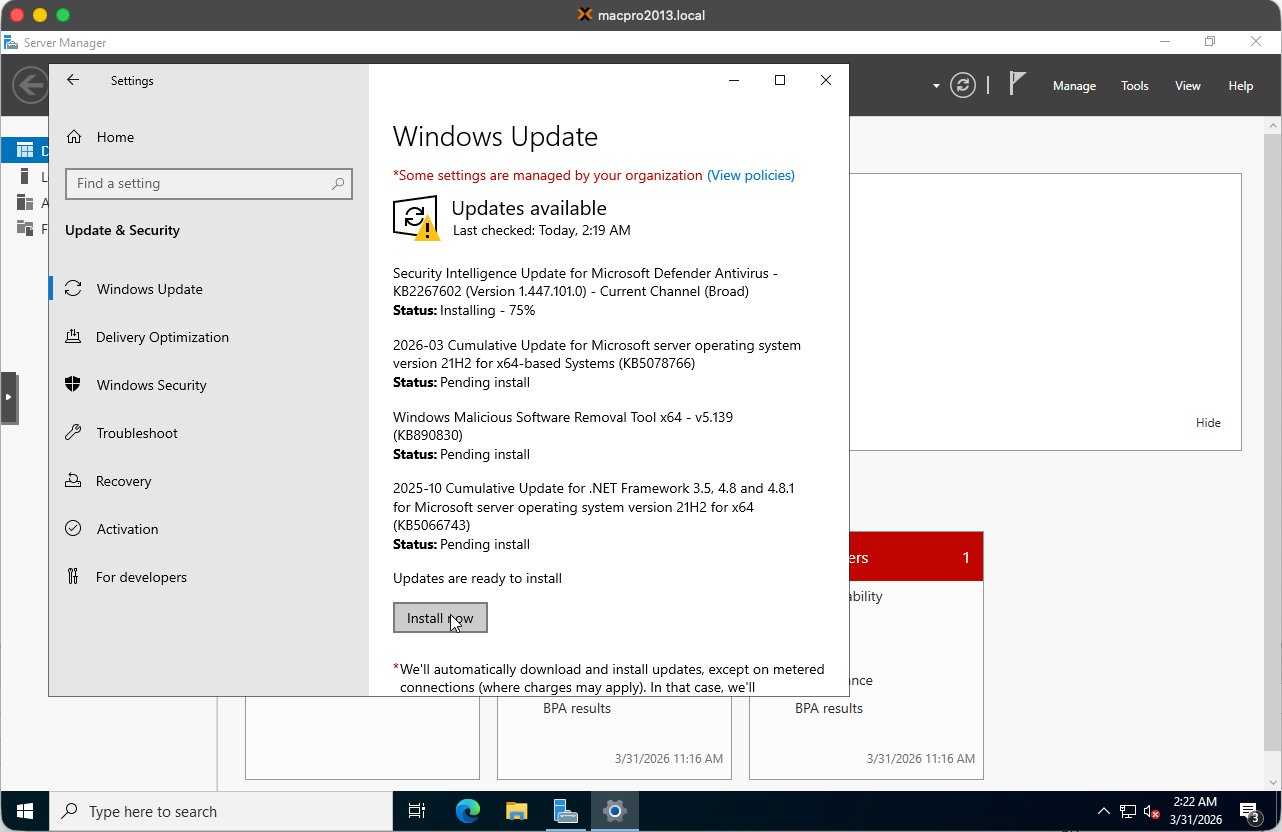
2.2 Known issue — Windows Update GUI freezes
The Windows Update GUI in Server 2022 VMs is unreliable. Buttons regularly stop responding and downloads appear to hang. This is a known issue in VM environments.
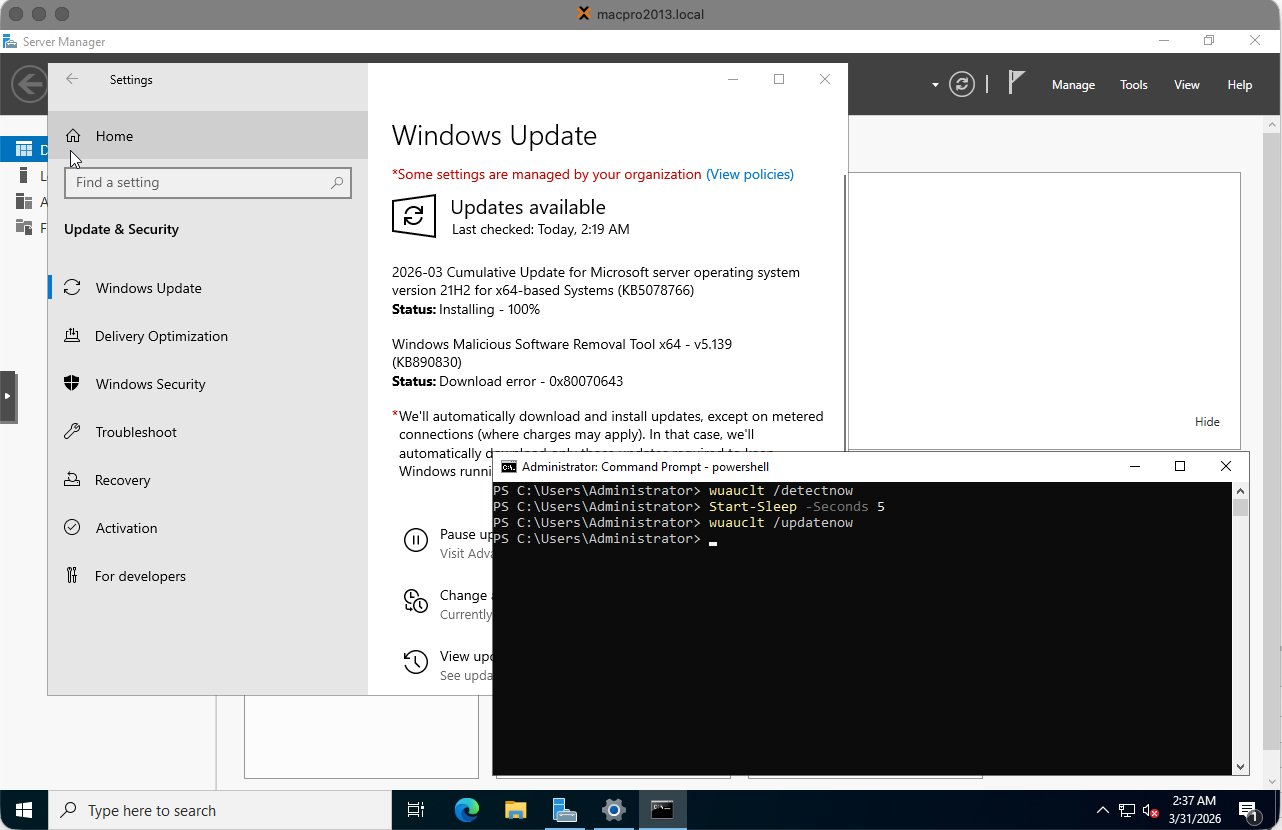
Note: When the Windows Update GUI freezes, do not try to resolve this via the GUI. Use the PowerShell method below instead.
2.3 Recommended method — PSWindowsUpdate via PowerShell
Open PowerShell as Administrator (right-click Start → Windows PowerShell (Admin)):
Step 1 — Install the PSWindowsUpdate module:
1Install-Module PSWindowsUpdate -Force -Confirm:$false
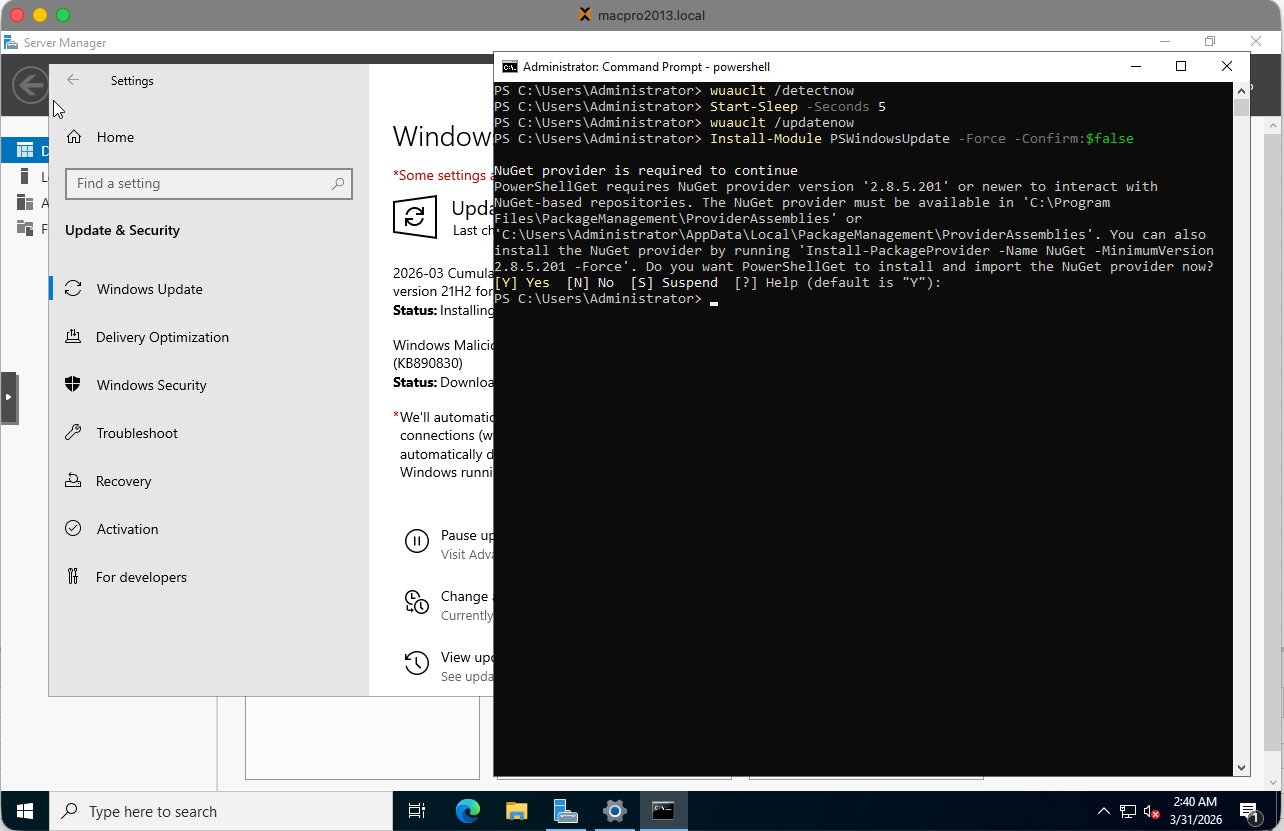
Type Y and press Enter when prompted to install the NuGet provider or trust PSGallery.
Step 2 — Import the module and install all updates:
1Import-Module PSWindowsUpdate
2Get-WindowsUpdate -Install -AcceptAll -AutoReboot
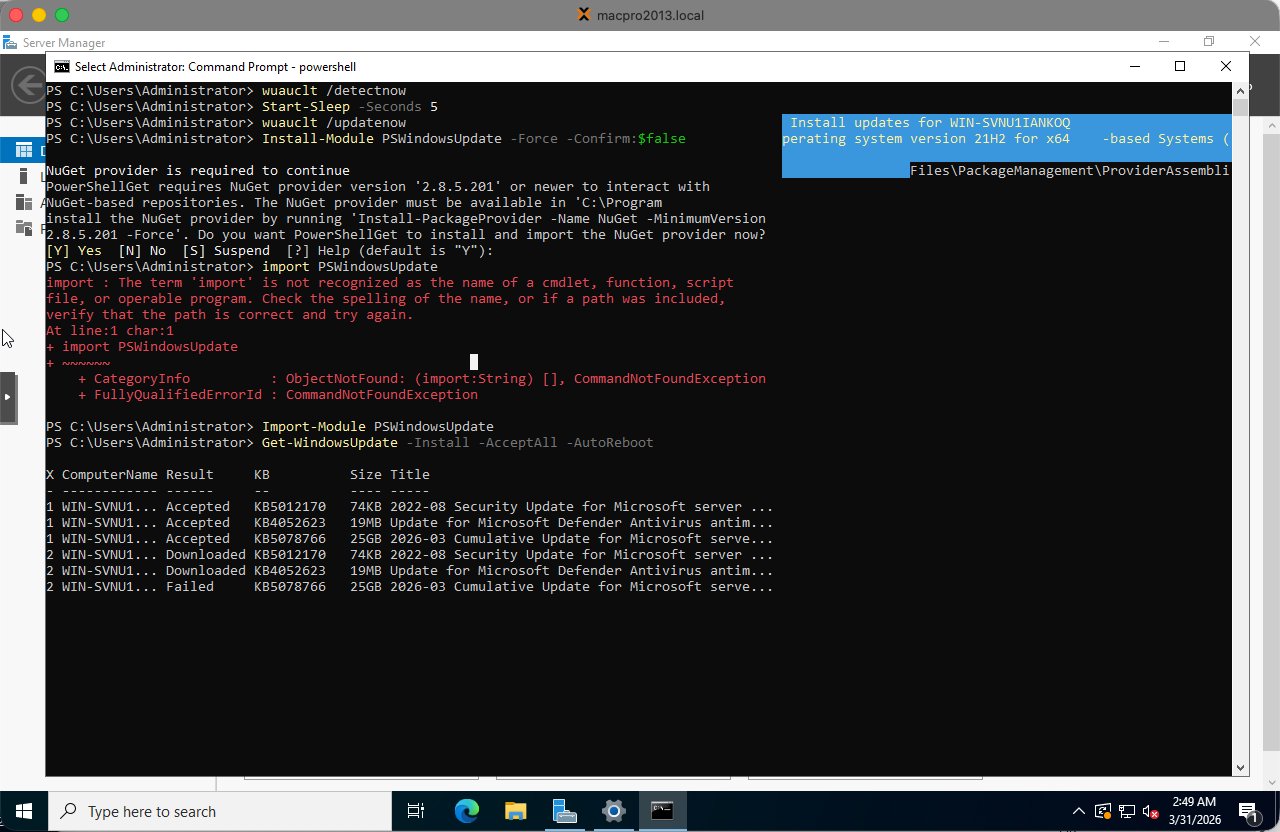
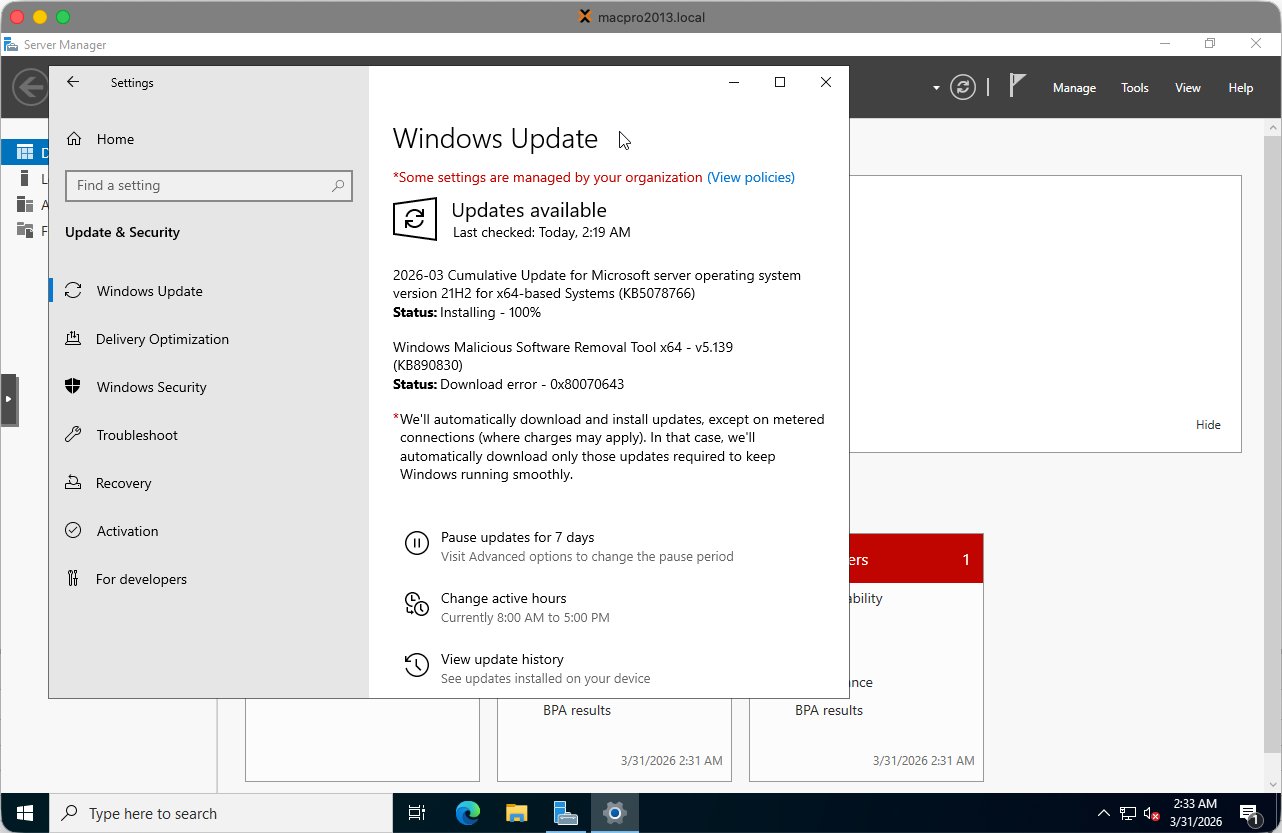
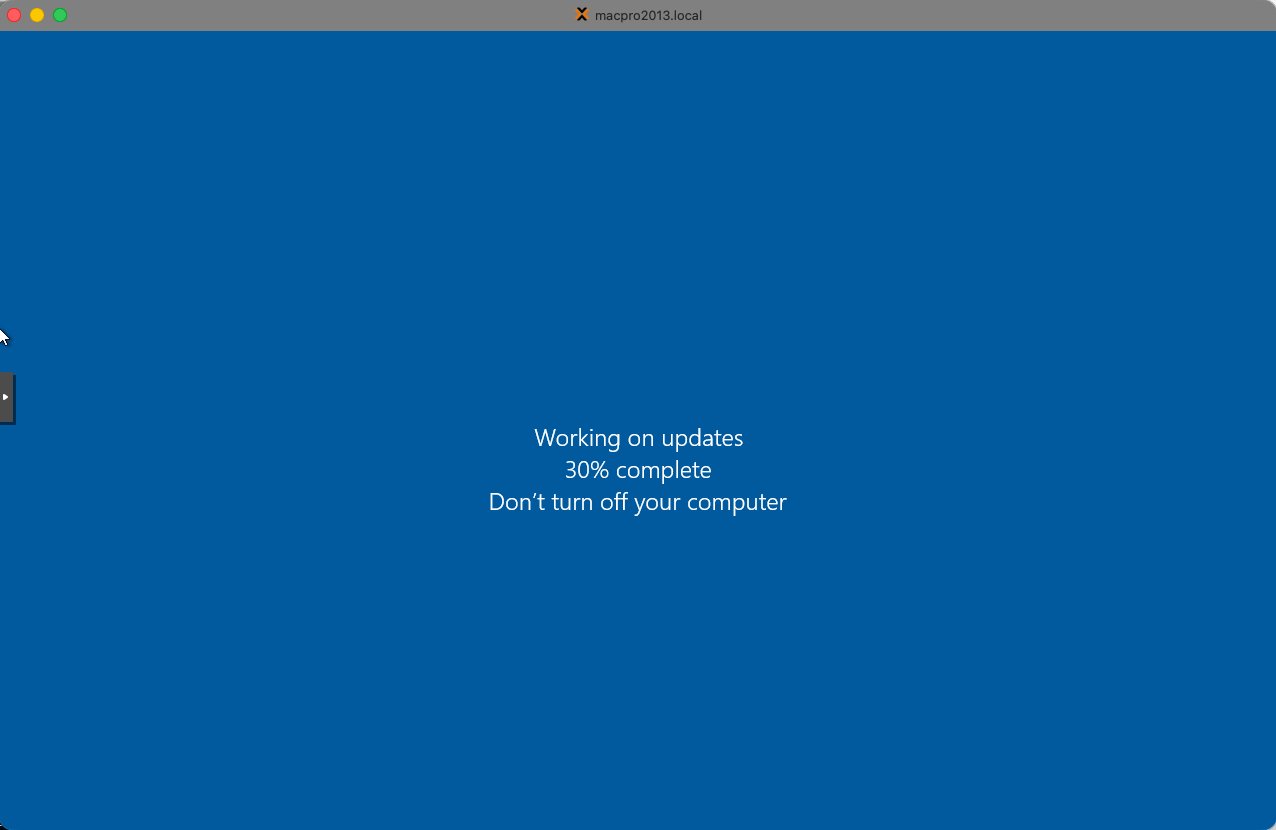
The VM will restart automatically if required. Updates are applied during the restart:
After the restart, log back in and run the command again until there are no more updates:
1Get-WindowsUpdate -Install -AcceptAll -AutoReboot
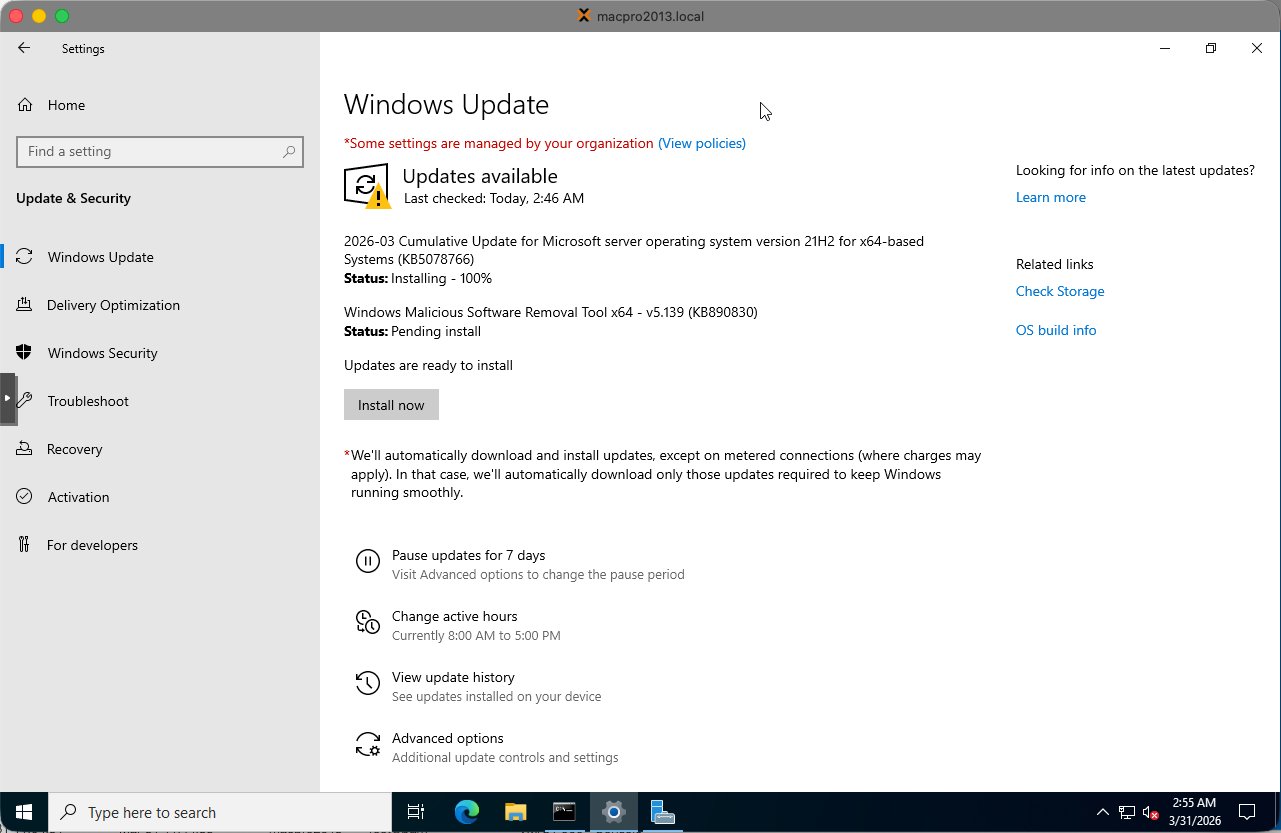
Run Windows Update a second time to confirm nothing was missed. Some updates only become available after others have been installed:

Note: Some updates (such as KB890830 — Windows Malicious Software Removal Tool) sometimes fail persistently in VM environments. This is known and harmless — it has no impact on server functionality and can safely be skipped.
Step 3 — Performance optimizations
Apply these adjustments in PowerShell (Admin) before Sysprep so that every cloned VM automatically benefits from them:
 1# Set high performance power plan
 2powercfg /setactive 8c5e7fda-e8bf-4a96-9a85-a6e23a8c635c
 3
 4# Disable Windows Search indexing — not needed on servers
 5Set-Service WSearch -StartupType Disabled
 6Stop-Service WSearch -Force
 7
 8# Disable SysMain / Superfetch — not useful in VMs
 9Set-Service SysMain -StartupType Disabled
10Stop-Service SysMain -Force
Tip: Also change the VM Display from Default to VirtIO-GPU in the Proxmox Hardware tab. This significantly improves console responsiveness.
Step 4 — Basic settings
Run these commands in PowerShell (Admin):
 1# Set timezone to Amsterdam
 2Set-TimeZone -Name "W. Europe Standard Time"
 3
 4# Enable RDP
 5Set-ItemProperty -Path 'HKLM:\System\CurrentControlSet\Control\Terminal Server' `
 6  -Name "fDenyTSConnections" -Value 0
 7Enable-NetFirewallRule -DisplayGroup "Remote Desktop"
 8
 9# Disable NLA for easier lab access
10Set-ItemProperty -Path 'HKLM:\System\CurrentControlSet\Control\Terminal Server\WinStations\RDP-Tcp' `
11  -Name "UserAuthentication" -Value 0
12
13# Disable IE Enhanced Security Configuration
14$AdminKey = "HKLM:\SOFTWARE\Microsoft\Active Setup\Installed Components\{A509B1A7-37EF-4b3f-8CFC-4F3A74704073}"
15$UserKey  = "HKLM:\SOFTWARE\Microsoft\Active Setup\Installed Components\{A509B1A8-37EF-4b3f-8CFC-4F3A74704073}"
16Set-ItemProperty -Path $AdminKey -Name "IsInstalled" -Value 0
17Set-ItemProperty -Path $UserKey  -Name "IsInstalled" -Value 0
Note: After enabling RDP via the registry, a restart is required before port 3389 starts listening. Run
Restart-Computerand wait for the VM to come back.
Verify RDP connection
After the restart, verify RDP from the Proxmox host shell:
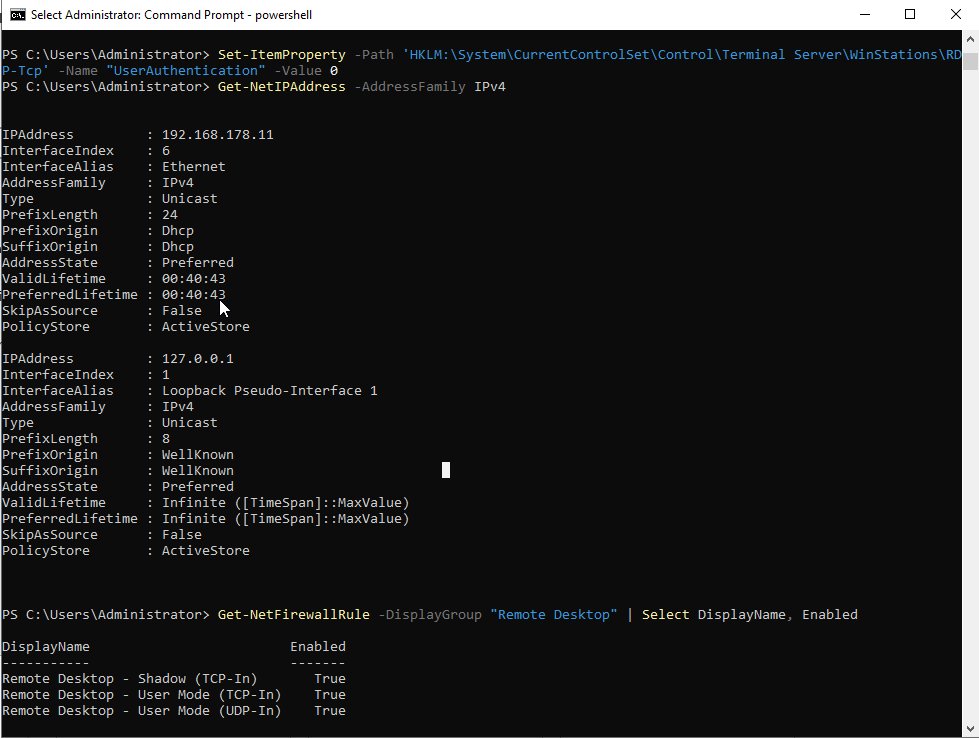
The screenshot shows:
ping 192.168.178.11— responds with 0% packet loss, network is workingnc -zv 192.168.178.11 3389— port open, RDP is listeningGet-NetFirewallRule— all Remote Desktop firewall rules showEnabled: True
Tip: If nc shows “Connection refused” after enabling RDP, a restart is required. RDP only starts listening after a restart.
Step 5 — Sysprep
Sysprep generalizes the installation by removing all machine-specific identifiers, including the Security Identifier (SID), computer name and hardware references. This is essential — without Sysprep every cloned VM would share the same SID, causing Active Directory conflicts.
This is the point of no return. After Sysprep the VM shuts itself down. Never start the VM again after this. Go directly to Proxmox and convert it to a template.
Run in PowerShell (Admin) or the Command Prompt:
1C:\Windows\System32\Sysprep\sysprep.exe /oobe /generalize /shutdown
| Flag | Purpose |
|---|---|
| /generalize | Removes unique system identifiers — SID, computer name, hardware IDs |
| /oobe | Configures Windows to run first-time setup on next boot |
| /shutdown | Automatically shuts down the VM after completion |
Sysprep takes approximately 2–5 minutes. The VM shuts itself down when done.
Step 6 — Convert to template in Proxmox
Once the VM has shut itself down after Sysprep, in the Proxmox left panel:
- Right-click the VM (e.g. 900 WS2022-TEMPLATE-BASE)
- Select Convert to template
- Confirm the action
The VM icon changes to a template icon (stacked pages). The VM can no longer be started directly — only cloned.
Cloning the template for new VMs
To create a new VM from the template:
- Right-click the template in the Proxmox left panel
- Select Clone
- Set Mode to Full Clone — not Linked Clone
- Enter the new VM name according to the naming convention (e.g. WS2022-LAB02-CA)
- Set the VM ID
- Click Clone
Note: Always use Full Clone. Linked clones depend on the template disk and cannot function independently. Full clones are completely independent VMs.
After cloning, the new VM boots into Windows OOBE (first-time setup) where you configure the Administrator password, computer name and network settings before joining the domain.
Summary checklist
| # | Task | Done |
|---|---|---|
| 1 | Install virtio-win-guest-tools.exe from VirtIO CD drive | ☐ |
| 2 | Run PSWindowsUpdate until fully patched — repeat after each restart | ☐ |
| 3 | Set high performance power plan via powercfg | ☐ |
| 3 | Disable WSearch and SysMain services | ☐ |
| 3 | Change Proxmox Display to VirtIO-GPU in Hardware tab | ☐ |
| 4 | Set timezone to W. Europe Standard Time | ☐ |
| 4 | Enable RDP and disable NLA | ☐ |
| 4 | Disable IE Enhanced Security Configuration | ☐ |
| 4 | Restart and verify RDP on port 3389 via nc | ☐ |
| 5 | Run Sysprep: /oobe /generalize /shutdown | ☐ |
| 6 | Convert VM to template in Proxmox immediately after shutdown | ☐ |


Comments