
In this article I describe step by step how I create a Windows Server 2022 VM in Proxmox VE 9.1.6. The guide is based on real-world experience and includes all corrections and lessons learned along the way. This is part 1 of a series on building a fully functional Windows DevOps lab in Proxmox.
Lab Environment
| Component | Value |
|---|---|
| Proxmox host | macpro2013.local — Mac Pro 2013 Trashcan |
| Proxmox version | 9.1.6 |
| RAM | 128 GB |
| Storage | 3.6 TB NVMe (local-lvm pool) |
| Network bridge | vmbr0 — internal lab network (192.168.178.x) |
| Proxmox WebUI | https://192.168.178.205:8006 |
Why a CA Is Needed — the SSL Warning
Anyone who opens the Proxmox WebUI via macpro2013.local in Safari will immediately see a certificate warning. Proxmox uses a self-signed certificate by default.
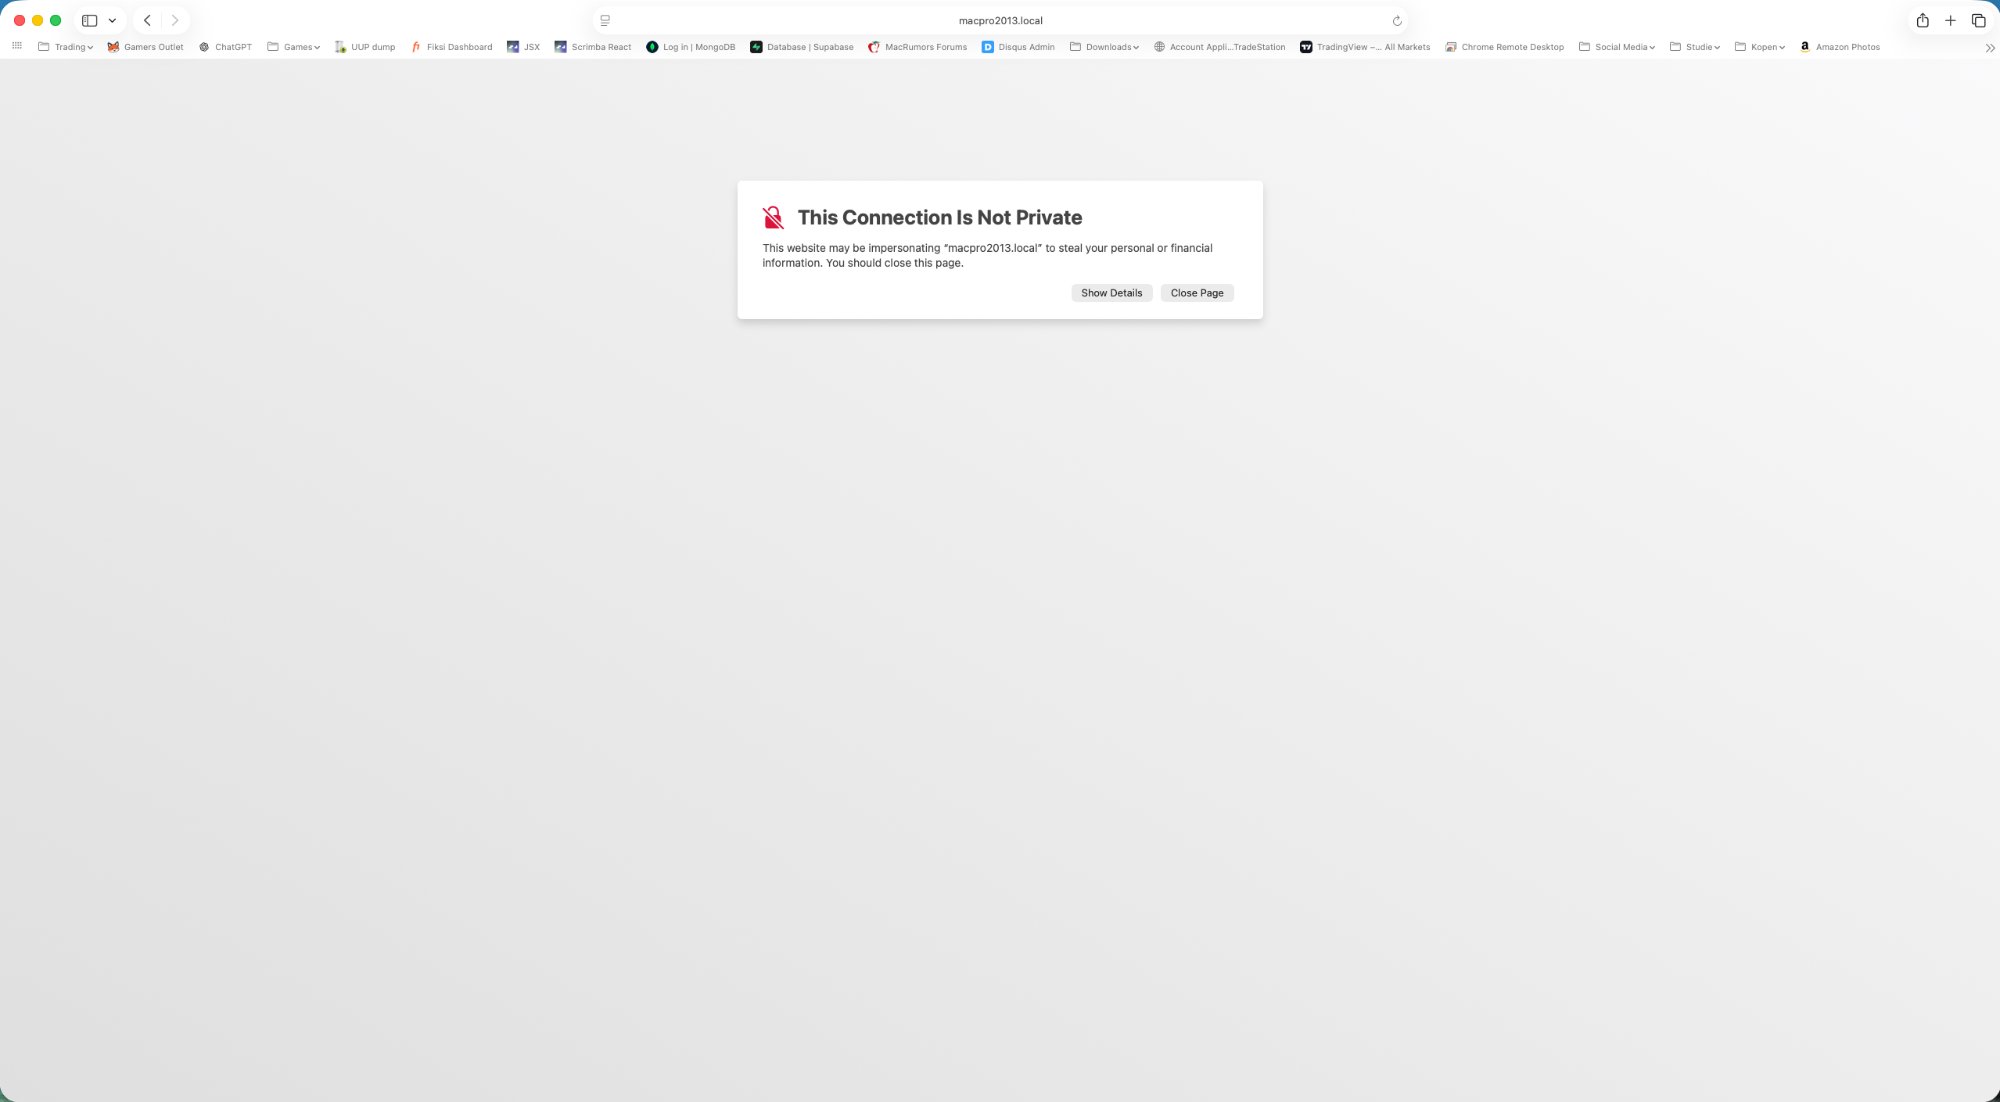
This is exactly the motivation to set up an internal Certificate Authority (CA) later. Once that is running, Proxmox can be issued a trusted certificate and the warning will disappear.
Prerequisites
Make sure the following ISO files are available in Proxmox local storage (Proxmox WebUI → local → ISO Images):
- Windows Server 2022 Evaluation:
Windows_2022_SERVER_EVAL_x64FRE_en-us.iso - VirtIO drivers:
virtio-win-0.1.285.isoor newer
Note: Both ISOs are required. Without the VirtIO ISO, Windows Setup cannot detect the disk or network adapter.
VM Naming
Use consistent names that include the OS version and all active roles. This lets you see at a glance what each VM does in the Proxmox panel.
| Pattern | Example | Description |
|---|---|---|
| WS2022-LAB{nn}-{ROLES} | WS2022-LAB01-AD-DNS | Lab VM with all active roles in the name |
| WS2022-LAB{nn}-CA | WS2022-LAB02-CA | Certificate Authority VM |
| WS2022-TEMPLATE-{NAME} | WS2022-TEMPLATE-BASE | Template VM — use VM ID 900+ |
Renaming a VM is done via the Proxmox host shell (the WebUI has no rename option):
1ssh root@macpro2013.local
2qm set <VMID> --name <NIEUWE-NAAM>
3
4# Voorbeeld:
5qm set 100 --name WS2022-LAB01-AD-DNS
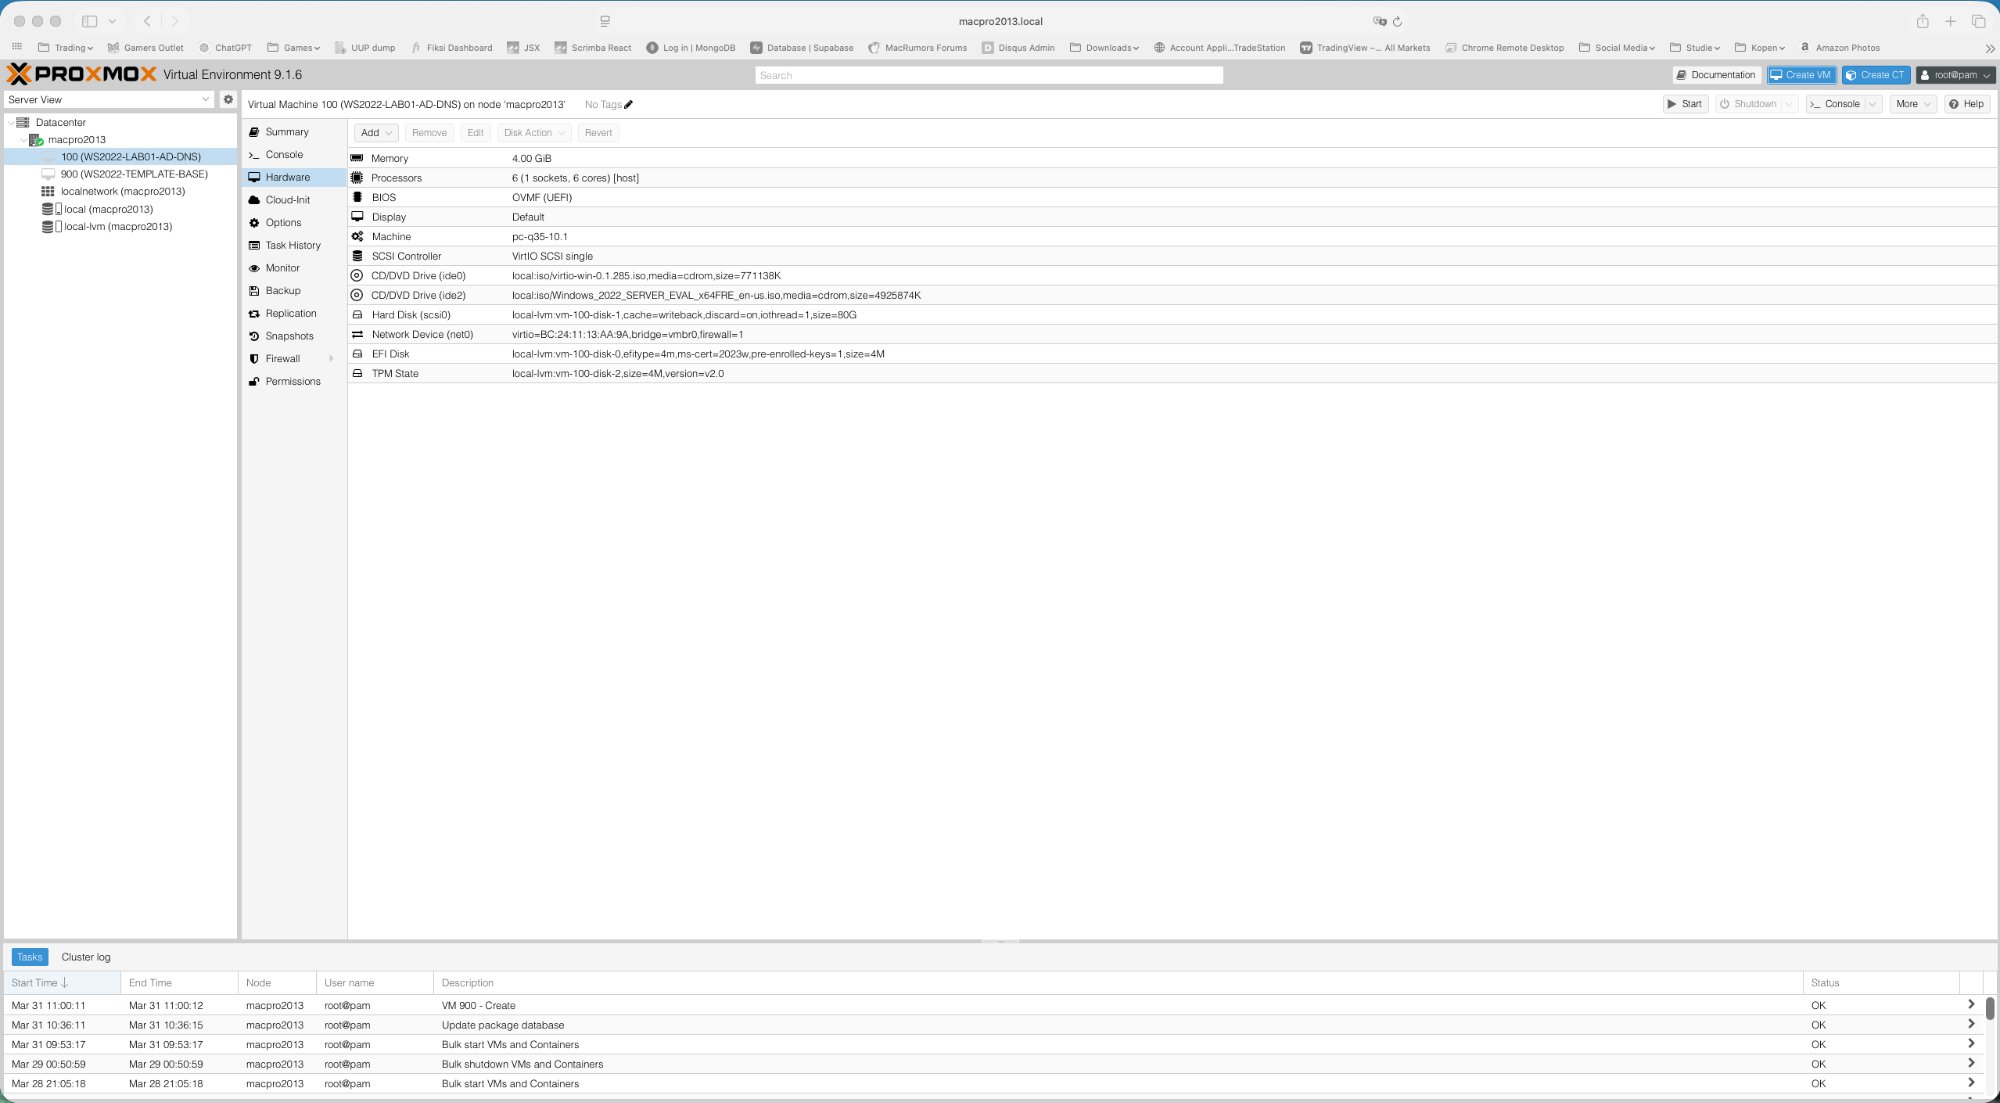
Below you can see how the Proxmox panel looks after both VMs have been correctly created and renamed:
Creating a VM — the Proxmox Wizard
Click Create VM (blue button at the top right) and work through all tabs as described below.
General Tab
| Setting | Value | Notes |
|---|---|---|
| Name | WS2022-TEMPLATE-BASE | Descriptive name including OS and role |
| VM ID | 900 | Use 900+ for templates, 100+ for lab VMs |
| Node | macpro2013 | Your Proxmox host |
OS Tab
| Setting | Value | Notes |
|---|---|---|
| ISO Image | Windows_2022_SERVER_EVAL_x64FRE_en-us.iso | Select from local storage |
| Type | Microsoft Windows | Must be set explicitly |
| Version | 11/2022/2025 | Must be set explicitly |
| Add VirtIO drivers ISO | Enabled (checkbox) | Adds a second CD drive for the VirtIO ISO |
| VirtIO ISO | virtio-win-0.1.285.iso | Select from local storage |
Note: Type and Version must both be set manually. The checkbox for the VirtIO ISO adds a second CD drive — this is essential for loading storage and network drivers during Windows Setup.
System Tab
| Setting | Value | Notes |
|---|---|---|
| BIOS | OVMF (UEFI) | Required for Windows Server 2022 |
| Machine | pc-q35 | Modern chipset required for TPM 2.0 |
| SCSI Controller | VirtIO SCSI single | Best storage performance |
| EFI Storage | local-lvm | Must be explicitly selected — no default |
| TPM Storage | local-lvm | Must be explicitly selected — no default |
| TPM Version | v2.0 | Required for Windows Server 2022 |
Note: EFI Storage and TPM Storage have no default value — both must be explicitly selected. Without these settings the VM will not boot correctly.
Disks Tab
| Setting | Value | Notes |
|---|---|---|
| Bus/Device | SCSI | Use together with VirtIO SCSI controller |
| Storage | local-lvm | NVMe-backed pool |
| Disk Size | 60 GB | Sufficient for OS, roles and tools |
| Cache | Write back | Best performance on NVMe |
| Discard | Enabled | Enables TRIM for SSD/NVMe storage |
| IO Thread | Enabled | Improves disk throughput |
CPU Tab
| Setting | Value | Notes |
|---|---|---|
| Sockets | 1 | Single socket |
| Cores | 2 | Sufficient for all lab VM roles |
| Type | host | Passes through the real host CPU — better performance than the default kvm64 |
Note: CPU Type must be set to
host. The defaultkvm64limits the available CPU instruction set features and reduces performance.
Memory Tab
| Setting | Value | Notes |
|---|---|---|
| Memory | 4096 MB | 4 GB per VM |
| Minimum Memory | 4096 MB | Set equal to Memory to disable ballooning |
| Ballooning Device | Disabled | Not well supported on Windows |
Note: Ballooning must be disabled for Windows VMs. Set Minimum Memory equal to Memory. In the hardware overview this is reflected as
[balloon=0].
Network Tab
| Setting | Value | Notes |
|---|---|---|
| Bridge | vmbr0 | Internal lab network |
| Model | VirtIO (paravirtualized) | Best performance — requires VirtIO drivers |
| Firewall | Enabled (leave as default) | Leave enabled — mirrors production and builds troubleshooting skills |
Note: Leave the Proxmox firewall enabled on the network adapter. Disabling it may seem convenient but removes an important layer that mirrors real production environments. Troubleshooting through the firewall is a valuable skill.
Hardware Verification Before First Boot
After clicking Finish, do not start the VM yet. First click the VM in the left panel and select Hardware. Verify that all settings match the tables above.
Check specifically:
- Memory:
4.00 GiB [balloon=0]— balloon=0 confirms that ballooning is off - Processors:
2 (1 socket, 2 cores) [host]— confirms host CPU type - BIOS:
OVMF (UEFI) - Machine:
pc-q35 - SCSI Controller:
VirtIO SCSI single - CD/DVD ide0: virtio-win ISO present
- CD/DVD ide2: Windows 2022 ISO present
- Hard Disk: 60G,
cache=writeback,discard=on,iothread=1 - Network:
vmbr0,firewall=1 - EFI Disk and TPM State present on local-lvm
Starting the VM and Windows Boot
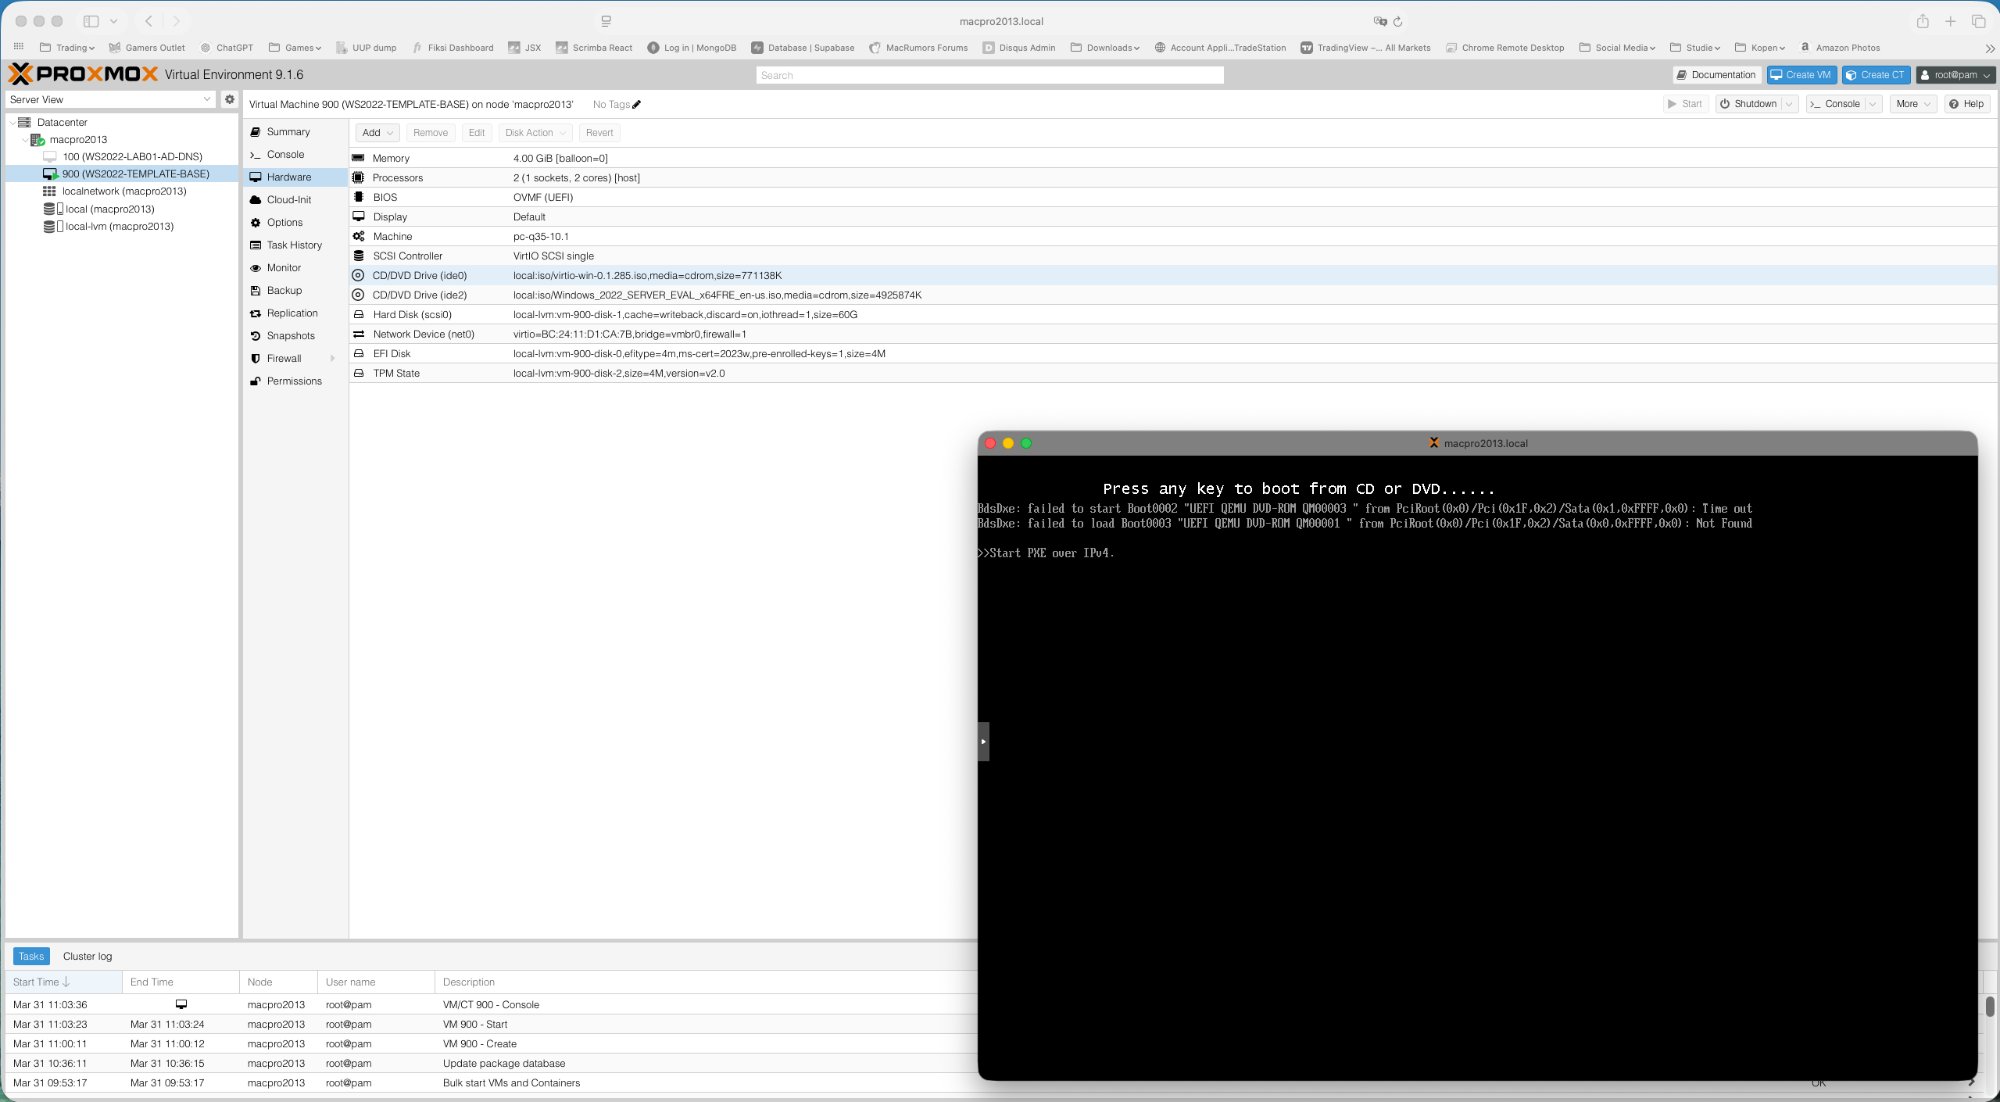
Click Start and immediately open the Console. As soon as you see the following, click inside the console window first (to capture keyboard input) and press any key:
1Press any key to boot from CD or DVD......
Note: If you are too late, the VM will fall through to PXE boot as shown below. Simply reset the VM and try again — be ready at the console before you click Start.
If you catch the prompt in time, the Windows Boot Manager appears:
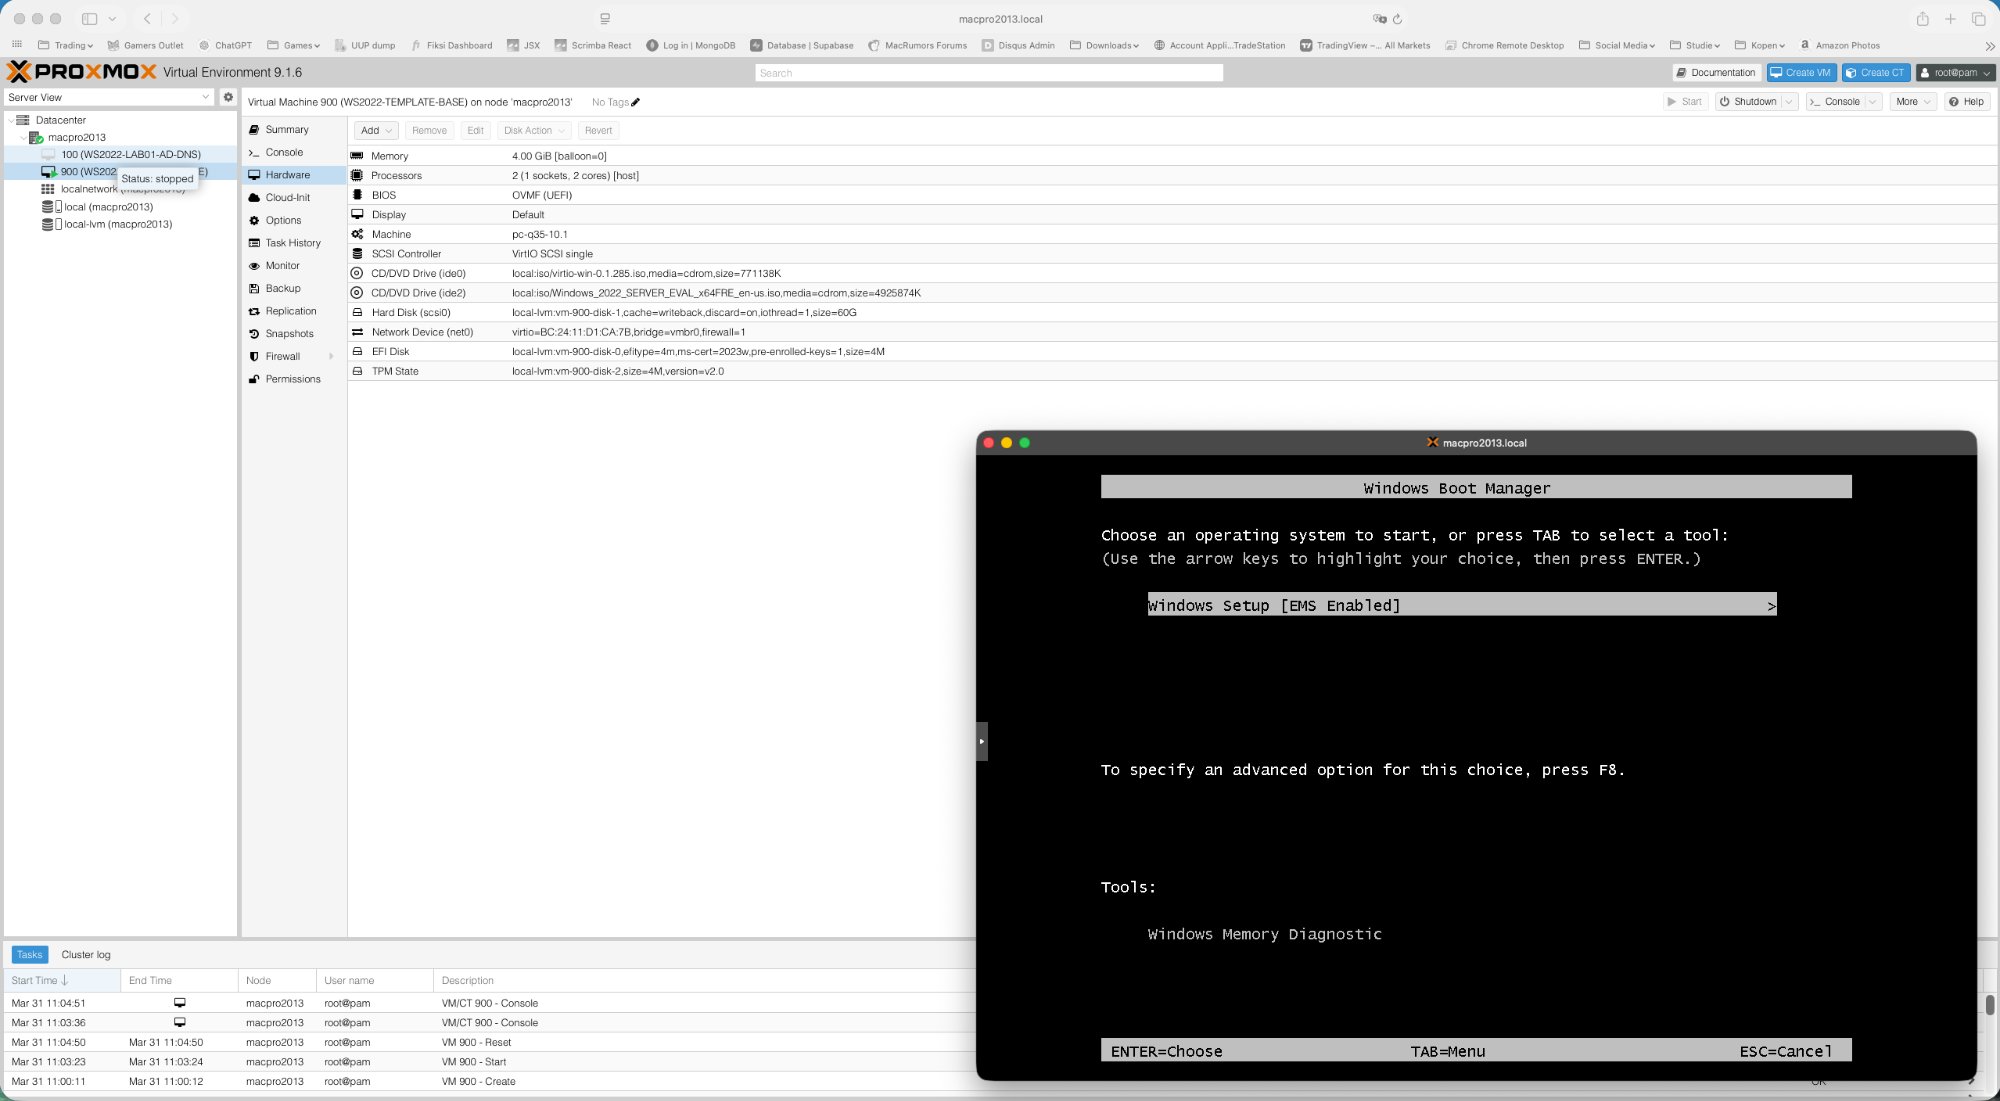
Select Windows Setup [EMS Enabled] (already highlighted) and press Enter.
Edition Selection
At the edition selection screen, choose:
Windows Server 2022 Datacenter (Desktop Experience)
Note: Select Datacenter, not Standard. And Desktop Experience, not Core. Core has no GUI and is therefore unsuitable for this lab template.
Loading the VirtIO Storage Driver
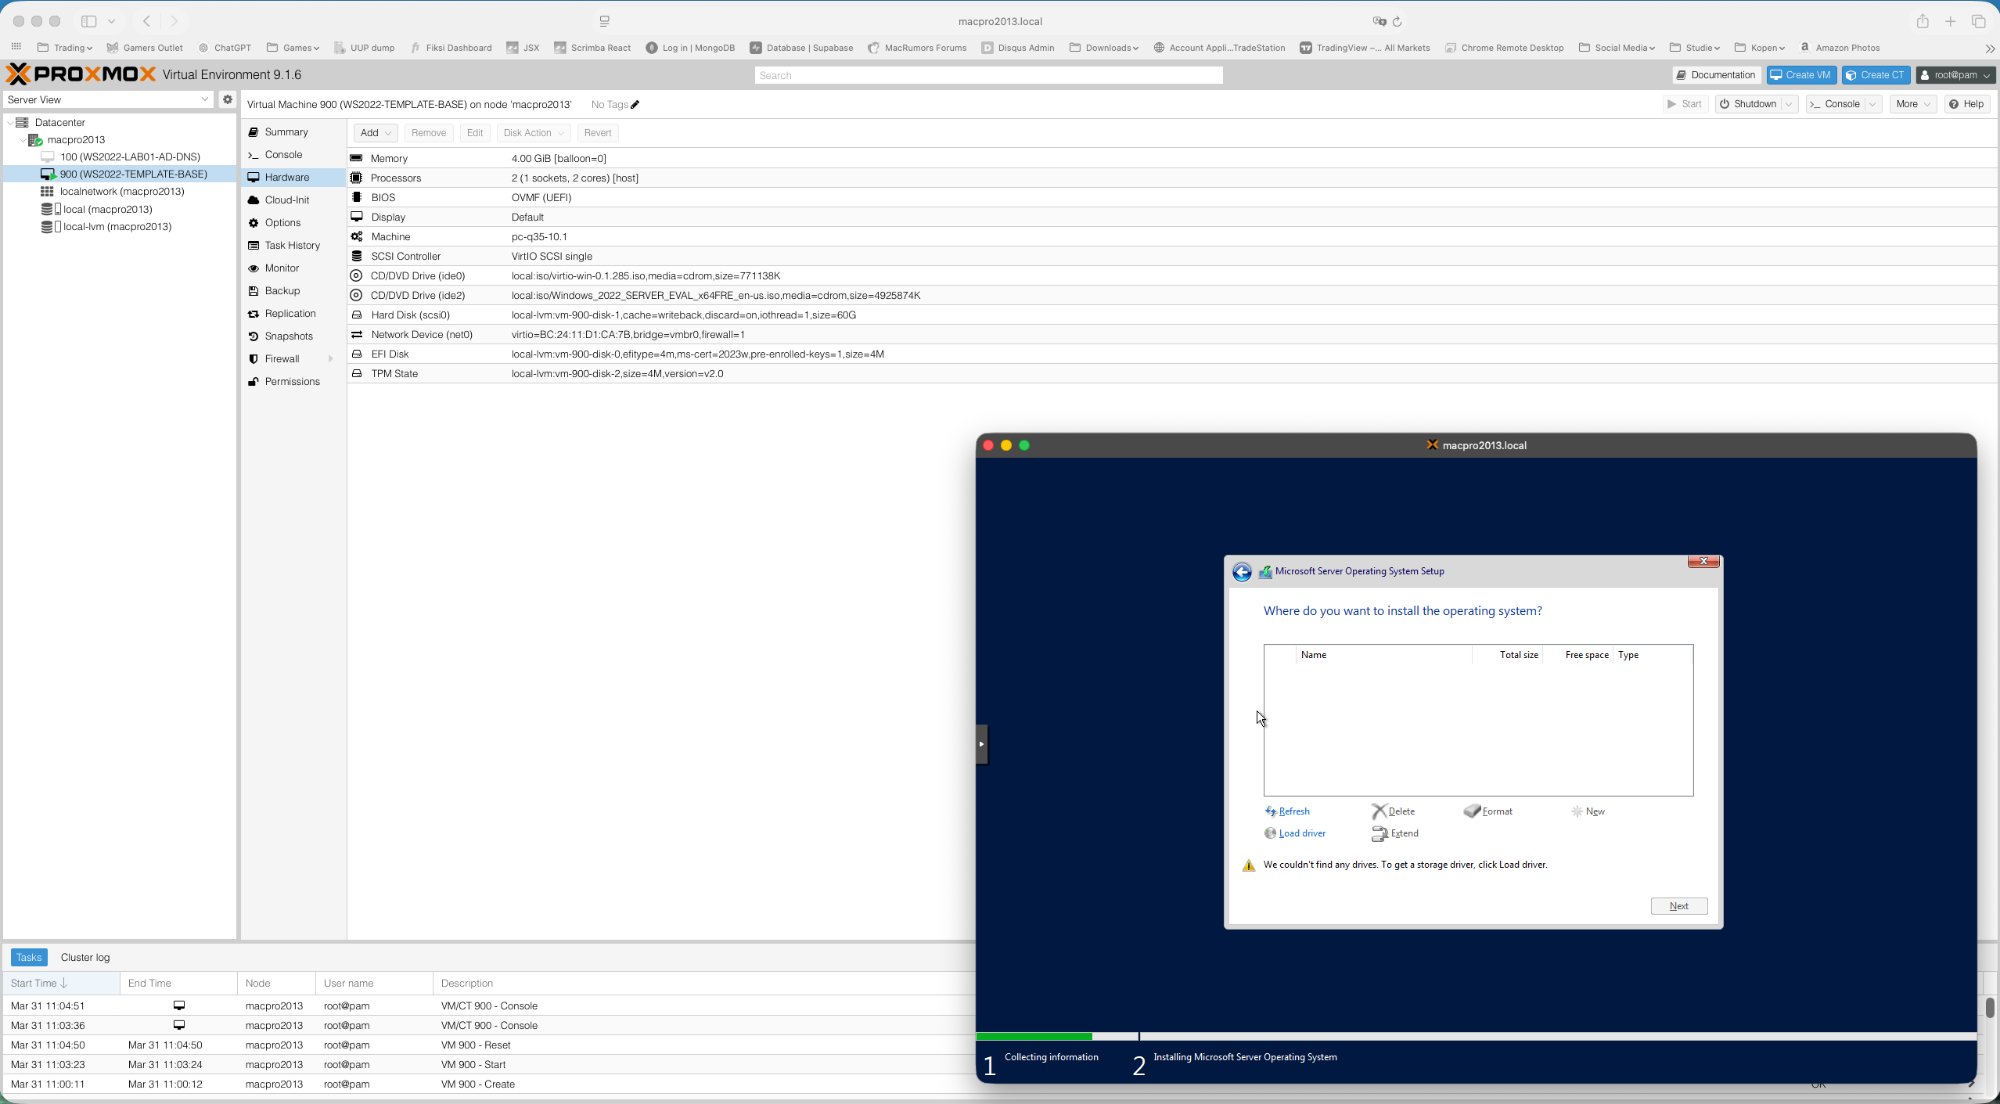
On the “Where do you want to install the operating system?” screen, the disk list is empty. This is normal — Windows cannot see the VirtIO SCSI disk without the driver.
Steps to load the driver:
- Click Load driver
- Click Browse
- Navigate to the VirtIO CD drive (D: or E:)
- Open the folder:
vioscsi \ w2k22 \ amd64 - Click OK
- Select Red Hat VirtIO SCSI pass-through controller
- Click Next
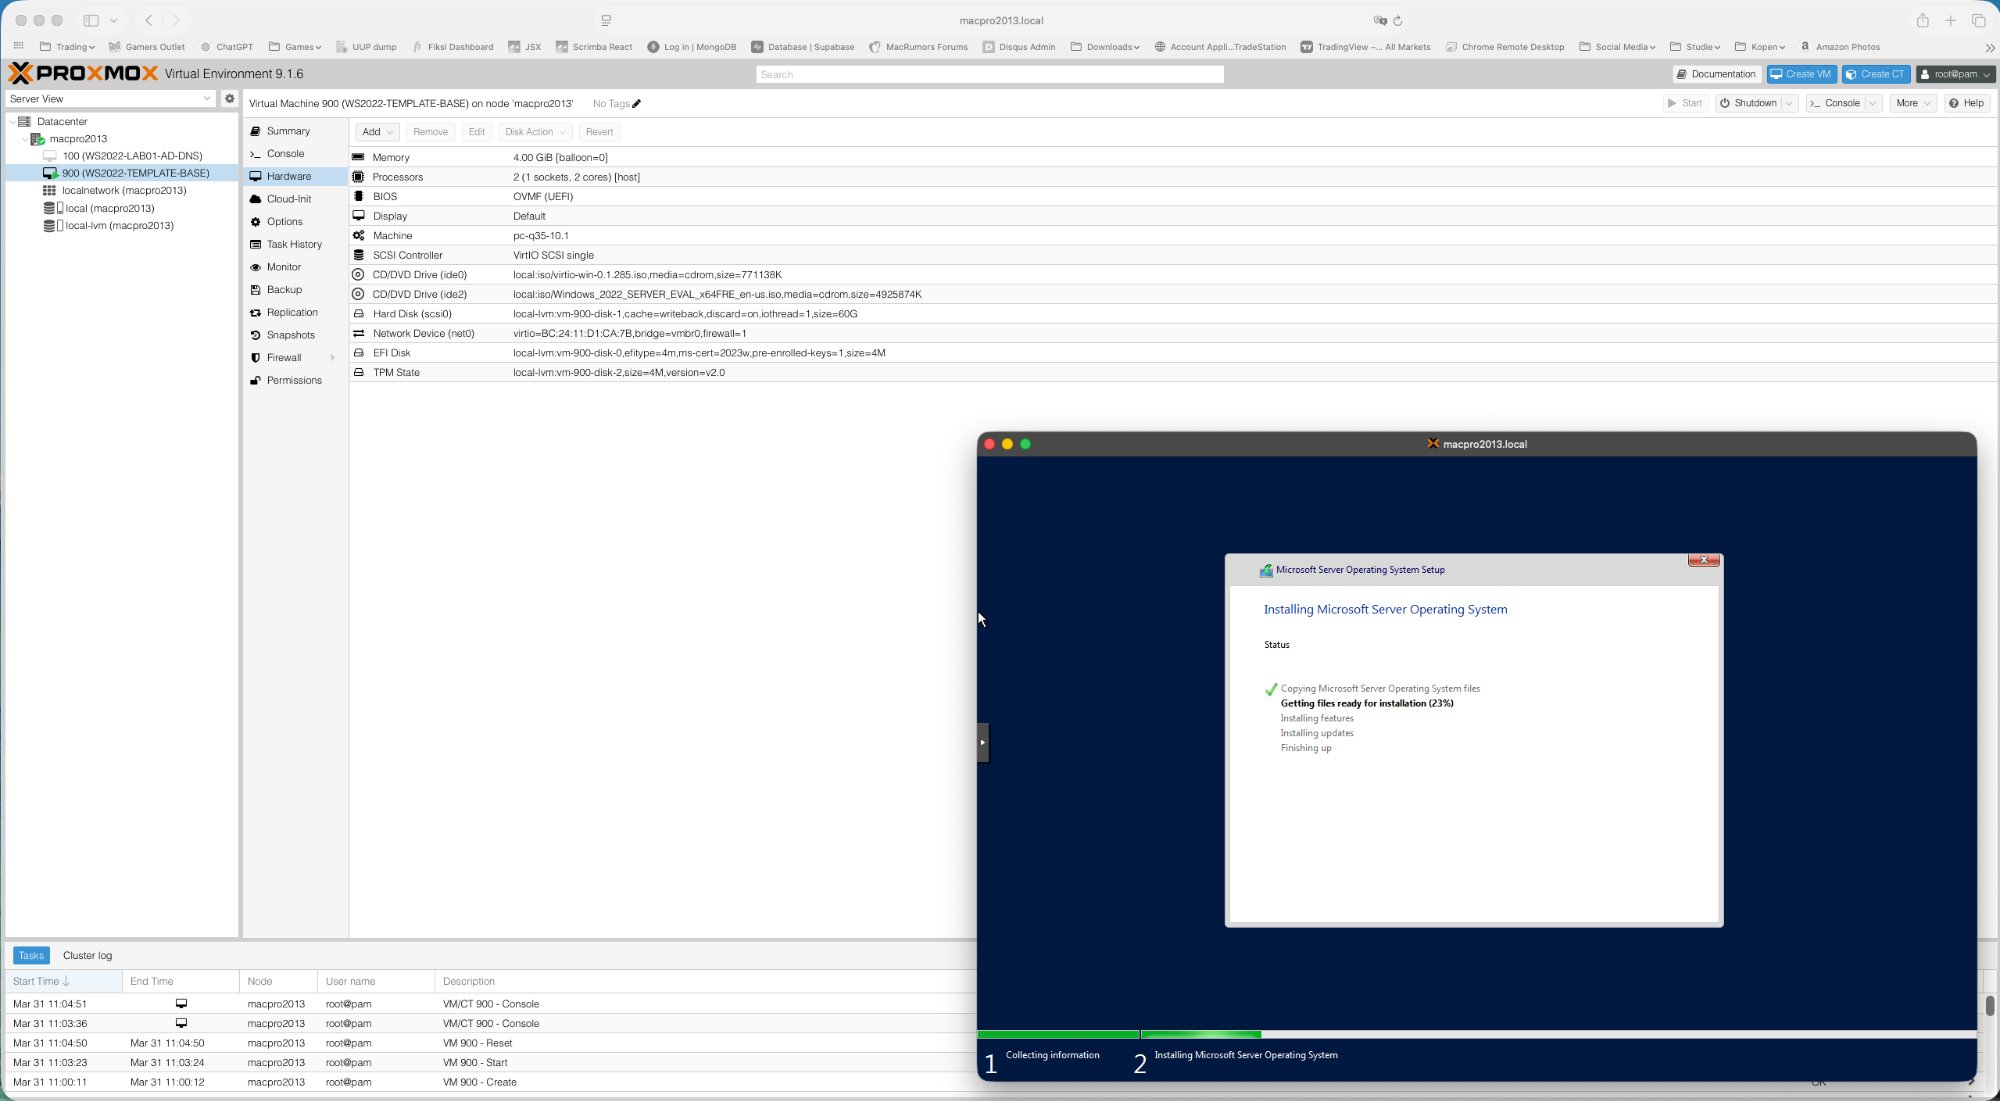
The 60 GB disk now appears in the list. Select it and continue. The Windows installation begins:
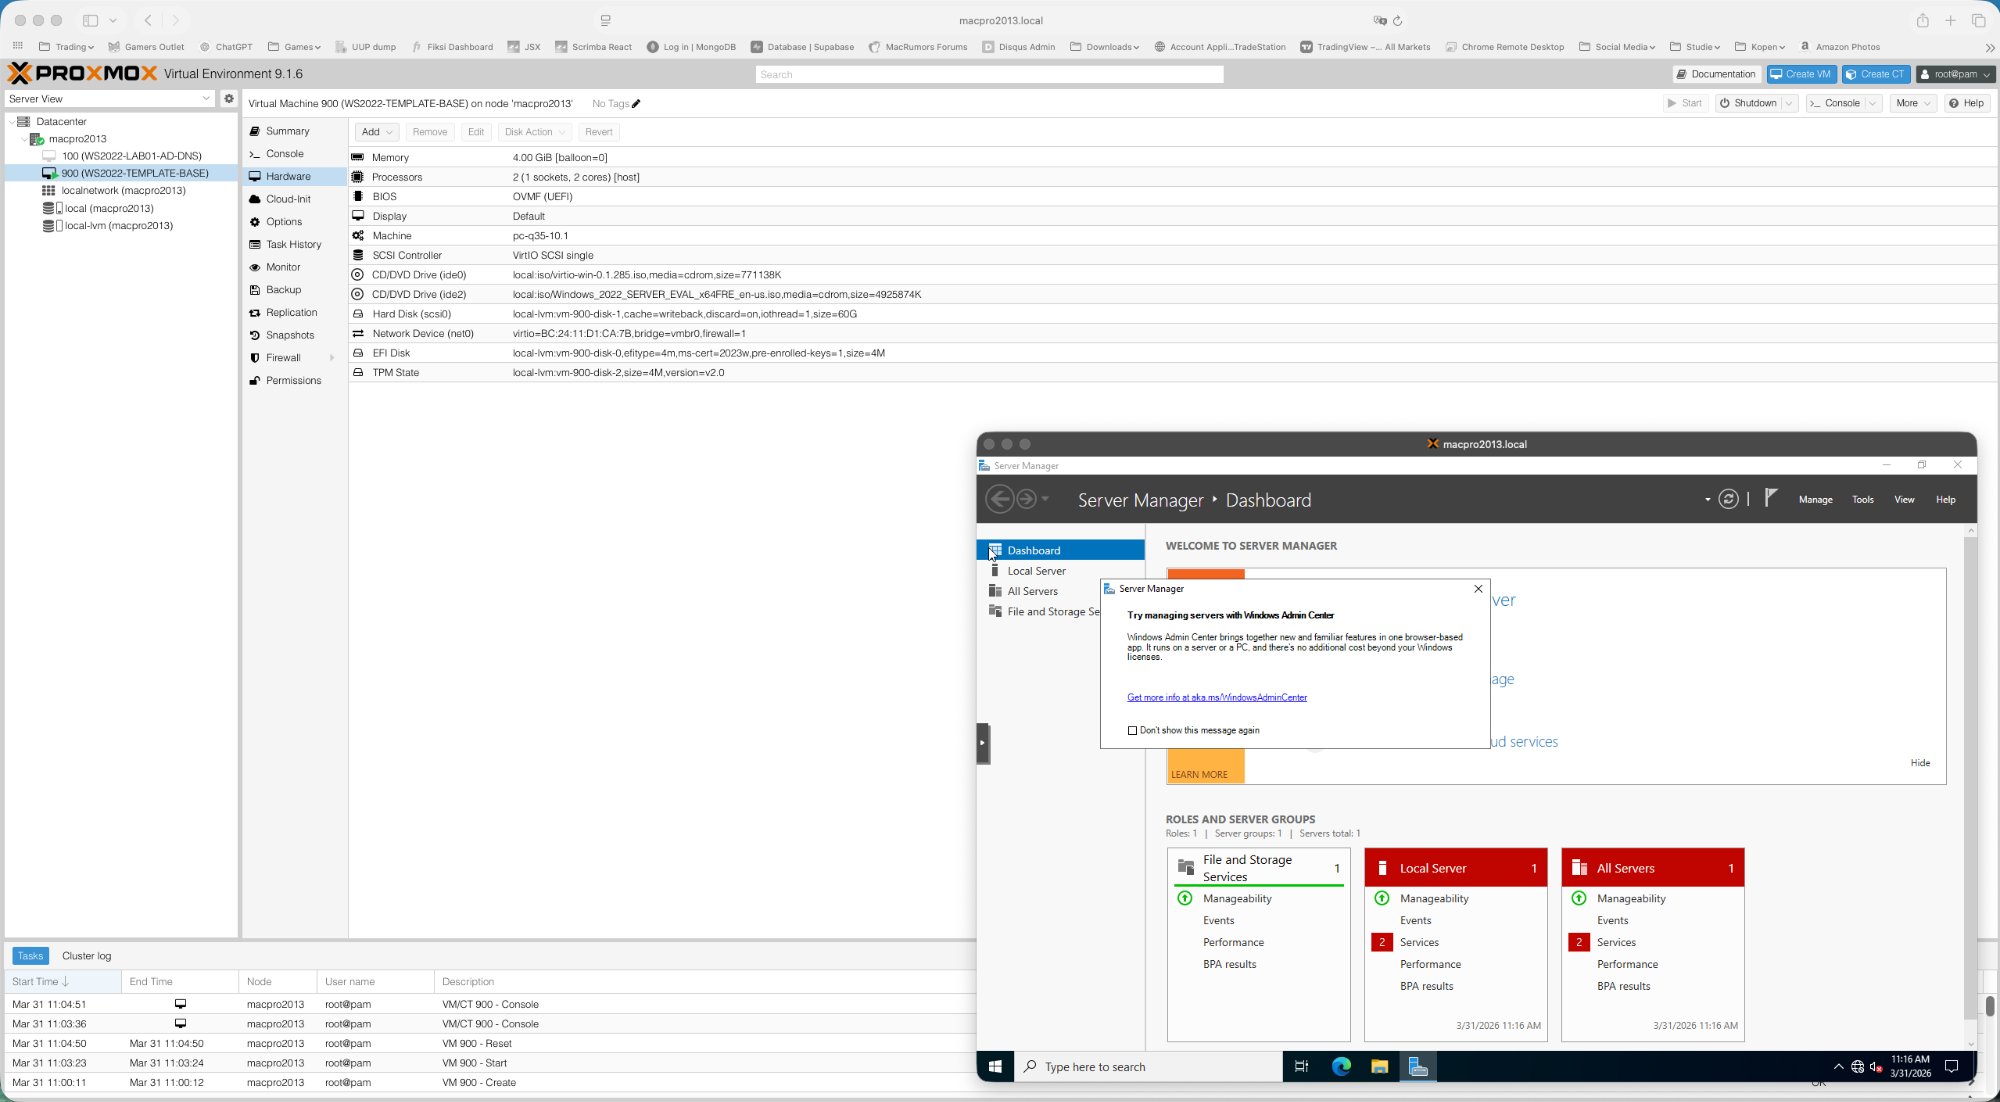
After Installation — Server Manager
After installation and restart you land on the Server Manager Dashboard. Dismiss the Windows Admin Center notification (check “Don’t show this message again”):
The VM is now ready for the next step: template preparation as described in part 2.
Summary Checklist
| # | Task | Done |
|---|---|---|
| 1 | Upload Windows Server 2022 ISO to Proxmox local storage | ☐ |
| 2 | Upload VirtIO drivers ISO to Proxmox local storage | ☐ |
| 3 | Create VM with correct settings in all wizard tabs | ☐ |
| 4 | Verify hardware configuration in Proxmox Hardware tab before starting | ☐ |
| 5 | Start VM — catch the CD boot prompt immediately in the Console | ☐ |
| 6 | Select Windows Server 2022 Datacenter (Desktop Experience) | ☐ |
| 7 | Load VirtIO SCSI driver (vioscsi/w2k22/amd64) before disk selection | ☐ |
| 8 | Complete Windows installation | ☐ |
| 9 | Continue to part 2 — Template Preparation | ☐ |

Comments